Portable Solar Generator - for camping, off grid charging and communications
So I had been thinking about putting together a portable generator/ emergency power solution. Firstly just to see if I could do it, secondly to have a power source for camping, phone charging, nintendo 2DS charging for kids, ipad, recharging drill batteries etc. Then I thought why not put my spare UHF or even a radio and speakers in there too. So I started youtubing and found lots of great ideas. So here is what I have so far. I've pretty much copied this design with a few tweaks here and there: http://solarburrito.com/build-your-own-solar-power-generator/
So this is a rough plan what you will see above the mess of wiring......

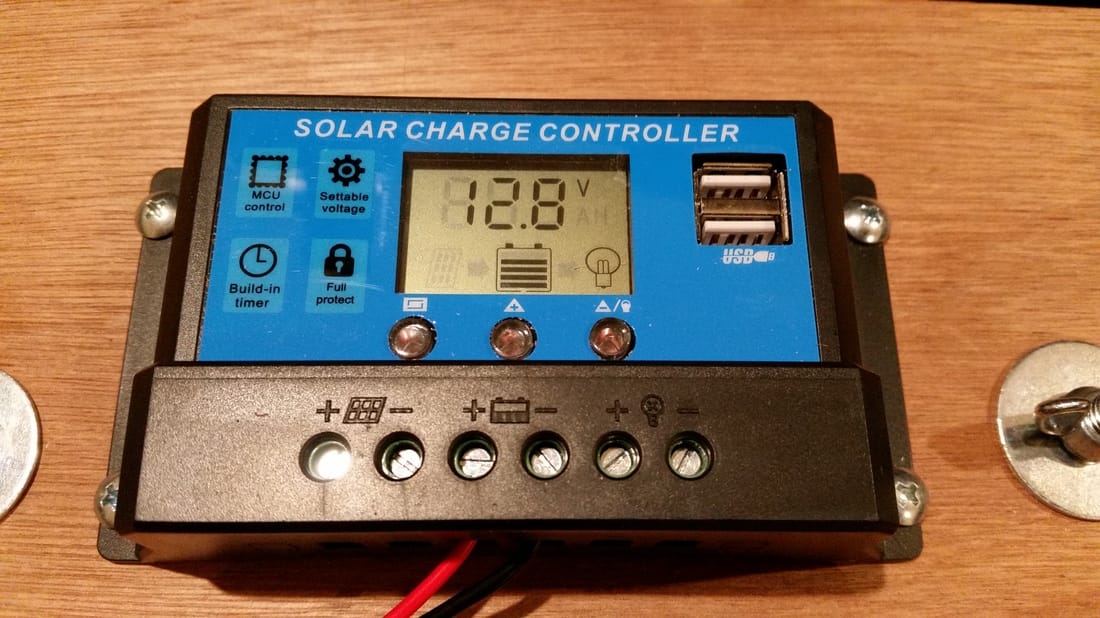
30A Solar Charge Controller
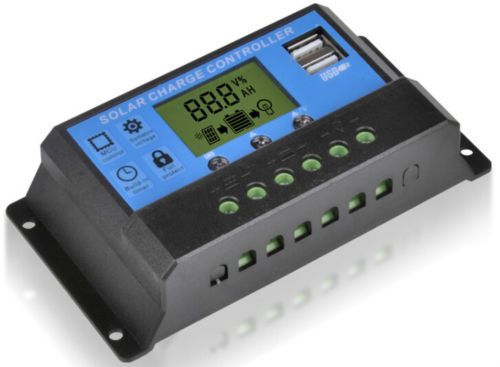
I picked up this charge controller off ebay for $20. Basic, does what I need it to do and also has the added benefit of having two usb ports and also a voltage meter to keep an eye on the battery charge. The unit tells you how to wire everything up yourself.
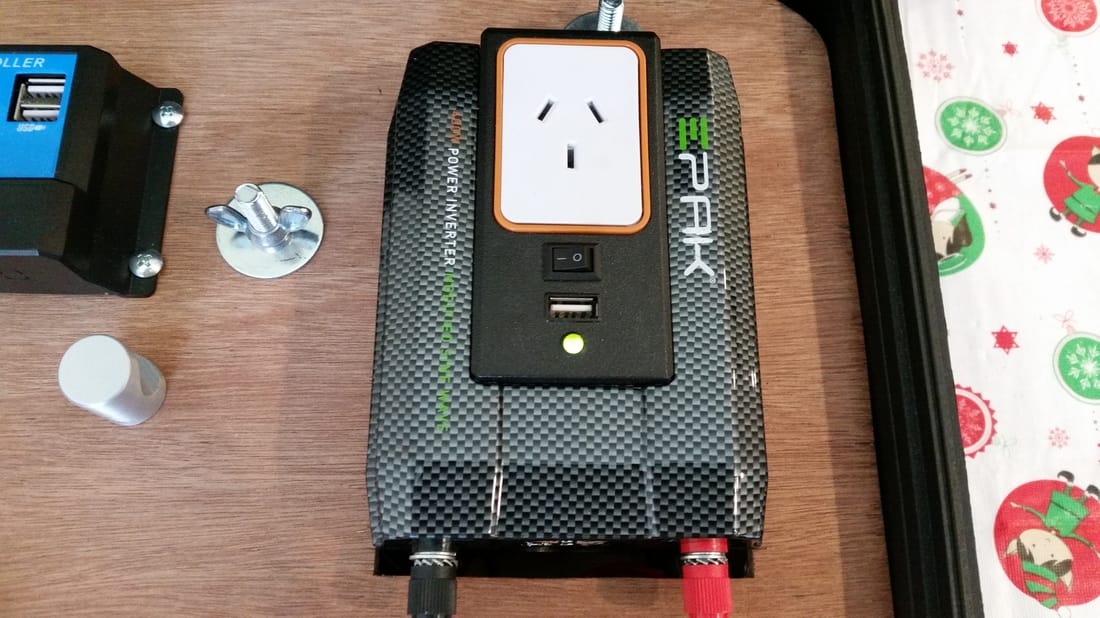
400W Power Inverter
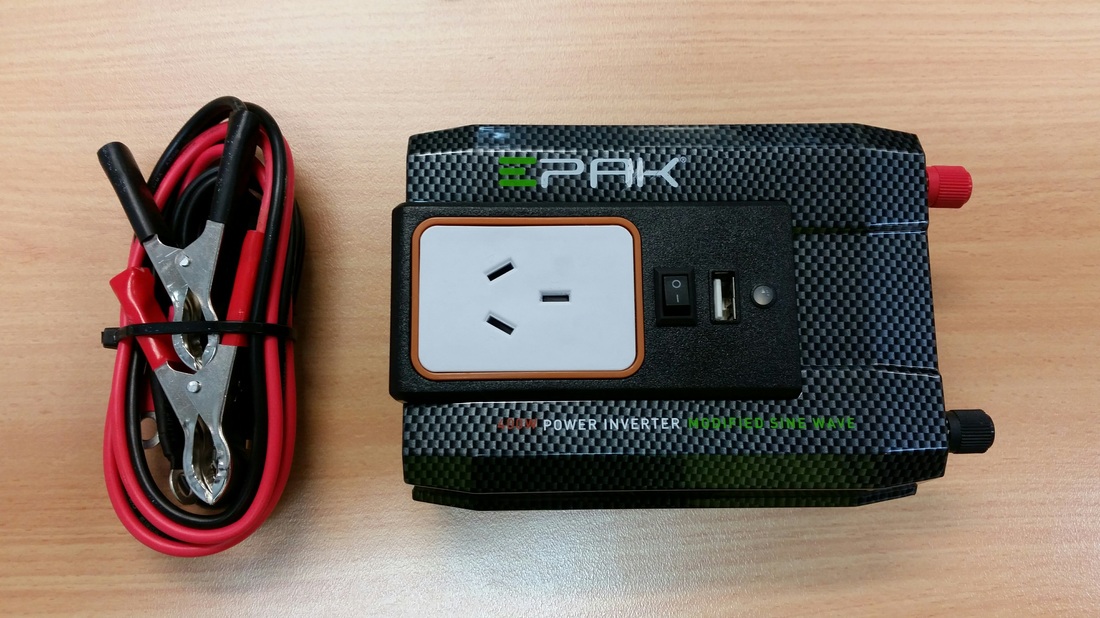
I was lucky enough to pick up this 400W power inverter again from ebay. Was only about $40. It's got a little fan to keep it cool but what I liked about it the most was that the powerpoint socket was on top and it also came with a USB port, so in total I have 3 ports now!
Rechargeable 12V Battery - 18Ah SLA
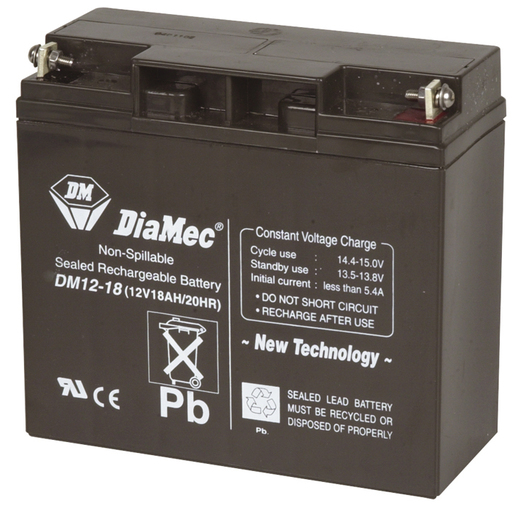
This was probably the most expensive part of the build. I bought this battery brand new from Jaycar for $70. This should be more than enough to charge up everything I need. I will not be powering up multiple items at the same time. Will probably take about 9-10 hours to fully charge this up in the sun but it should do what I need it to do.
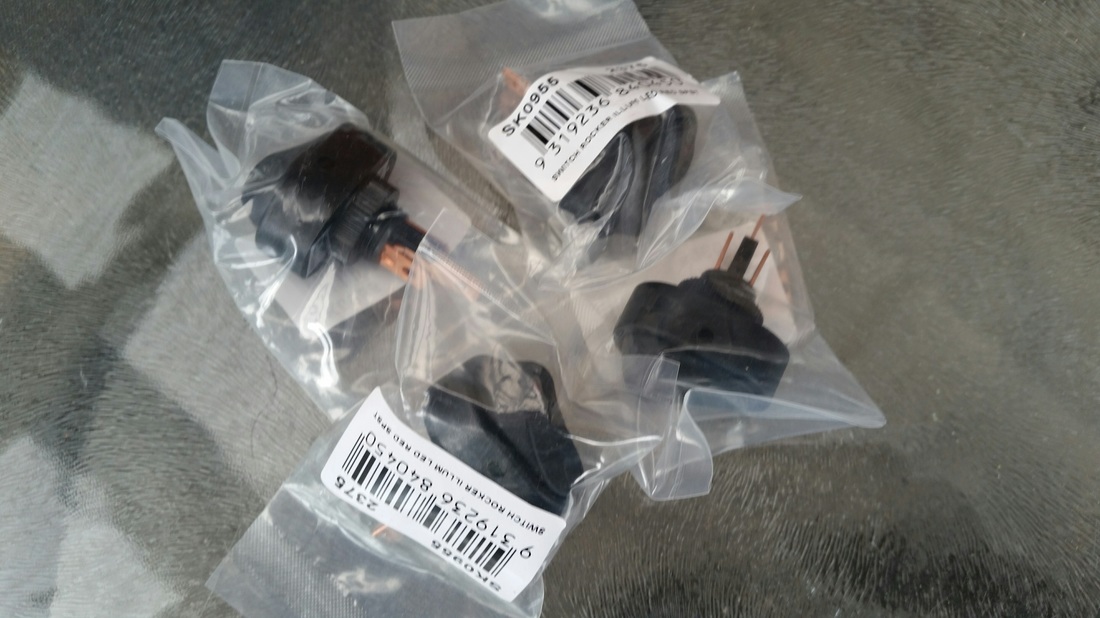
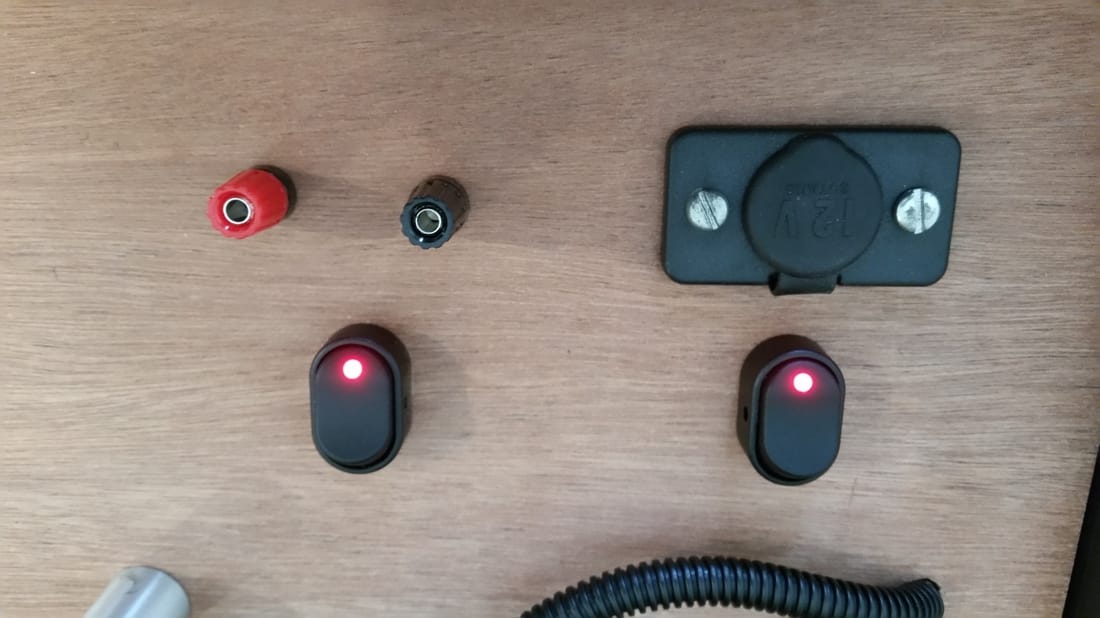
12V DC Cigarettle Lighter Sockets x 2

I've got a couple of these 12V sockets kicking around at home which I bought for a couple of bucks. My original intention was to install them as extra sockets in the car, in the boot to run a fridge or charge up the kids tablets on long trips etc. I might as well get some use out of them. I'll be installing one inside the box and the otherone outside the box so that items can be charged without having to open the unit. There will be an on/off switch next to each socket.
Car Stereo (another option) - Kia K102R MP3/BLUETOOTH/USB/CD/AM/FM STEREO
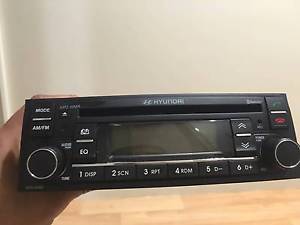
Obviously this is not my hand holding the stereo. However it is an identical unit to the one I have. The one pictured was standard issue for a Hyundai but mine has a Kia logo on it. Does everything I need it to do. The one I have has never been used and is still wrapped up in shrink wrap with the security code. May have to mount it on an angle facing upwards as it may be too long. I'm still trying to decide how to mount the antenna etc. Also need some small speakers.
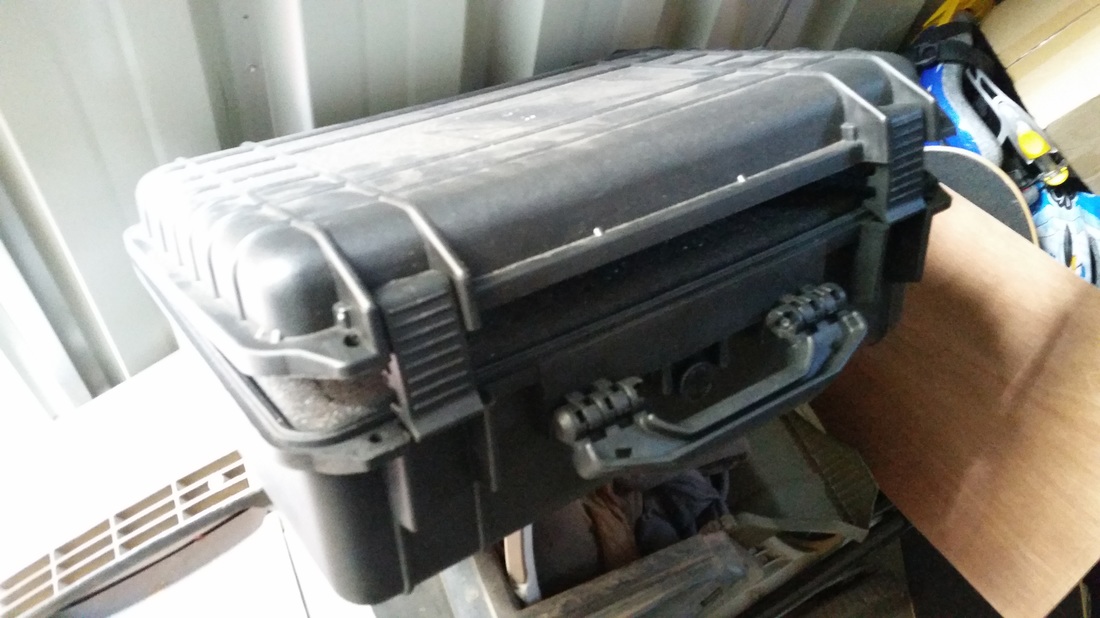
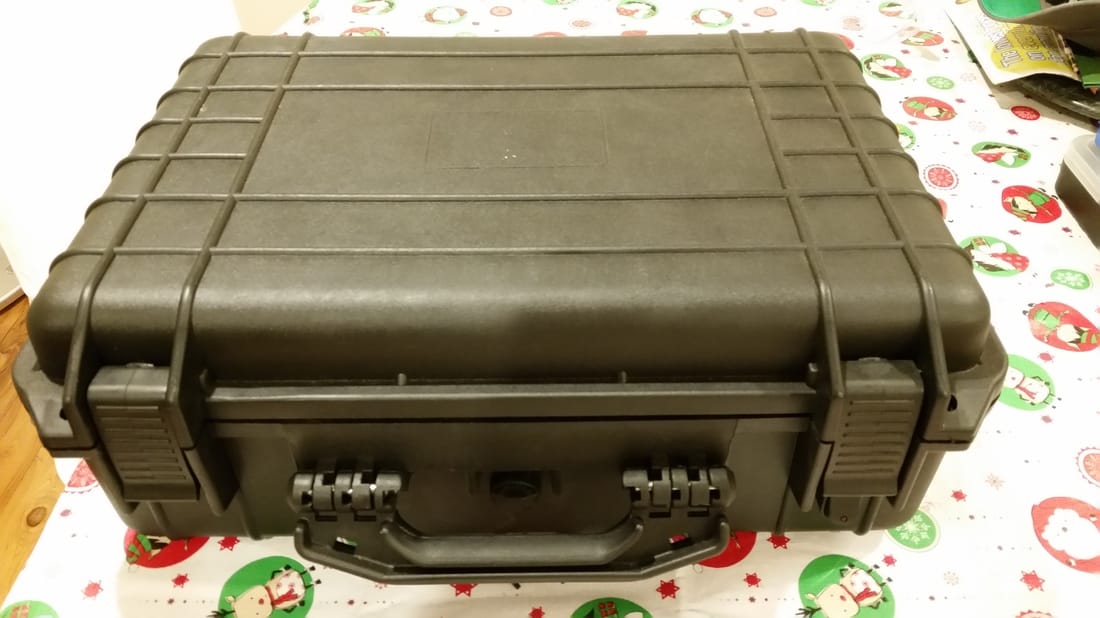
Portable Hard Case
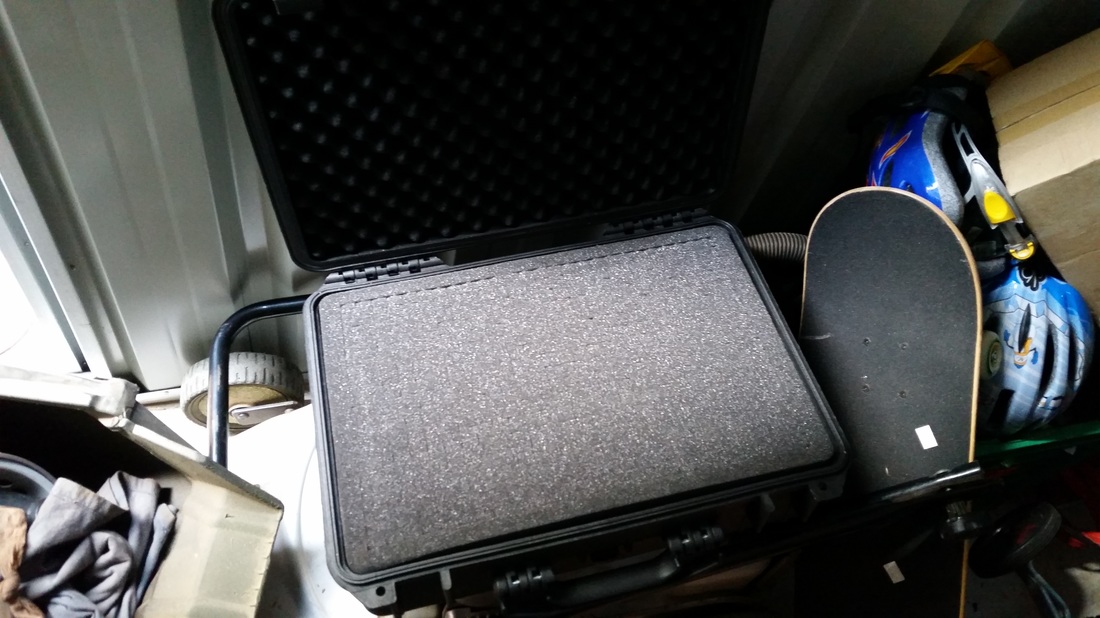
So this is the case I’ll be using. It’s looking old and dusty because I bought it about 6 months ago and just chucked it in the shed. It’s actually a case for carrying valuable/delicate items such as camera gear, electronics etc. The youtube video I am using to help is from a channel called ‘Solar Burrito’. In that video he uses a Plano gun case, I saw thins one for $25 on sale so I bought it. It’s got foam inserts which I will be taking out as I do not need to use them.
Marine Plywood Cut to Shape
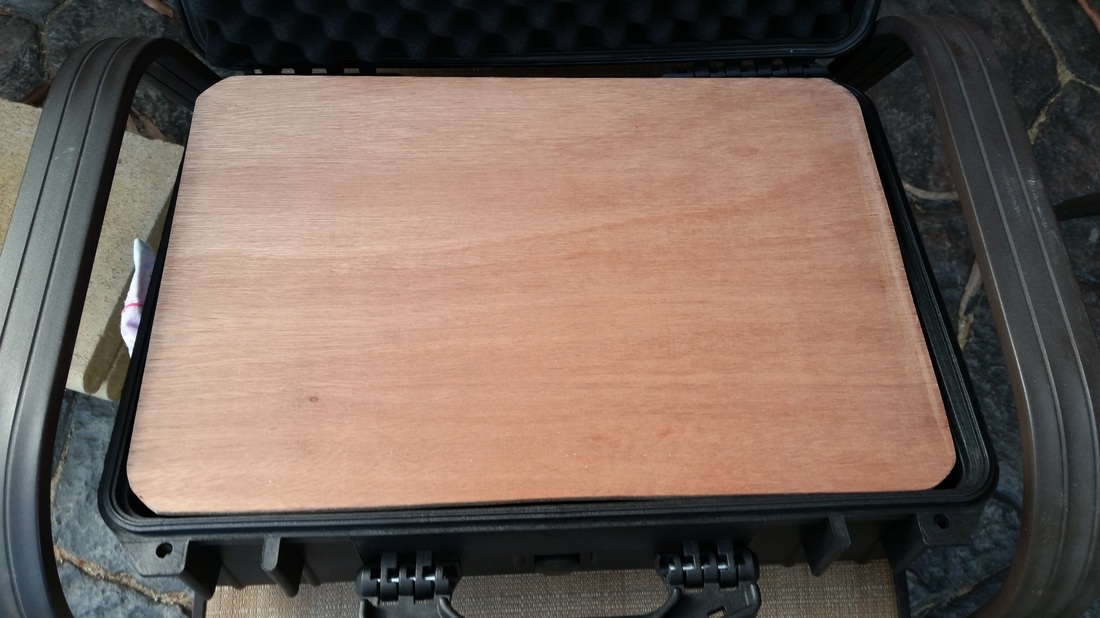
I removed all the foam from the bottom section and then measured up the internal measurements. I used a jigsaw to cut out a peice of marine ply to fit. This will be bolted down to the battery bracket. The picture shows it sitting on the foam. It will have to be held down by a couple of bolts. I left abit of a gap around the corners so that it would be easy to lift out when working on it. I chose marine ply because its weather proof, and also it won't warp or bend in hot/cold weather etc.
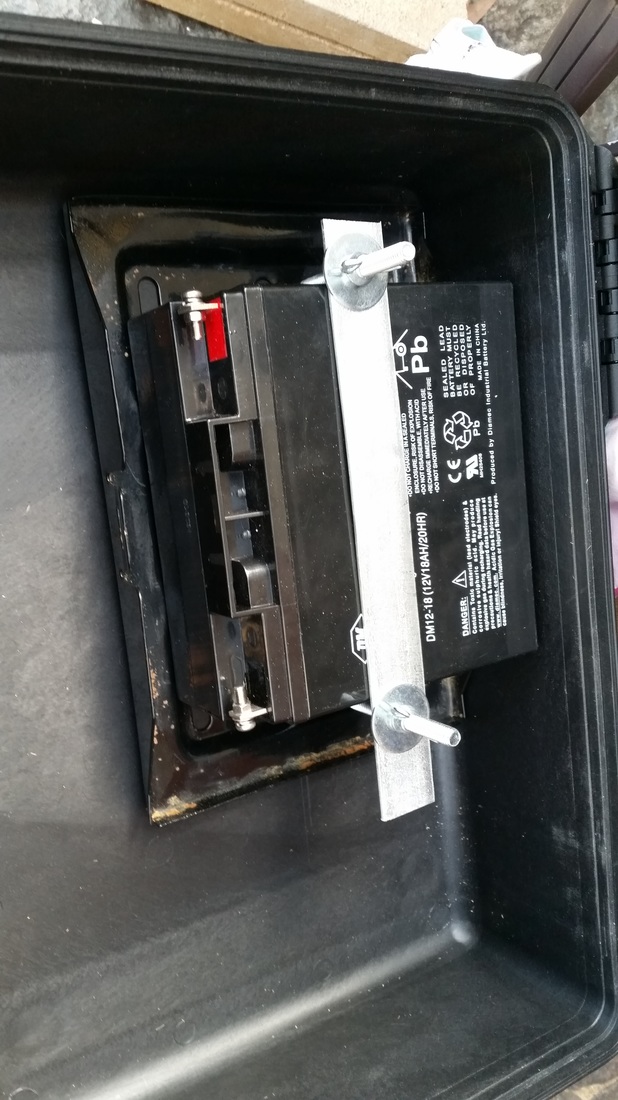
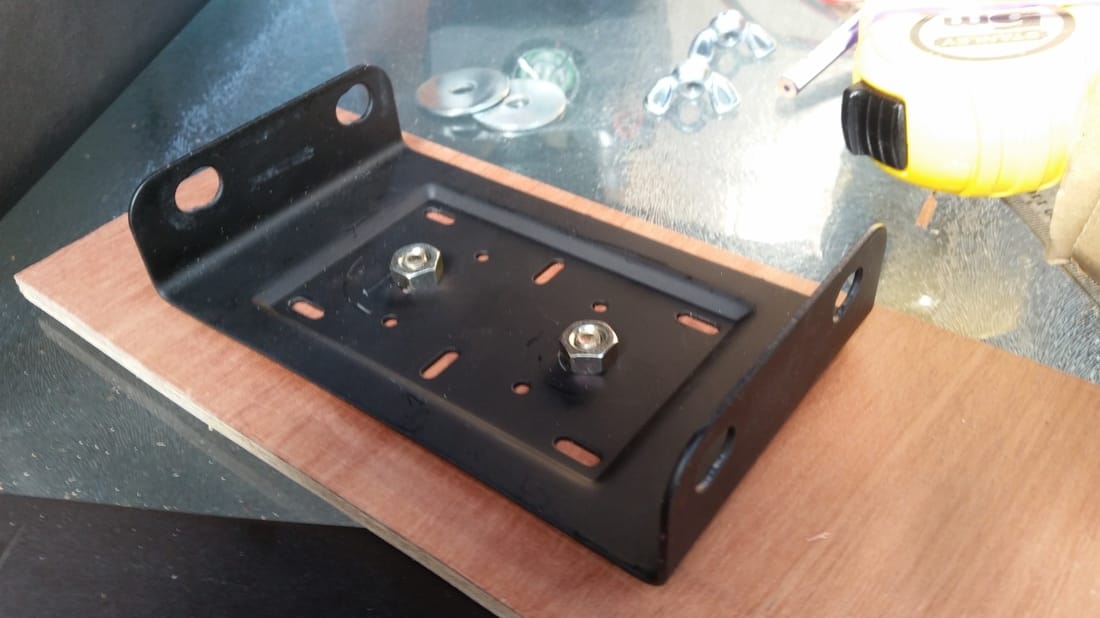
Battery Installation & Bracket
So this part was abit of a challenge. I headed off to the local Bunnings and got some long bolts, wingnuts and washers. I've pretty much copied the design from Solar Burrito with my own extra touches. I had an old universal car battery tray kicking around so I decided to use it as the battery would be lying down in the case. It also had many options for mounting holes so that helped to fit the battery better. Plus it makes a good brace against the case. I drilled into the bottom of the case and put through some rounded head bolts which have a square section at the bottom. This helps to hold the bolt whilst I tighten from the top. Next I got a peice of steel and drilled two holes through it. placed it over the bolts and used the wingnuts and washers to hand tighten. I used wingnuts for quick and easy removal of the board if needed.

Attaching the Wood, Charge Controller and -/+ Banana Terminals with Switch
I put some grease on the ends of the bolts sticking up whilst the battery was installed. Then I placed the board carefully over the bolts in order to mark out the holes to be drilled. This worked well. So I drilled the holes, removed the washers and wingnuts holding the battery and then placed the board over and resecured it. The whole thing is really solid and is a stable base to mount everything else onto now.

Update 13/12/2016 - Hmm...yeeeaaah not sure about a stereo or UHF now.......
Yeah so I've been thinking of ditching the idea of installing a stereo or a UHF etc. I think the powerpack is gonna be too crowded. Also I may even make another one that is specifically to run a stereo and UHF, either to plug into this generator or have a separate charging unit on it's own. I've asked for a Jaycar voucher for christmas so I'll use the money, add to it, to buy another battery. I'm still tossing up of whether to make a case or buy one. Will probably put this down as another side project!
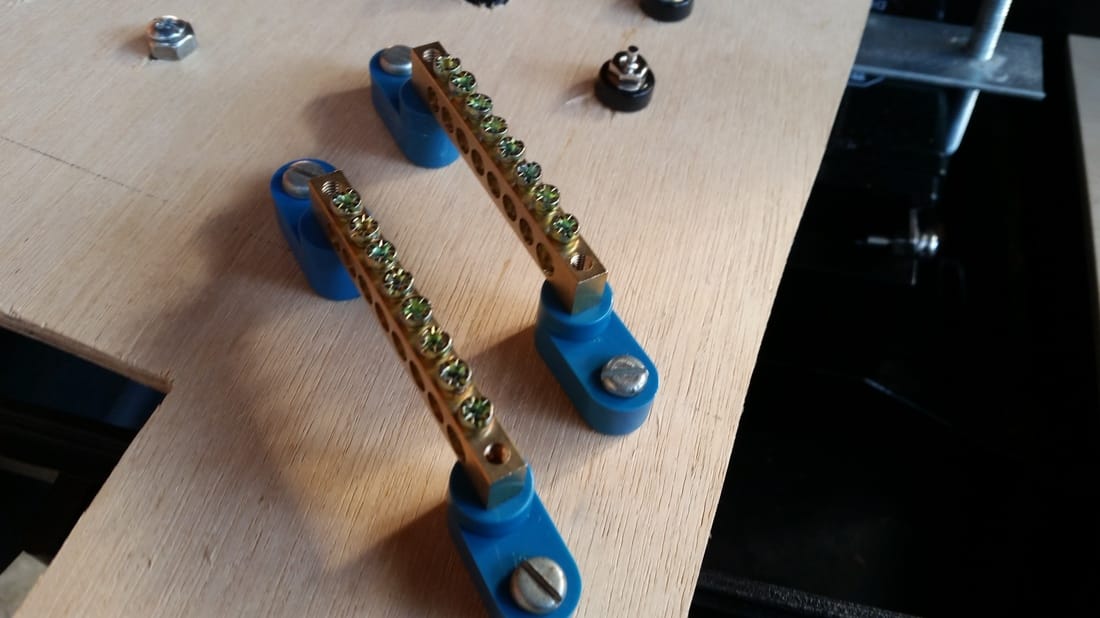
Buss Bars (x2)
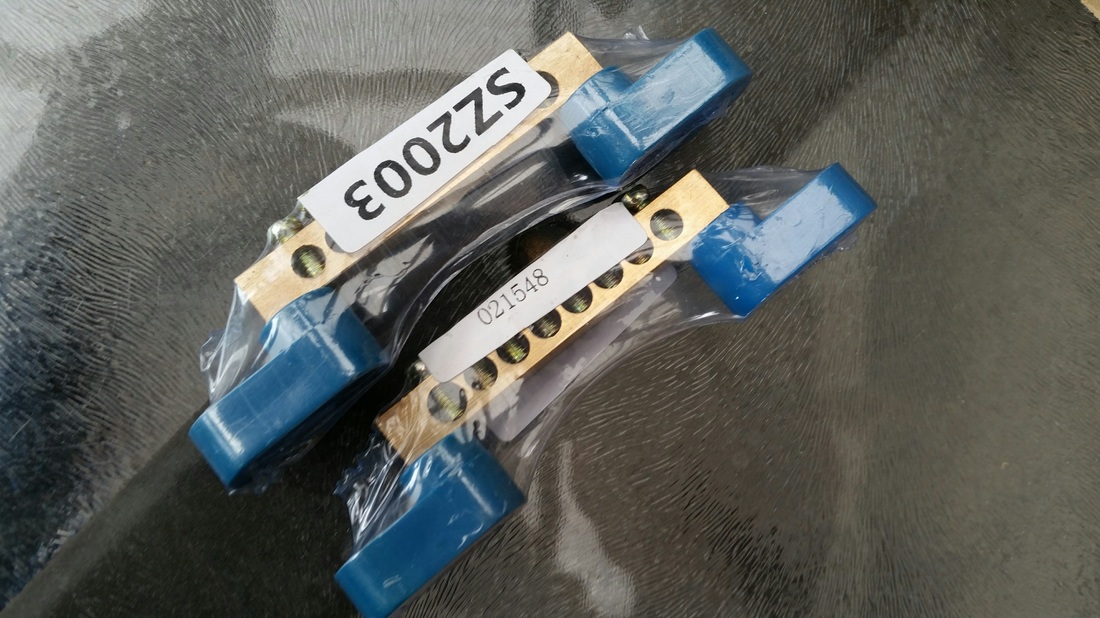
I bought these buss bars so that I could connect multiple items to the battery. This is a quick and easy way instead of fiddling with connectors and soldering. Cost about $4 each. They will mount to the underside of the wood.
Cupboard Vents
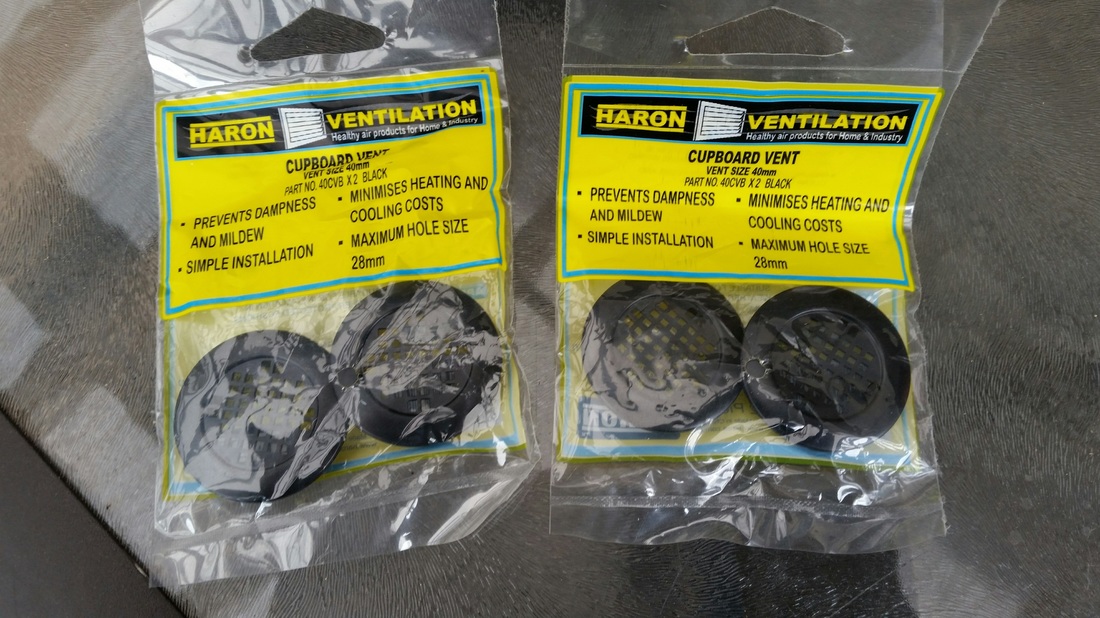
It’s probably overkill but I have concerns about the battery and inverter getting hot. Was going to drill some holes into the wood but it didn’t make sense as at times the case may be closed when being used. The inverter has a fan that activates to cool it when needed anyway. I thought I’d install four of these just to help with the cooling and air flow beneath the top. Can’t hurt, only cost about $1 each pack.
Banana Plugs -/+ (x2 sets)

I bought two sets of these, even though I know I most likely will never really use them, it will be good to have the option to plug anything in if needed, even for testing etc. Saves having to get the 12V power supply out and being limited to AC power even when at home. Will be good for the work bench.
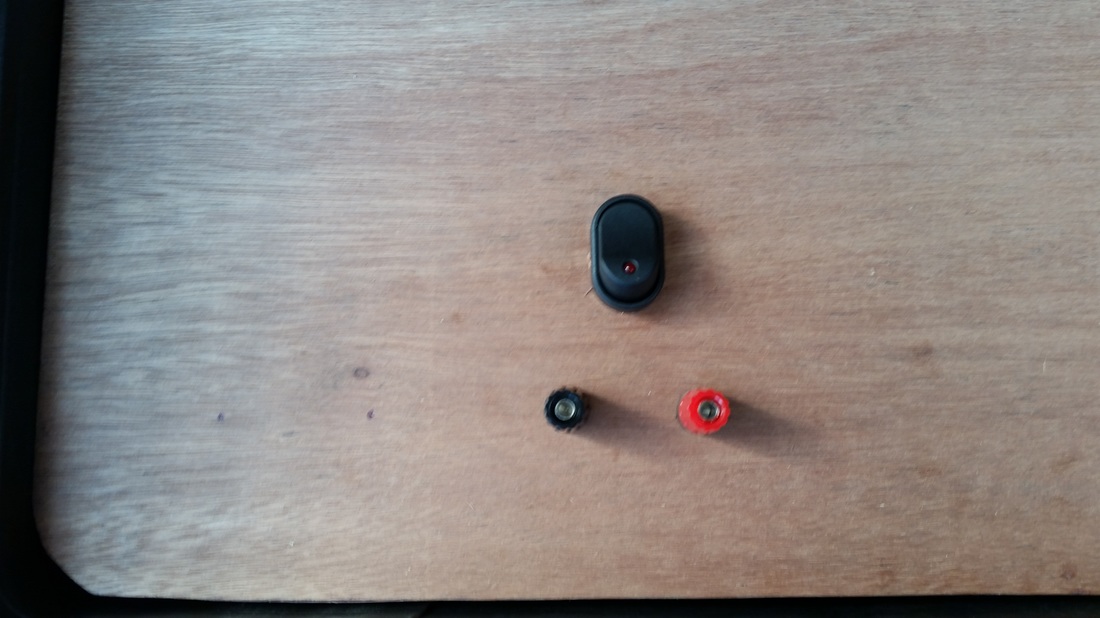
Switches
I ended up going with these switches, they have a red LED on them to indicate when on. I probably won’t connect up the LED’s but then again I might. Doesn’t matter which way I mount them then.
Wire Tubing

These are automotive quality wire tubing. I will use this to tidy up the mess of wires underneath the wood once the project is completed. There will also be some wires showing at the top where they are plugged into the charge controller so will tidy that up abit too.
December 28, 2016 Update!
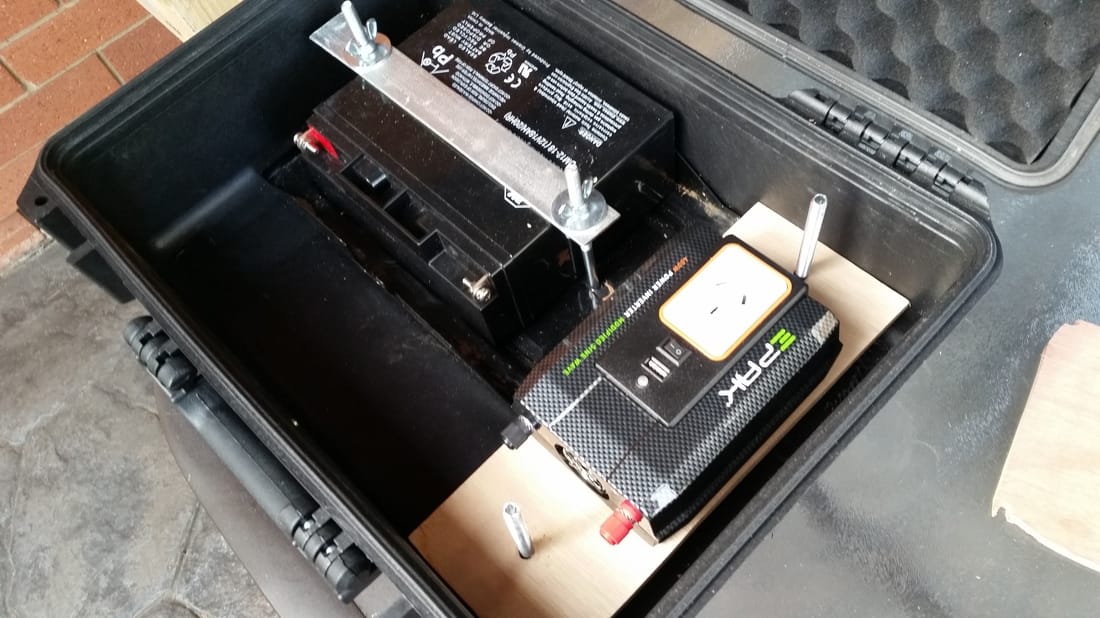
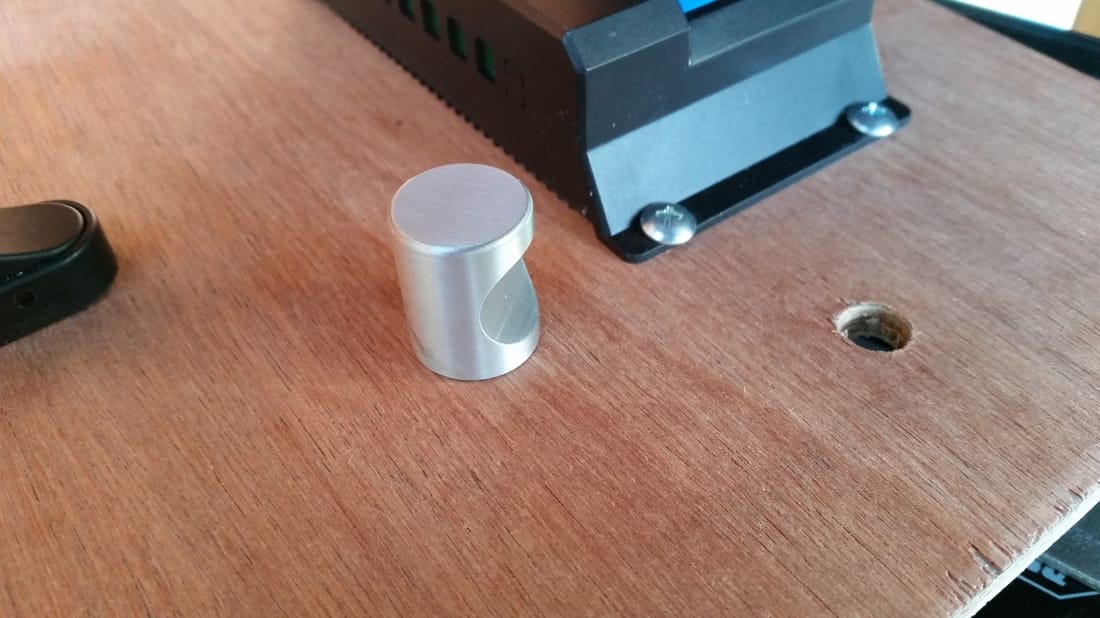
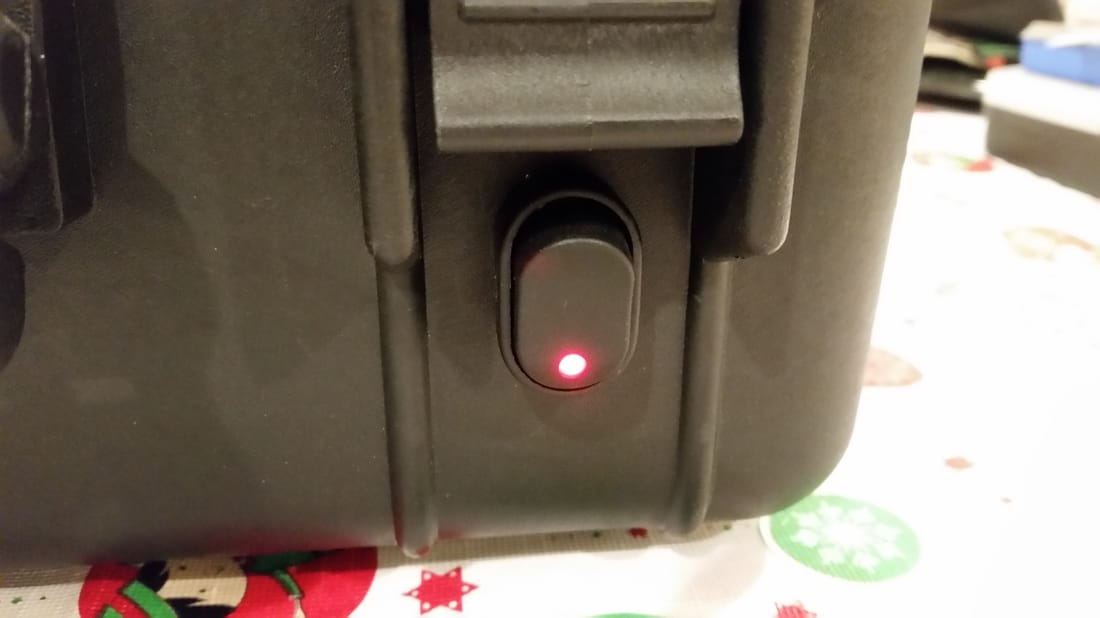
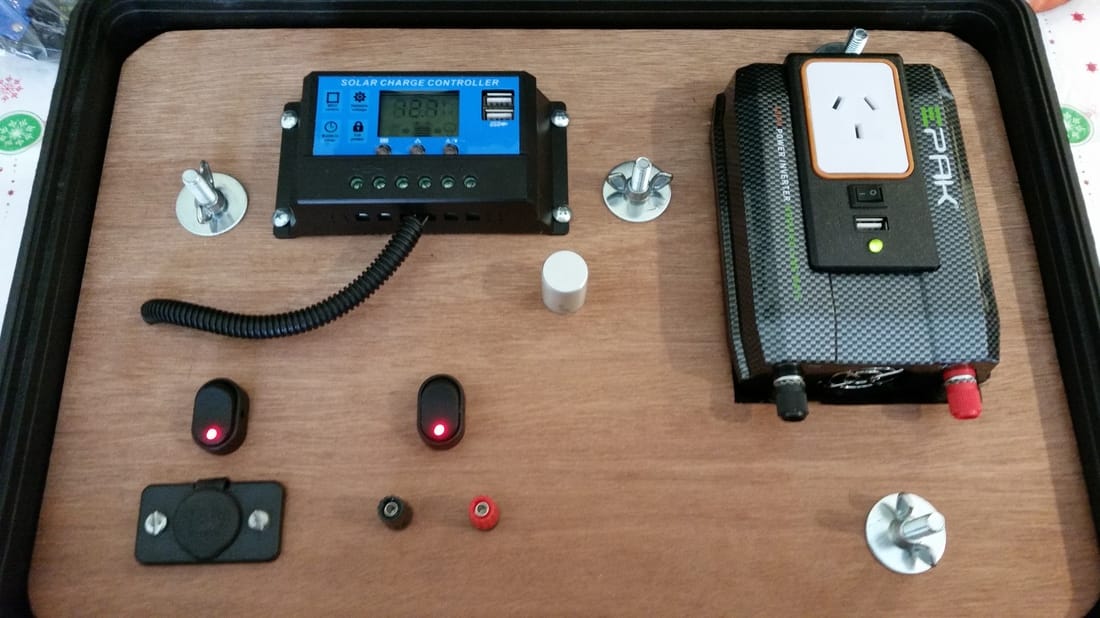
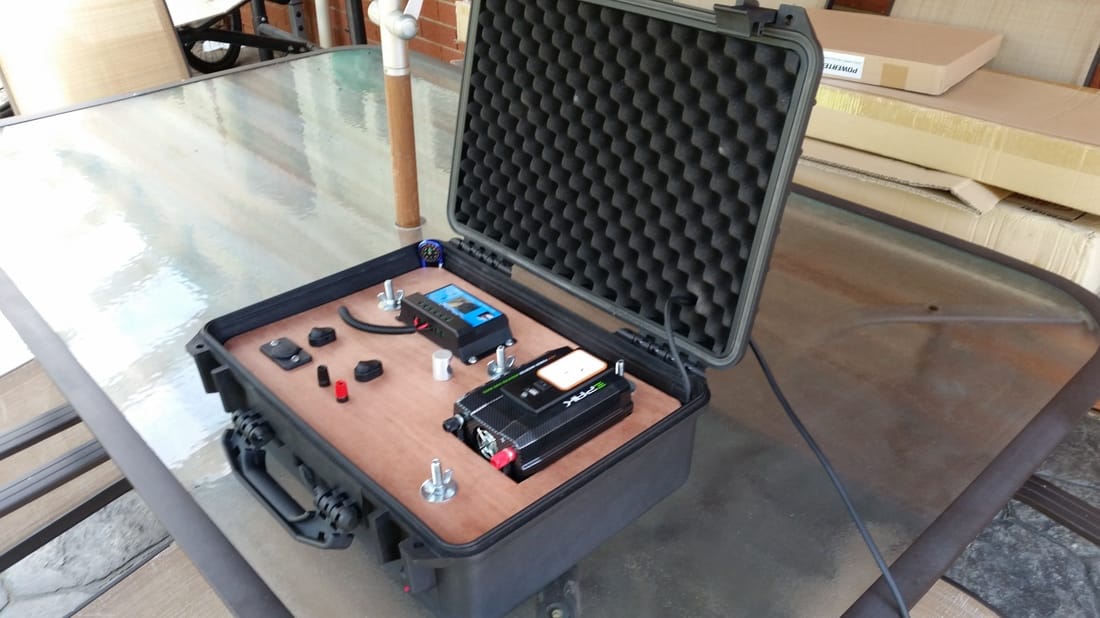
Ok, so alot of work has happened. I have basically finished the generator apart from the wiring and hooking up the solar panel. Everything else is in place and has been installed/fabricated. I'll try explain what I have done. So I have put through two more bolts through the bottom in order to make a raised platform for the inverter. Also to have two more bolts for the board to be secured to. The original idea was to have the inverter under the board but now it sits on top and is about 40% into the board, so it is resting there. It's not really secured to anything, just wedged in really. Seems to be working fine. I've also installed the cigarette lighter plug with power switch, a main power switch for the whiole unit which is mounted on the outside, and also an old drawer pull knob to help with removal of the board when working on the underside wiring or if I had to change the battery. I also have not used the air vents now as the inverter fan is above the table top, because the unit will be open when being used there should be adequate cooling now. I've installed a coule of bus bars on the underside as well as used my old UHF bracket to help raide the platform underneath, which is kind of useless now that the inverter is on top, still I left it there anyway for future developments.....


Finished! - Well, the components anyway.....next the wiring needs to be done.
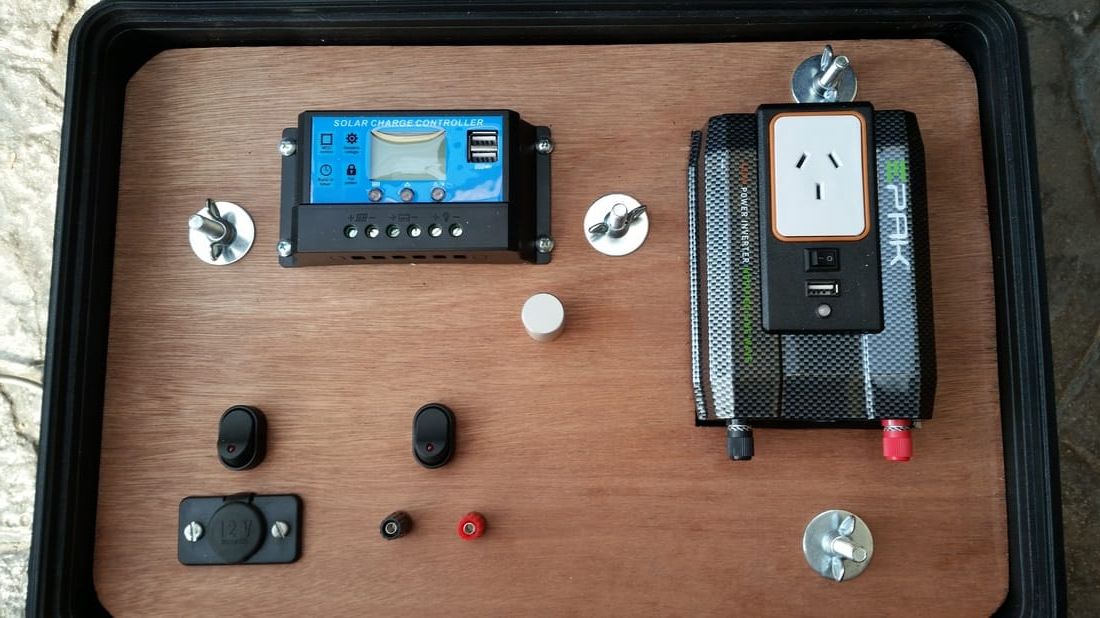
So here it is, as you can see I have not put the cd player, uhf and not even the external plugs and socket have been installed. I have also turned the orientation of the inverter around. What you can't see is the external power switch. Looks good and has taken me a while to put together, especially getting the board cut to the right measurements and locating the areas for the holes to be drilled. Next I'll be doing the wiring and getting a 10W solar panel hooked up. I'm happy with the result and am looking forward to finishing it and testing it out.
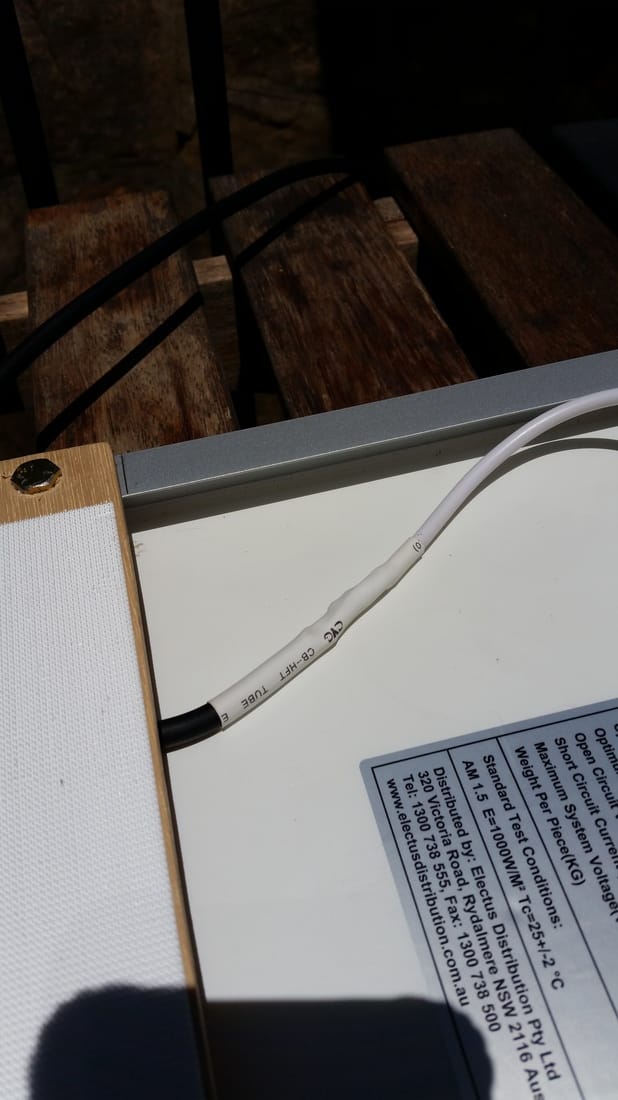
Solar Panel - 10W - 1.5A - Jaycar
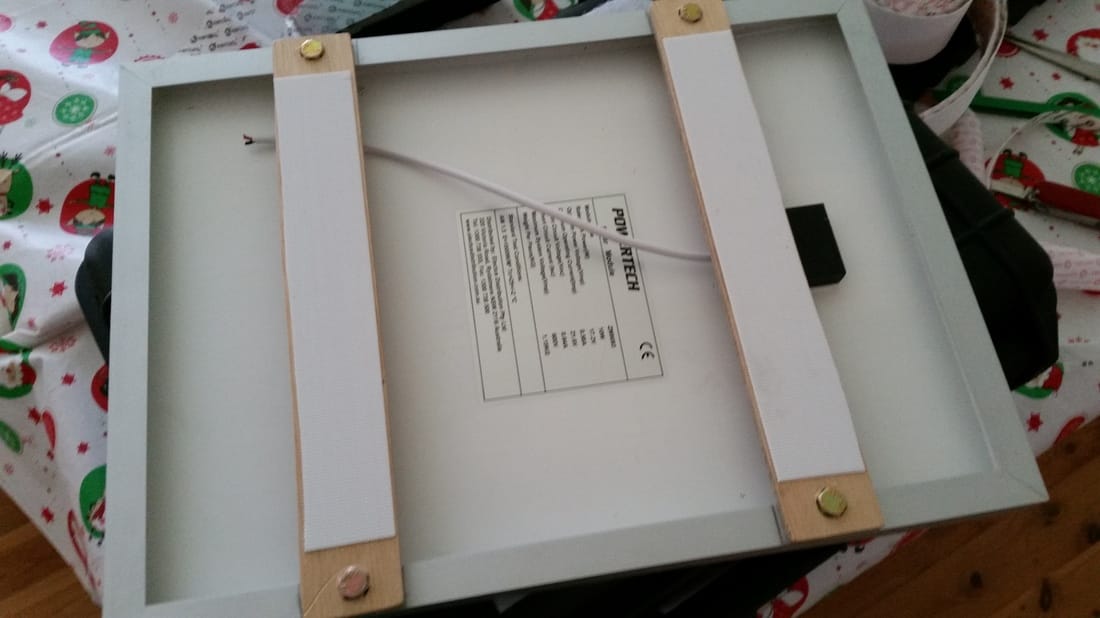
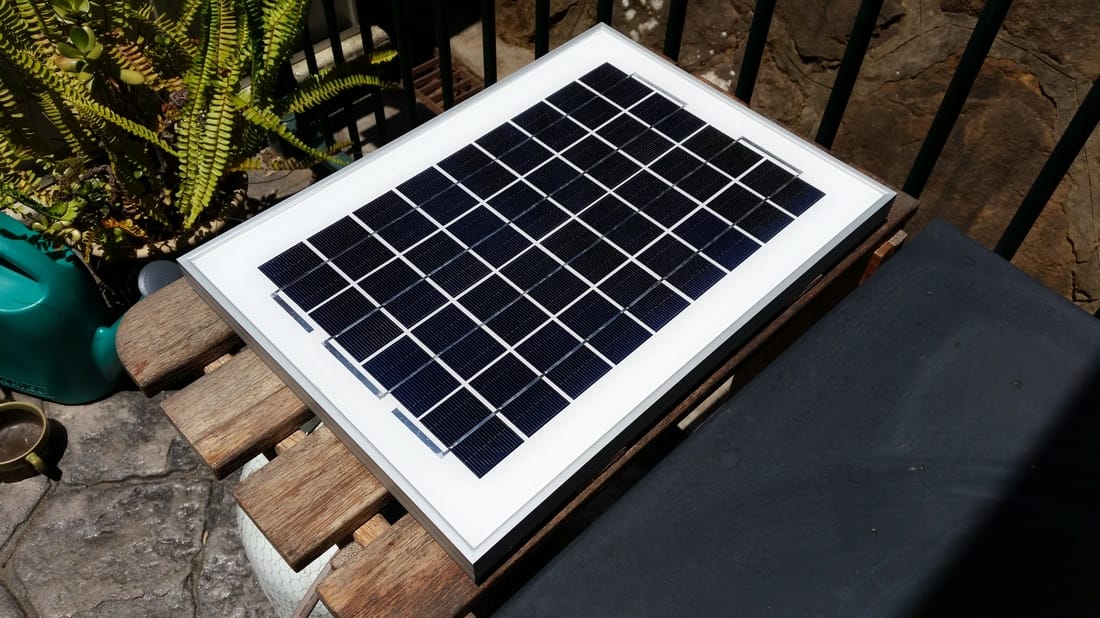
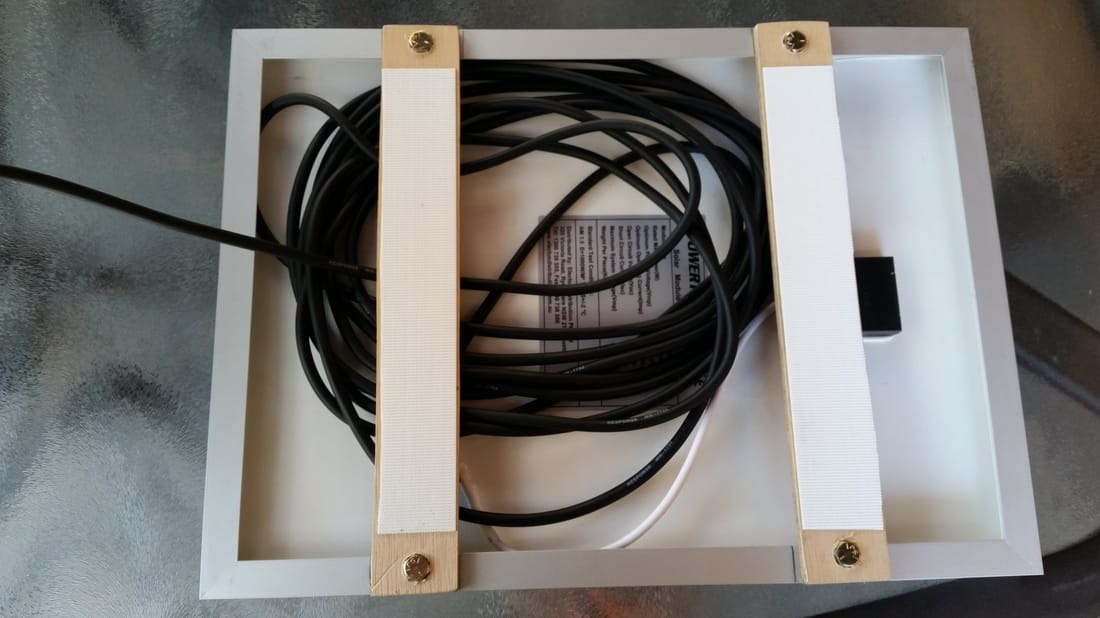
So I picked up this solar panel from my local electronics/hobby shop at Castle Hill, Jaycar. It's a 10 watt panel and is more than enough to get teh battery charged. I would like a bigger one but if I, for example got a 40W folding one, then it would add to the weight and it would not be portable anymore. The case is already heavy enough. I was originally going to attach the wired together with a clip but found that too fiddly so I have soldered them for a good connection together and used heat shrink to seal it all and make it water tight. I may eventually put a clip in for use with a bigger panel but for now this panel will never leave the case and will always be attached to it. So this connection is a good one. I also attached two bits of plywood to the underside of the panel to allow attachment with velcro strips to the case. It also allows for a gap under the panel to store the excess wire when the panel is attached to the case. The wire is made of a very soft outer shell, almost like a latex/neoprene/rubberised feel. It does not kink and is good for outdoors. There is around 8 meters or so of wire, more than enough to place the panel in a tree, onto a roof or outside a tent or house if needed. Great for power outages as it allows the whole unit to be moved further away from the solar panel if needed.

Solar Generator completed and working well! - 31/12/2016
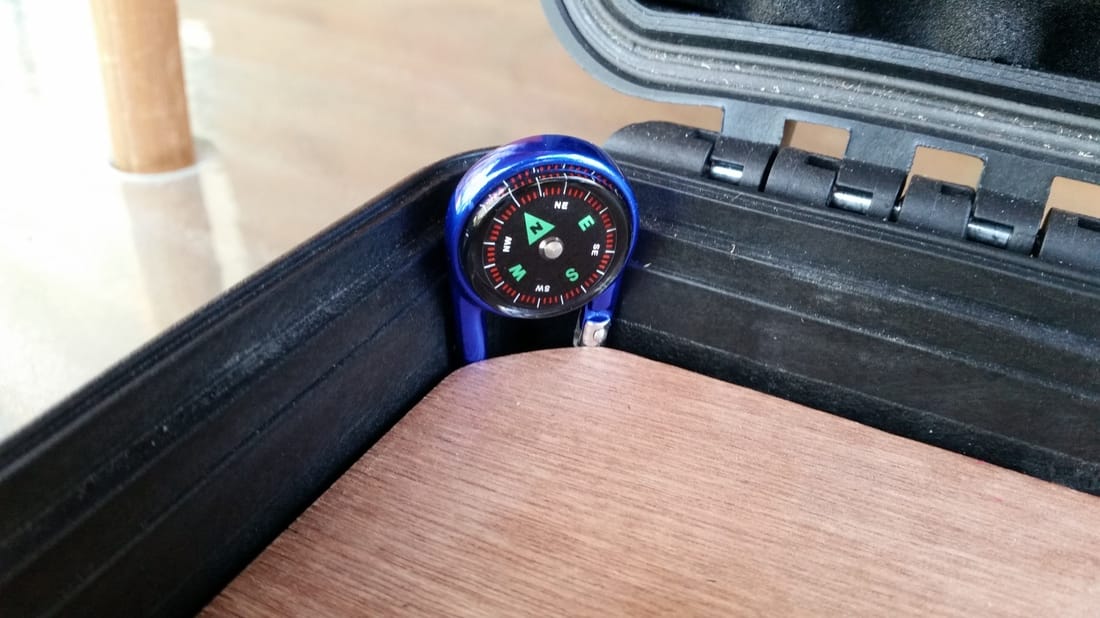
It is complete and I am happy with the result. All the wiring is completed. The outer switch powers everything on and off. The unit only charges when the switch is on. I may change this and connect the solar panel directly to the batterry for instant charging all the time. As you can see from the pictures below everything powers up and it is a very neat job I have to say. As a final touch I added an old cheap magnetic compass that I had. Just stuck it in the corner so that I can use it to locate which direction to place the solar panel overnight, depending on where we are camping/parked etc. Down the track i would like to possibly make a mount for my roof racks so that the panel (or a larger one) can be placed on the roof of the car for charging whilst driving/parked, but that is a long way off. The whole thing weighs just over 12kg.

Mini test!
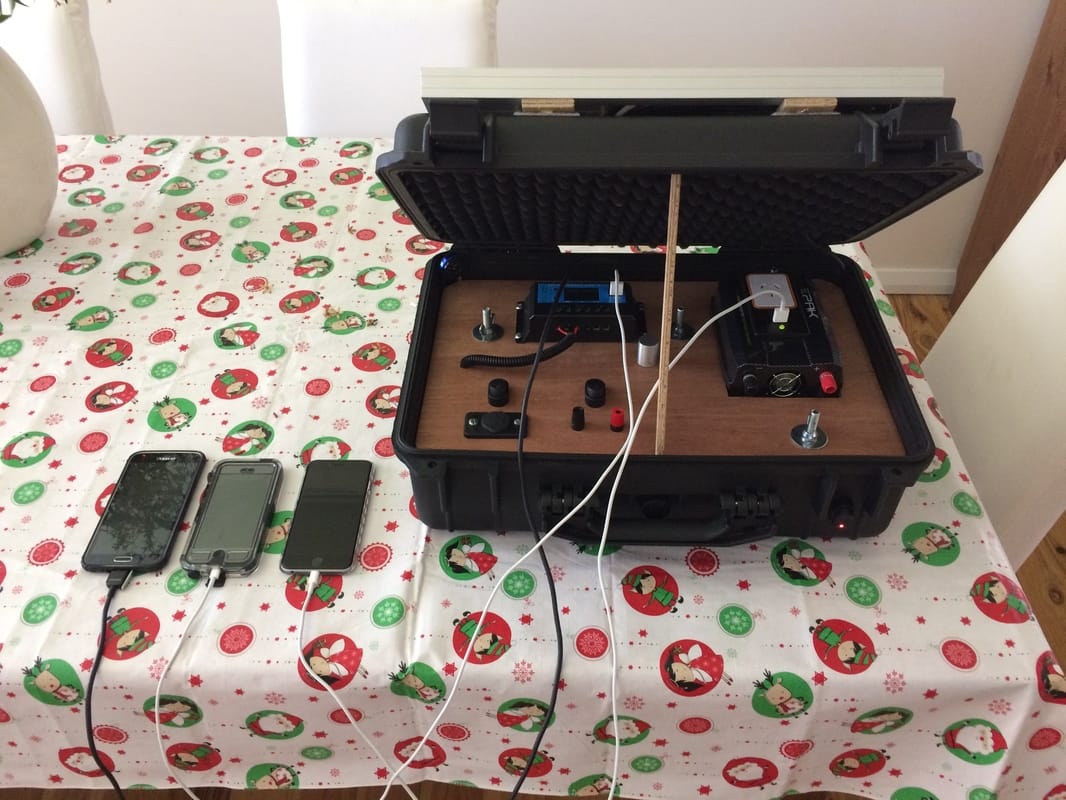
So what do you do when you've just built your own portable solar generator? You find every phone in the house and plug them in of course!! I had the solar panel out in the sun for about 20 mins and that took the battery up to 13.6V. Then took it all inside and put a Samsung Galaxy S5, iPhone 6 and iPhone 5s on charge. They Samsung was on 43%, the iPhone 6 was on 23% and the 5s was on 32%. After about 45 mins, the Samsung was on 75%, iPhone 6 was on 45% and the iPhone 5s was on 55%. So overall a great result.I'll have to make some sort of prop to hold the box open at an angle, for when charging and also if I do not remove the panel and just charge it as is, then I'll need some sort of support for the lid with the extra weight of the panel.
