Learning the Basics - in class!
A work colleague of mine and I recently enrolled ourselves in an introduction to DSLR photography course. Wally had recently bought himself a new Canon EOS 70D as he was using an older 1100D for a number of years before deciding to upgrade his camera. His son does a lot of athletics and he does a lot of action photography. The 70D has a very fast fps (frames per second) for continuous shooting, which is important when trying to capture good action shots with movement. He also splashed out recently on an EF 70-200mm F2.8 L IS USM lens which was just over a whopping 2K! Apart from professional use, most 'pro-sumers' buy the lens and hardly use it. It's one of those nice to have things that has bragging rights. Wally on the other has really gotten his money's worth out of it as he is almost out every weekend using it and the images he has shown me are crystal clear! The lens maintains F2.8 at every length which is awesome. I have a fixed 100mm F2.8 which produces crystal clear portrait type pictures and general shots too, so I know having a zoom that remains at F2.8 at all times is invaluable, especially for sports use. me on the other hand I wanted to get more excited about using the camera and taking it out with me more often. I had recently purchased a 5D Mk1 and it came with the 100mm F2.8 macro lens. Other lenses that I use are an EF 28-135mm IS USM, EF 50mm 1.8 (mk 1) and an EF 70-300mm IS USM. I'd like to eventually go fixed but for now mainly have the zoom mounted most of the time.

This is the organisation that assisted us in improving our photographic skills. We looked at things like shutter speed, aperture, ISO and also f-stop numbers. We learnt to not rely on automatic mode and not even rely too much on program mode, apart from using program mode (P) for some quick happy snaps at a party etc. We focused on Av (aperture priority) and Tv (shutter priority) mainly. Also had a quick look at using flash as a 'fill flash' and also not relying on the zoom too much until it was absolutely necessary. We learnt about the rule of thirds and how to compose a photo to make it more pleasing to the eye. I found the course excellent and we took quite a few pics throughout the day.
Web: www.nptc.com.au
Facebook: https://www.facebook.com/NationalPhotoTrainingCollege
During the course I used my:
Canon EOS 5D Mk1 and 2 x batteries
Canon EF 28-135mm F4-5.6 IS USM lens
Canon Speedlite 220EX Flash (for fill flash when required as the 5D has no pop up camera flash)
Canon 80's brown woven camera strap
Practice shots taken during the course.....
We played with different shutter speeds, used flash, changed the ISO sensitivity to suit the scene. Terry also arranged some props around the hotel we were at to see how we would take the photos. Below you will find a few examples of how photos were taken and composed in different ways to appeal to the viewer. I am no expert as these were shots that I was learning with. I have kept all of them in order to review the histograms, settings etc to see what I can do to improve next time. All the photos below have not been edited in any way with software and have been shot in jpeg format.
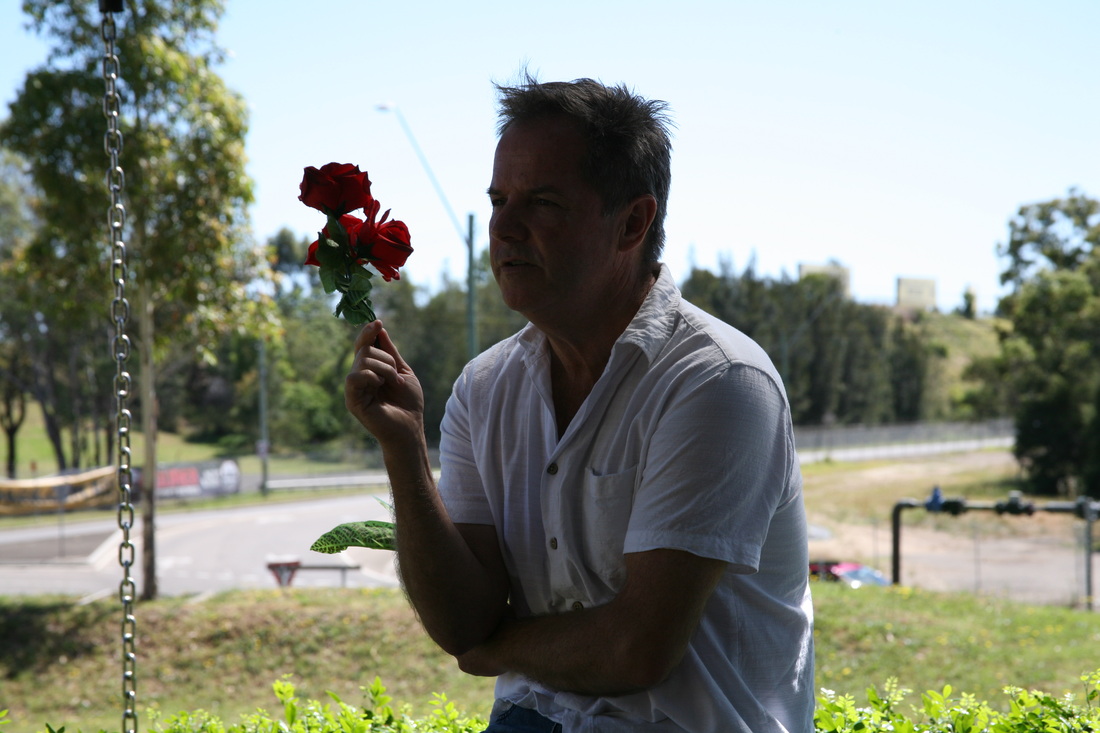
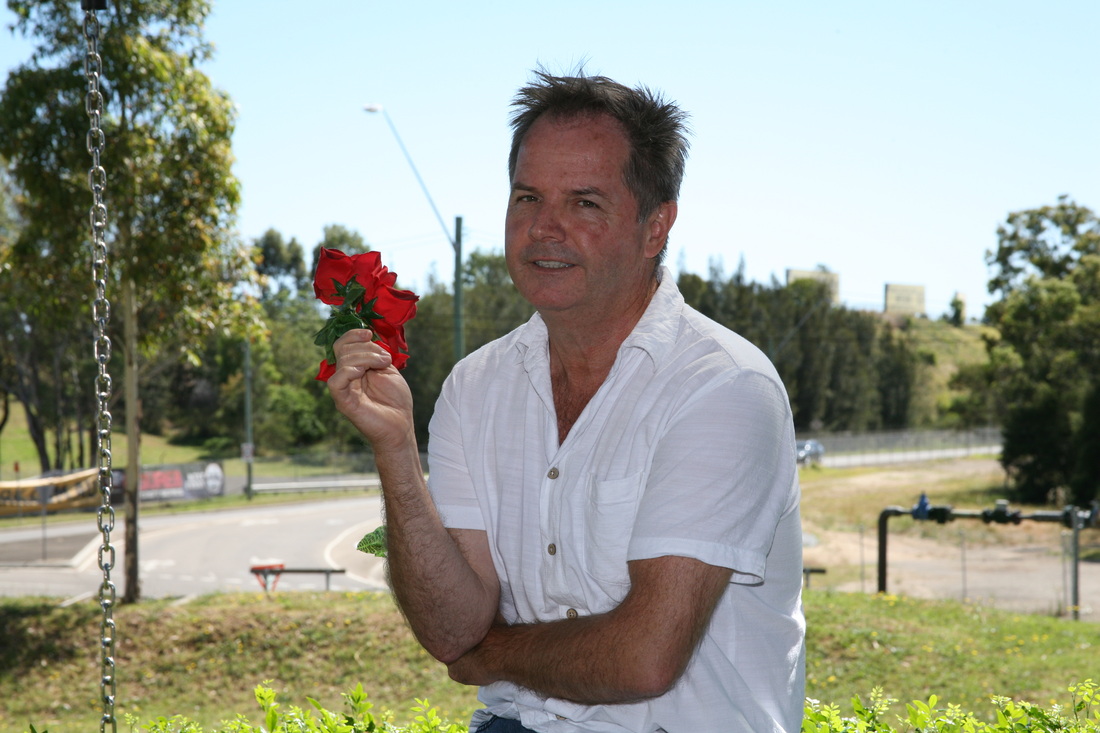
Fill Flash
We were asked to take a photo of Terry with his back towards the sun. The first photo shows his body as very dark and the second shot shows what fill flash can do. Flash really only works for about 3-4 meters from your subject. Because the background was quite bright the flash sis not put out a harsh light on his face. The camera and flash worked together to put just enough light onto the subject and the end result is a clear photo where you can see everything. See the before and after shots below.
Macro / Close Up Project
A couple of hours into the course and it was time for morning tea. During this time Terry arranged a few props around the room and the foyer of the room to see how we would use our cameras to get a decent picture. It was about how we composed a picture, not about the camera settings. I think most of us just used the 'P' setting.Below are some of the results.
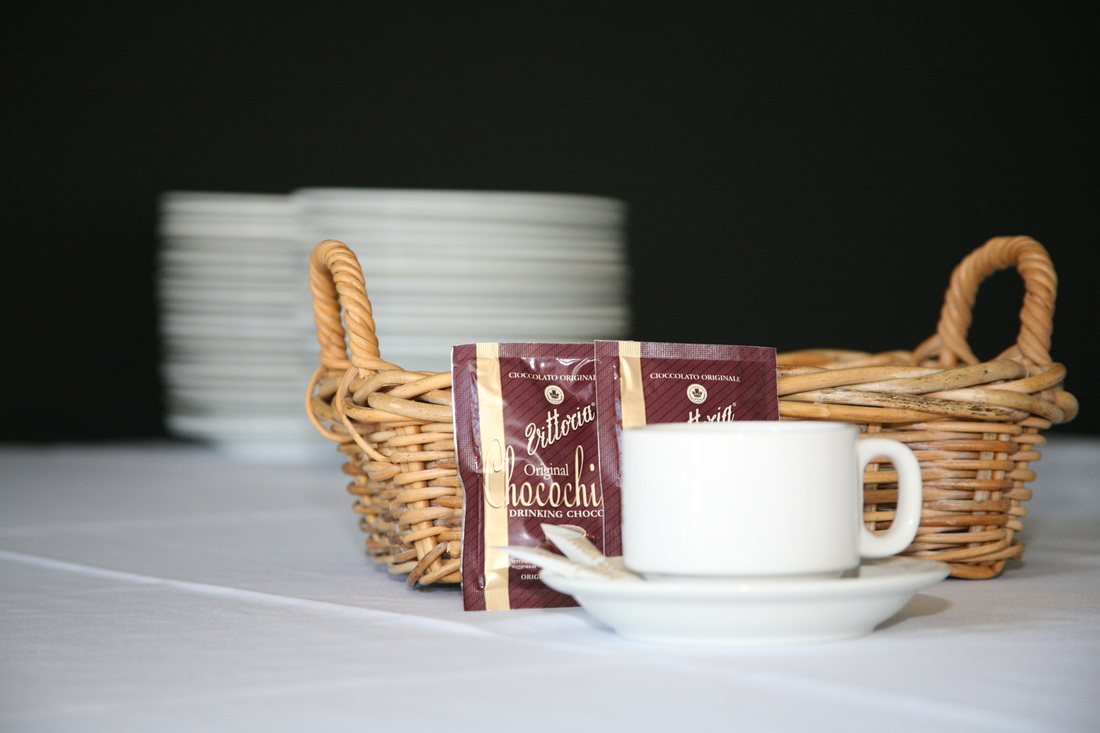
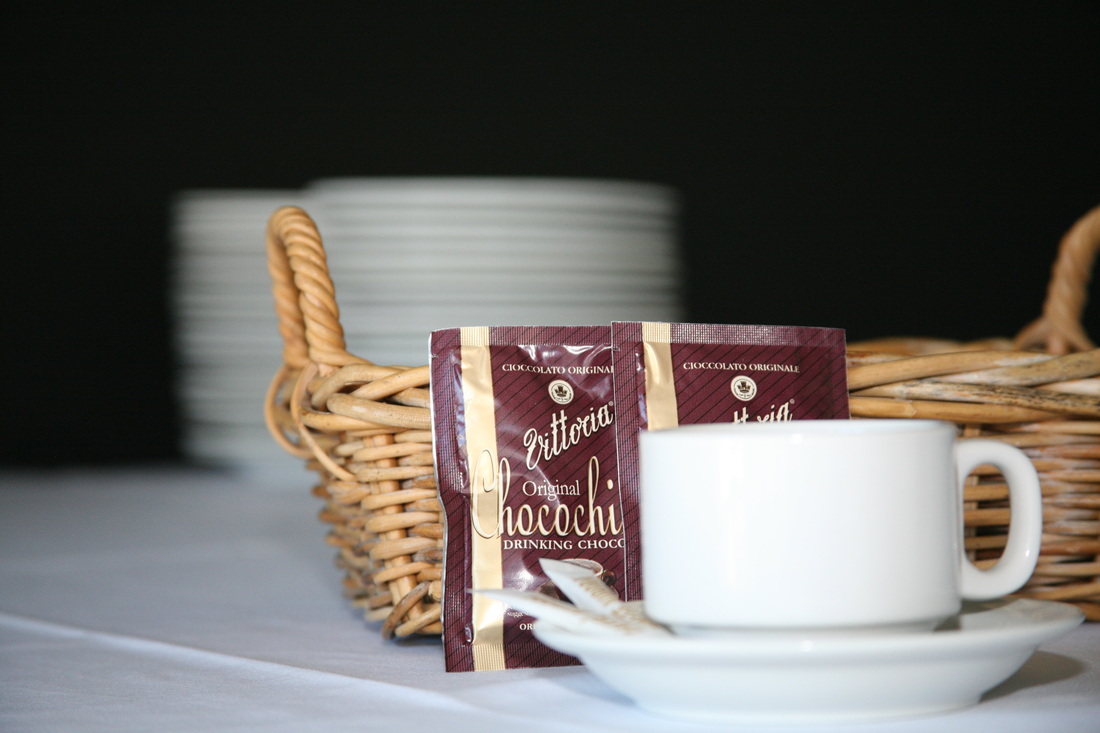
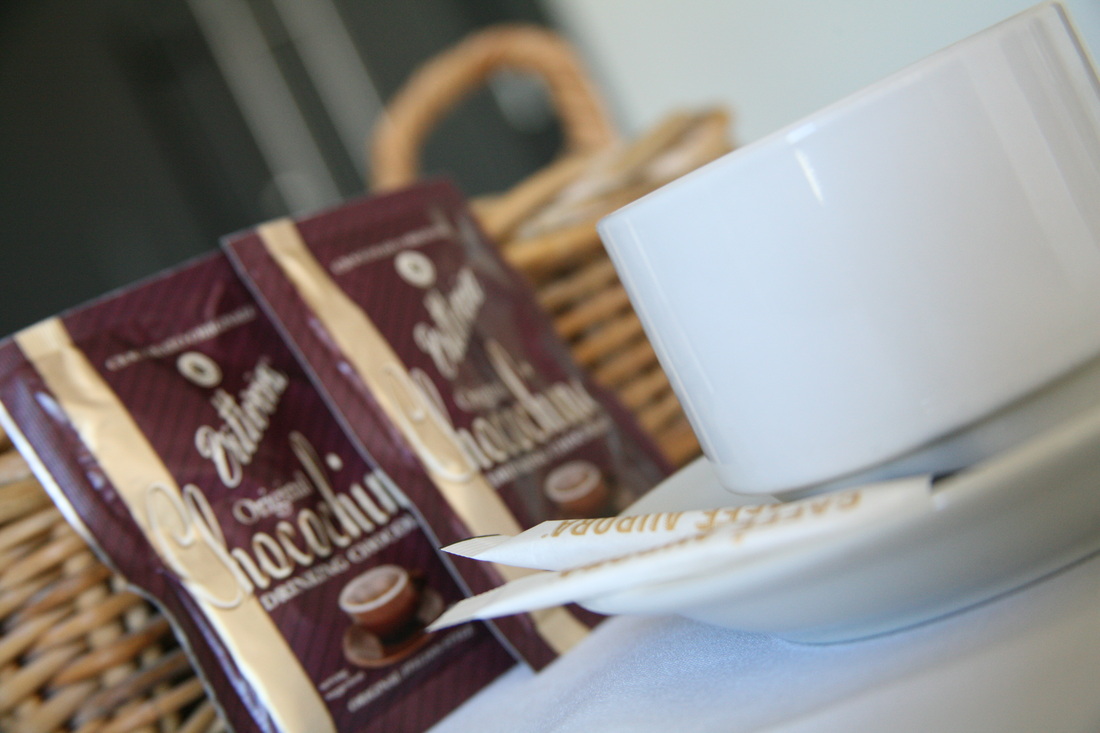
Coffee Cups and Basket
Some coffee cups, plates, coffee sachets and napkins were arranged around the room and it was up to us to try and get the best shot. Interestingly enough none of us thought to move anything, we just dealt with it. You'll see below I had taken a few normal looking shots then had the idea to change the angle of the camera to give it more of an interactive look. The angled photo is not the best looking as the sugar packets and cup are the only things in focus but it was the look I was going for.
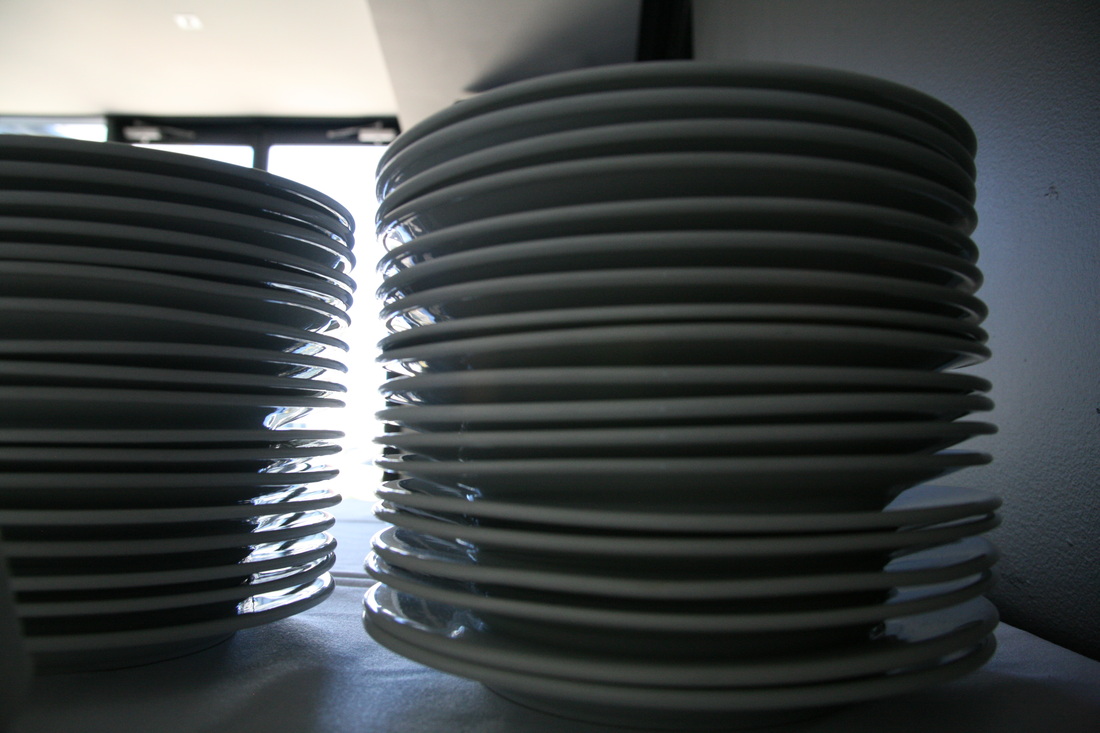
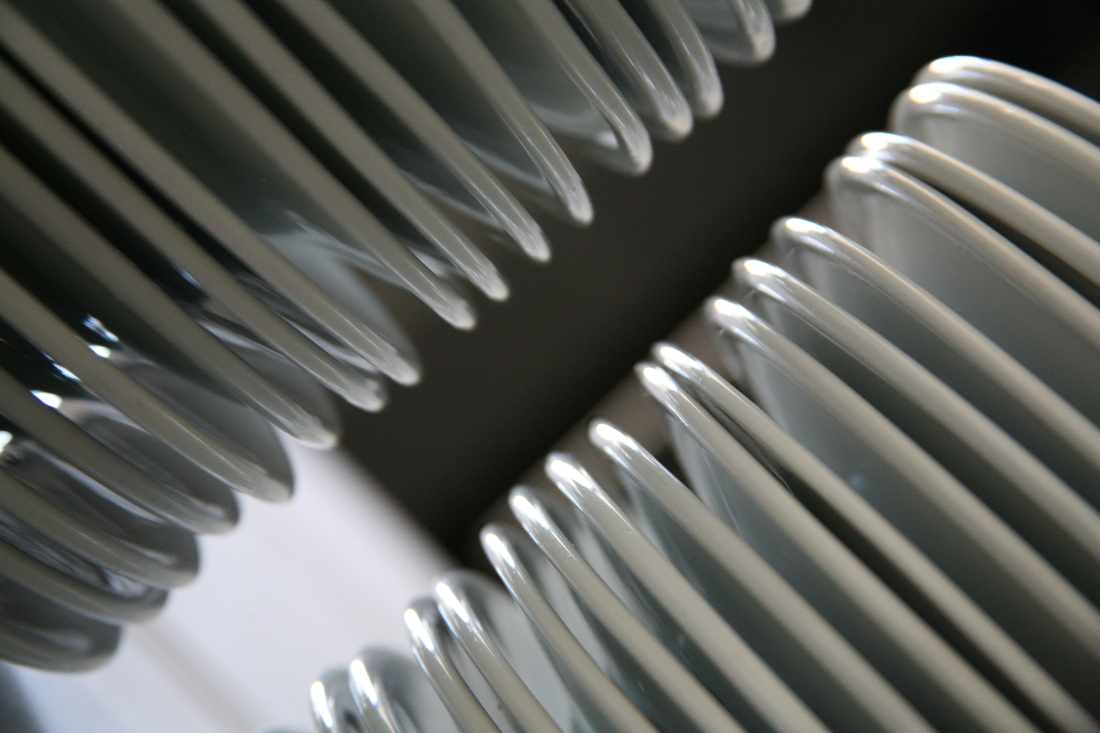
Dinner Plates
The dinner plates located behind the coffee cup was used in the background previously but I decided to try my hand at photographing them on my own using the available light coming in from the balcony. Below is the result.

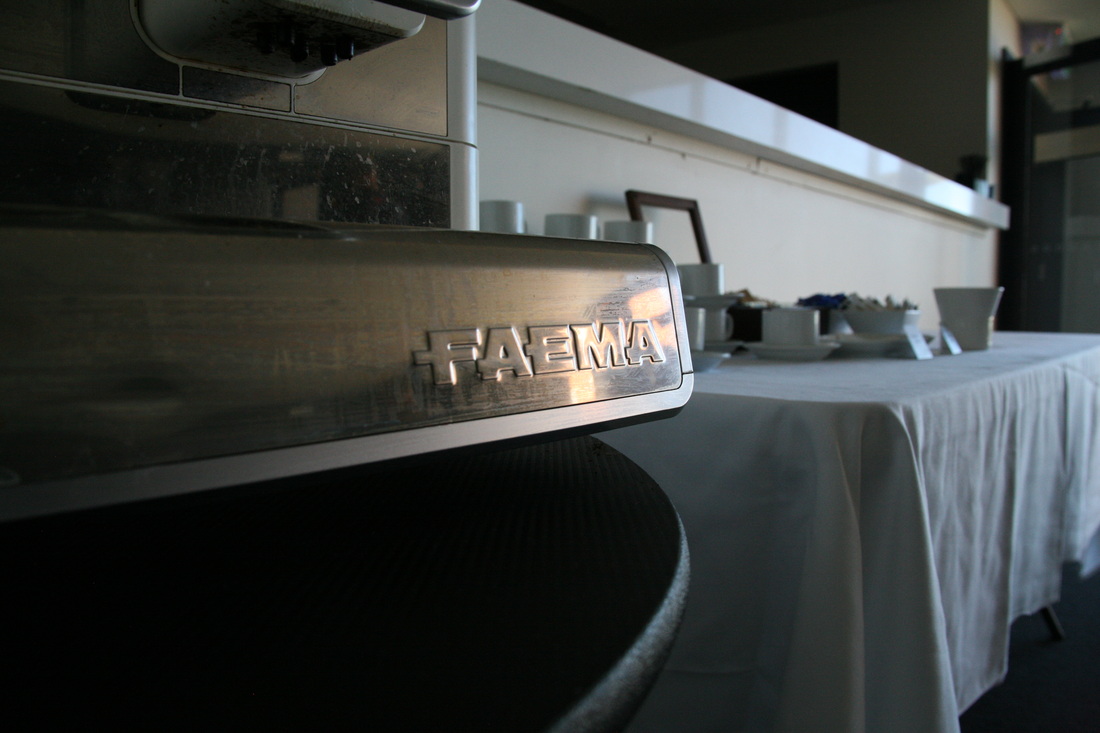
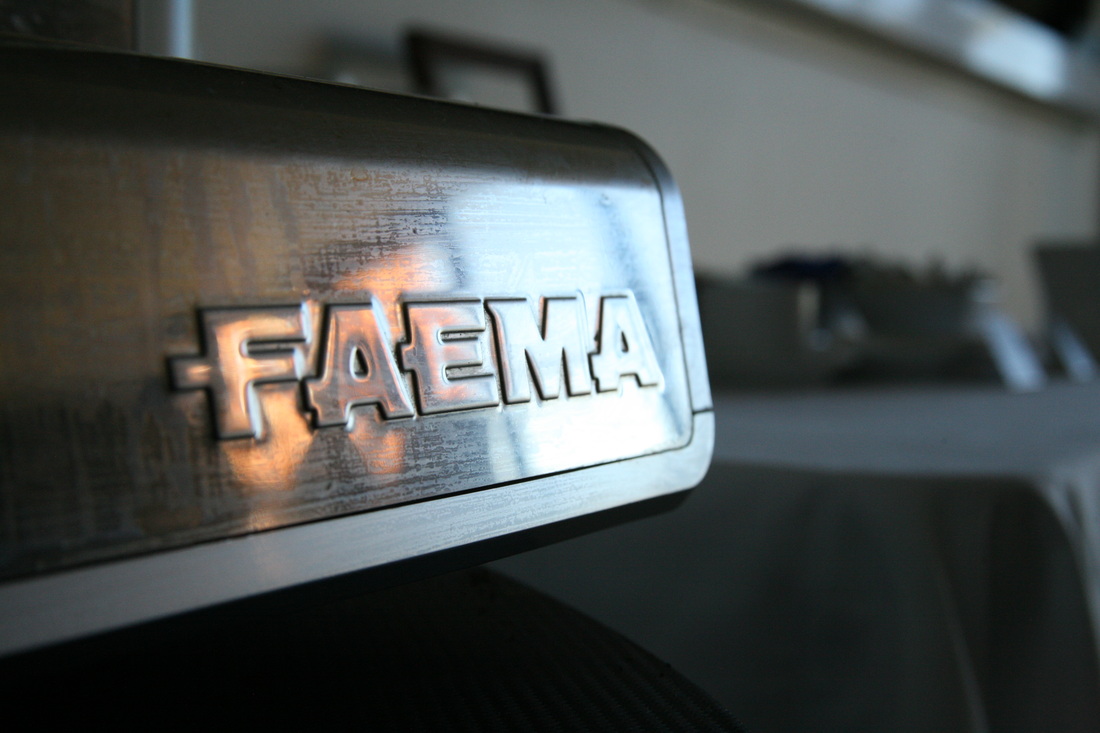
Coffee Machine
I spotted this coffee machine sitting in the corner and it was also a bit dirty, but it had some 'reflective potential'. So I got close and took a shot then got even closer, as close as my lens could focus and took another. I like the second shot however Terry mentioned that I should also pay attention to what is being reflected in the machine before taking the photo. You can control what is being reflected by placing objects near the machine or using different colors for reflection. In this instance, it was Greg trying to take a photo of the coffee cups reflected in the shot. It is a good photo but it could have been just a little better had he not been there.
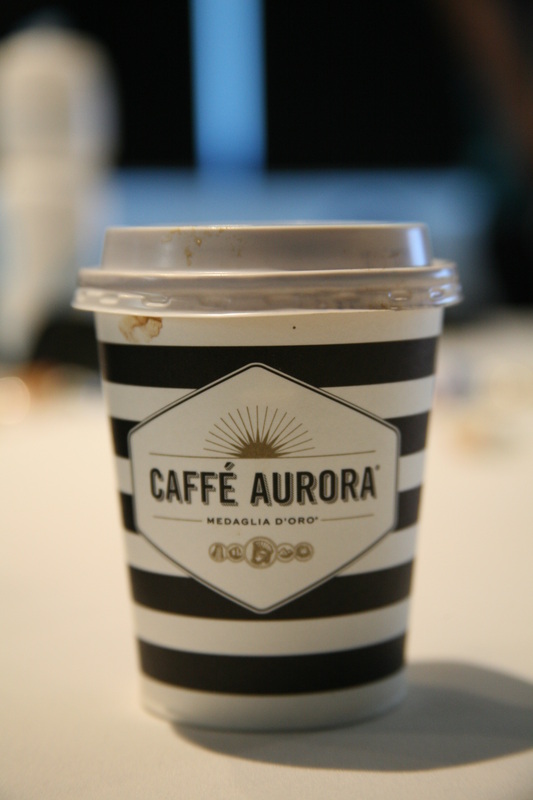
Paper Coffee Cup
When we got back into the room I noticed this cup on the table and the lighting above was a bit orange and dull looking so I had a go at the cup. Took a couple of shots. The first shot was taken with flash as I had forgotten it was on, but you can see how harsh the light is. The second shot is much better using the available overhead down light in the room.

Favourite Shot of the Day! - Canon EOS 1100D

When we got back to the room I noticed that greg had brought a second camera with him. An older Canon EOS 1100D which was in a brown color. I thought it looked great with the existing lighting so I put my lens cap in the corner and moved the camera strap a little out of the way, focused on the top edge of the 50 mm lens then re-composed the shot to put the camera on the side and took the photo. The end result looks awesome. I wish my camera came in that color!
