Project #4:
|
|
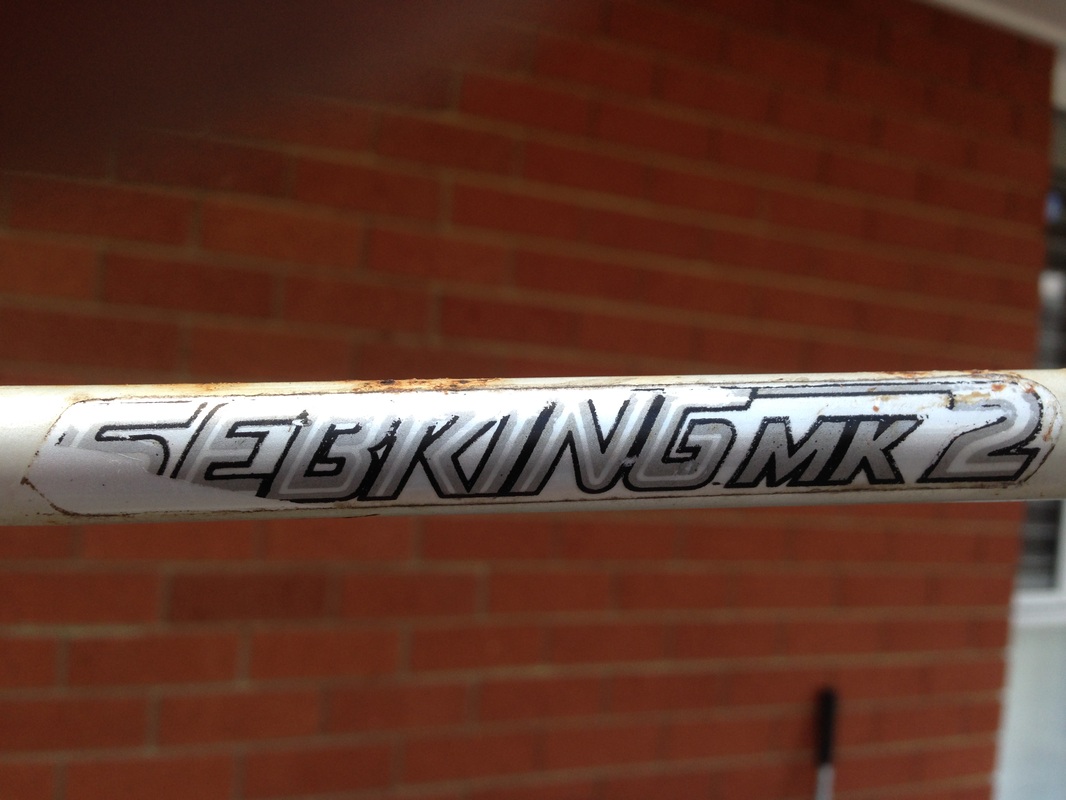
80's Bennett Sebring Mk 2 Mixte Road Bike (possibly 1982)
Well I'm at it again. Another bicycle renovation. I have built 3 bikes, two of which I made from rusty frames as a starting point. The first one, the Repco Traveller was built for me and then I gave it away but not before stripping it and putting the parts on my Brown Jersey frame that I got from James (love that bike btw). The second was a blue Europa frame that I had built up for my cousin. This time though it is different. This bike that I'll be building will be for my wife. She currently has a Malvern Star mountain bike which we had bought new some years ago. It was a straight 'out of the box' bike bought from Bike Barn in Parramatta. The parts and components on it are pretty cheapish but all still Shimano so work fine. Although the chain keeps coming off! Then again that is just a slight adjustment. I'll be looking to build this one up as another single speed which will be low maintenance and will maintain the bikes clean appearance and also show off it's lines and unique frame design.
I spotted this one at about 2am on Gumtree. $45 and the guy sounded like he knew his stuff. I do like the mixte frames and even though they look like a female specific frame, the design is universally suited for both males and females. I was considering buying a Brown Jersey mixte frame but thought it would be more special building up one myself. Will be more personal.
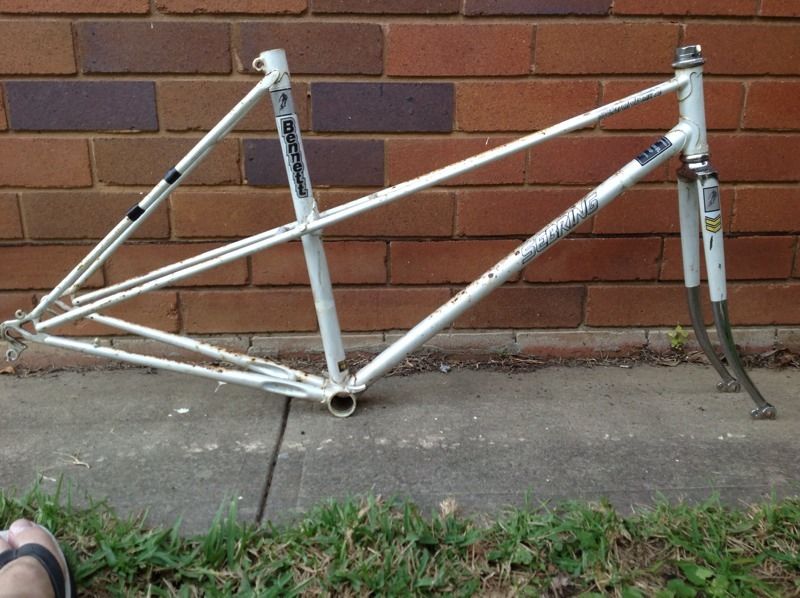
This is what the ad on gumtree said about the frame:
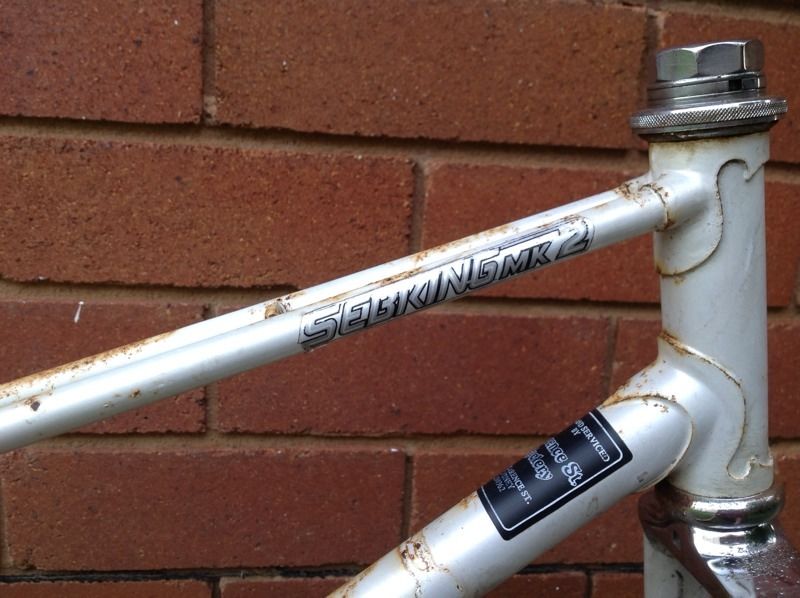
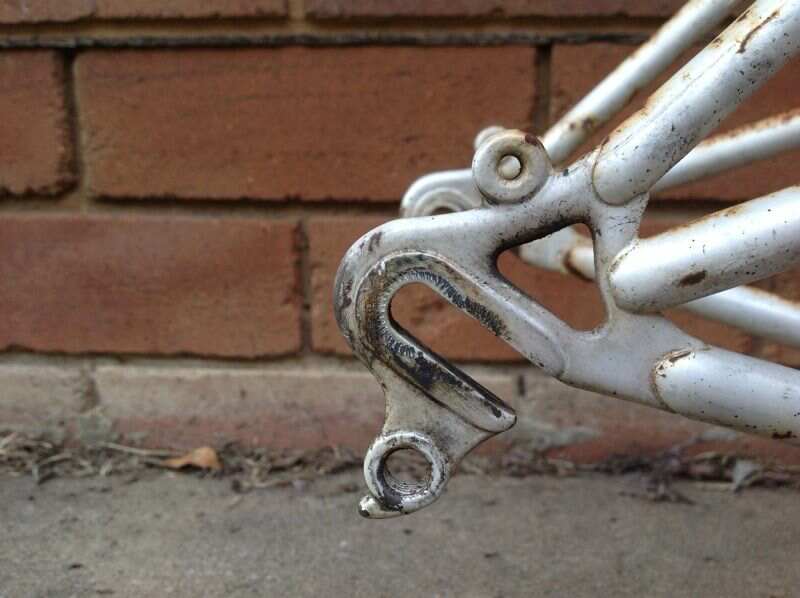
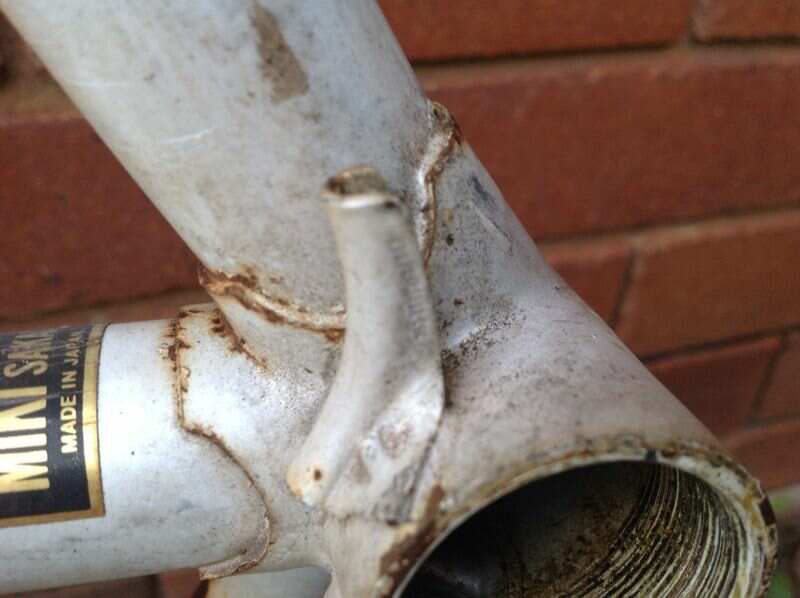
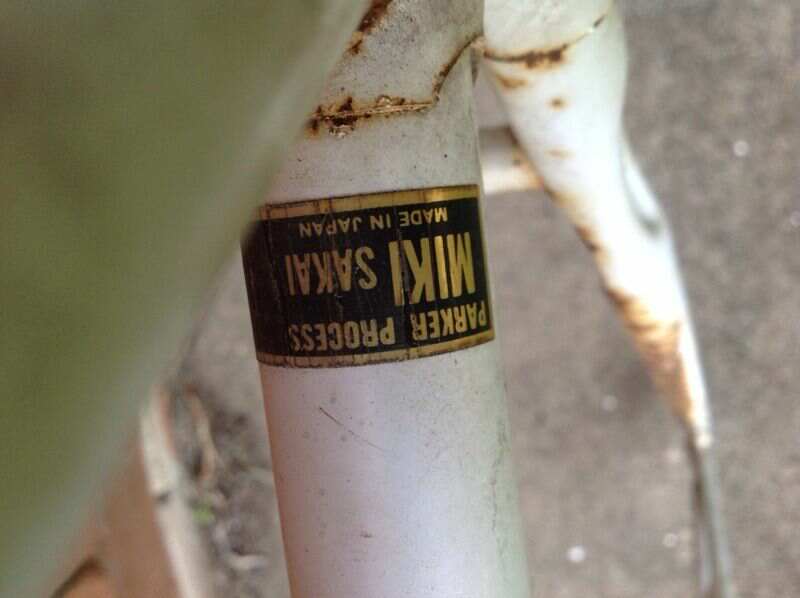
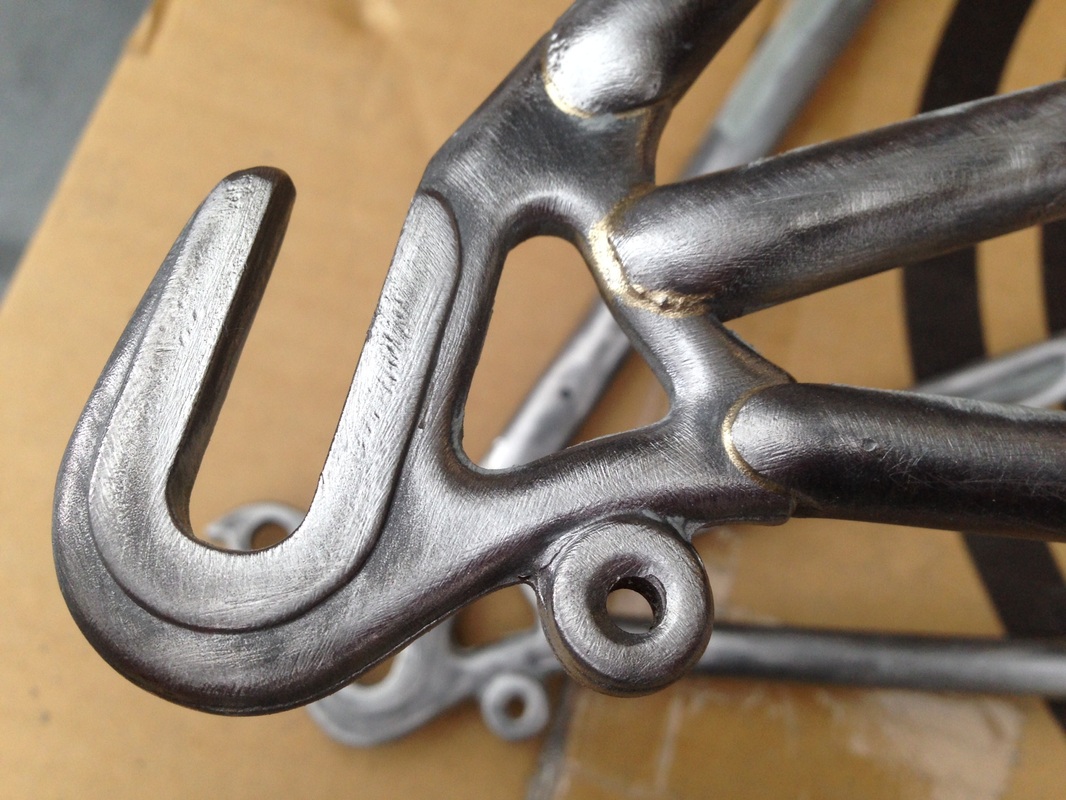
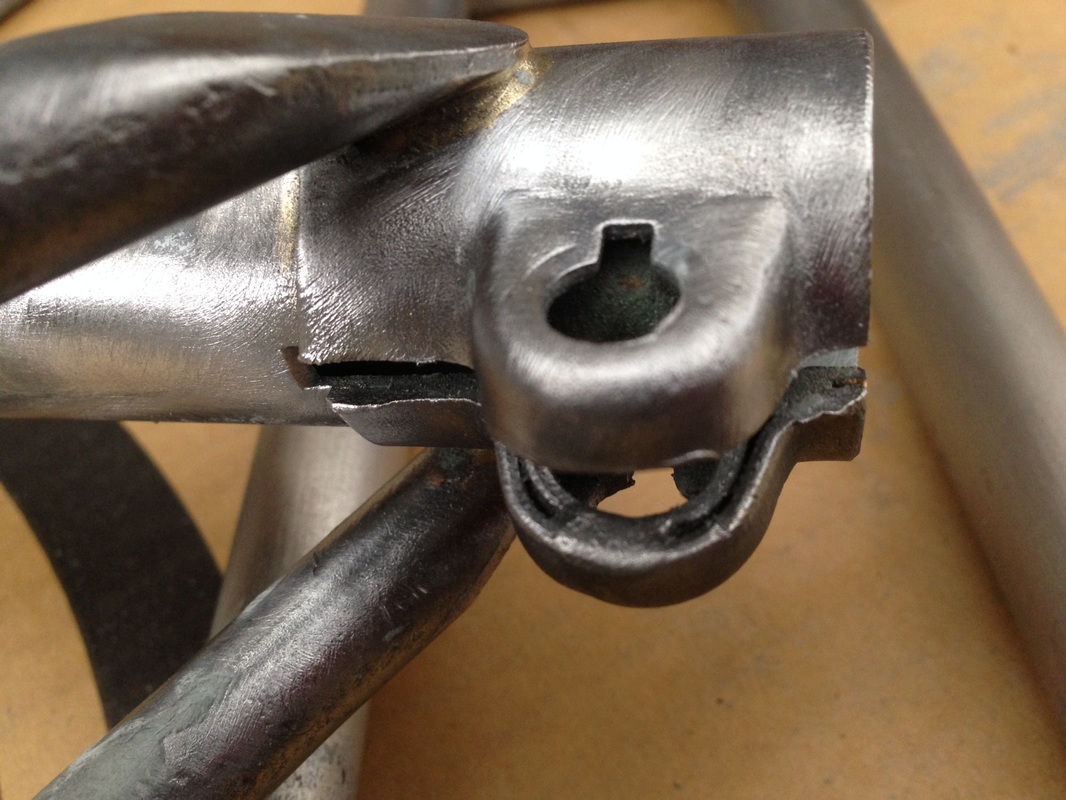
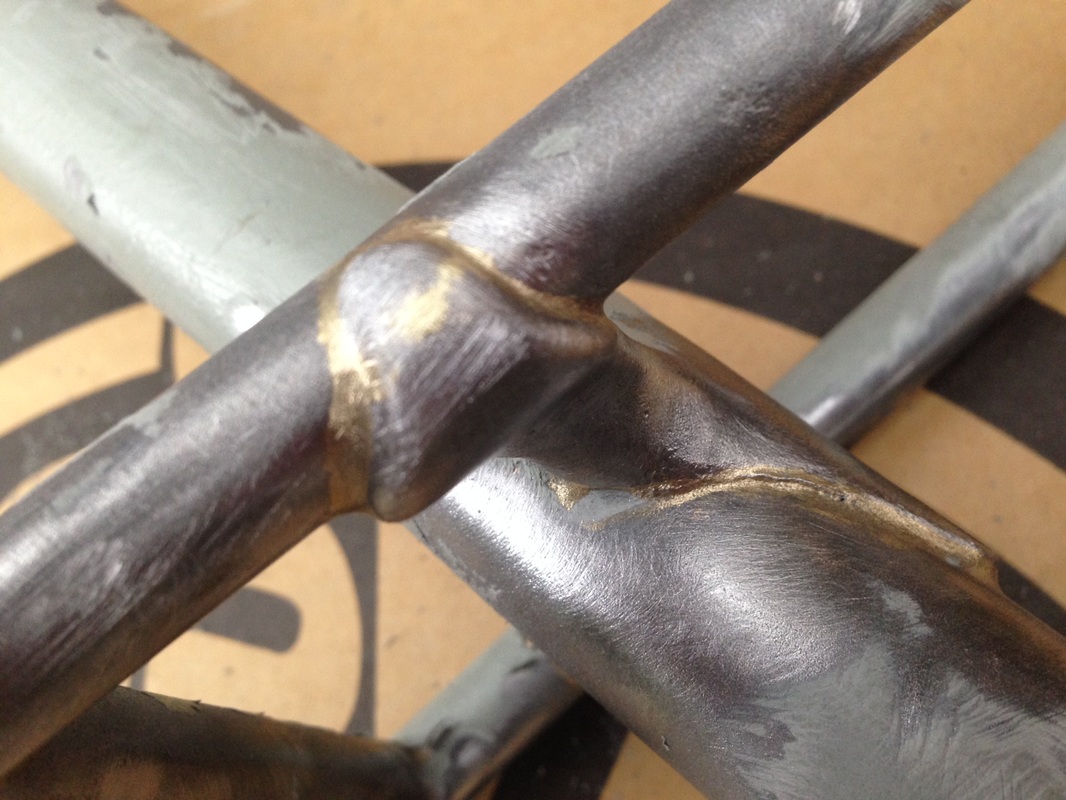
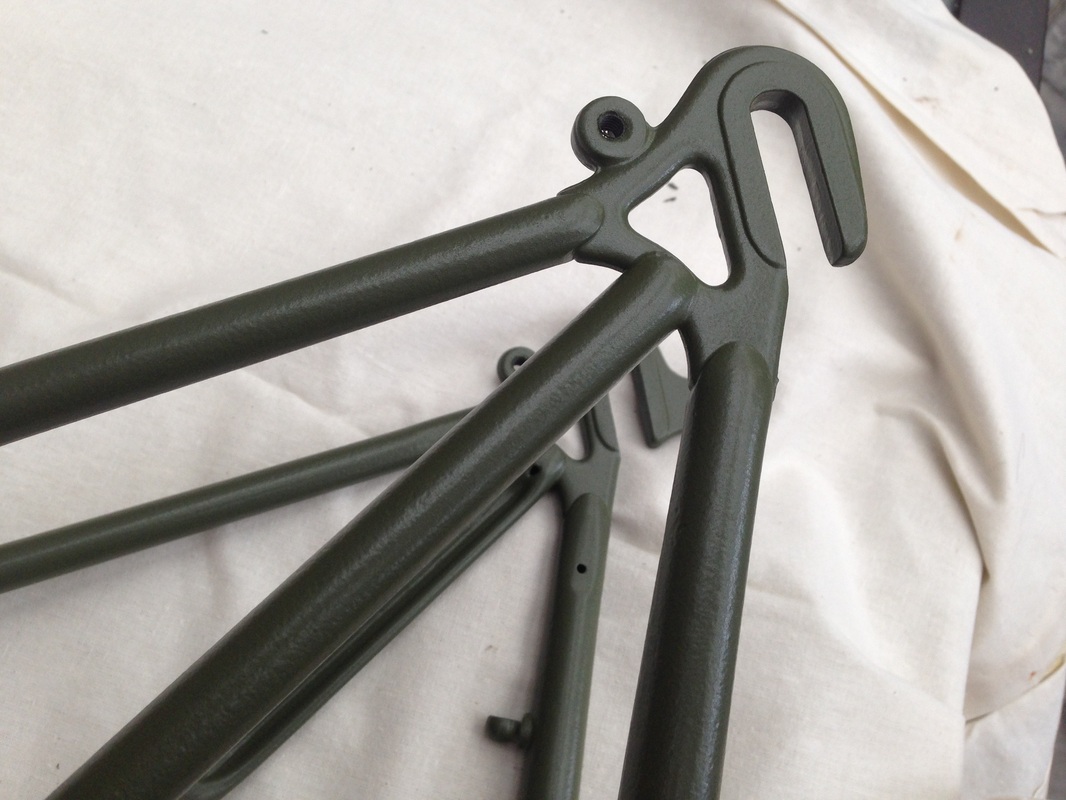
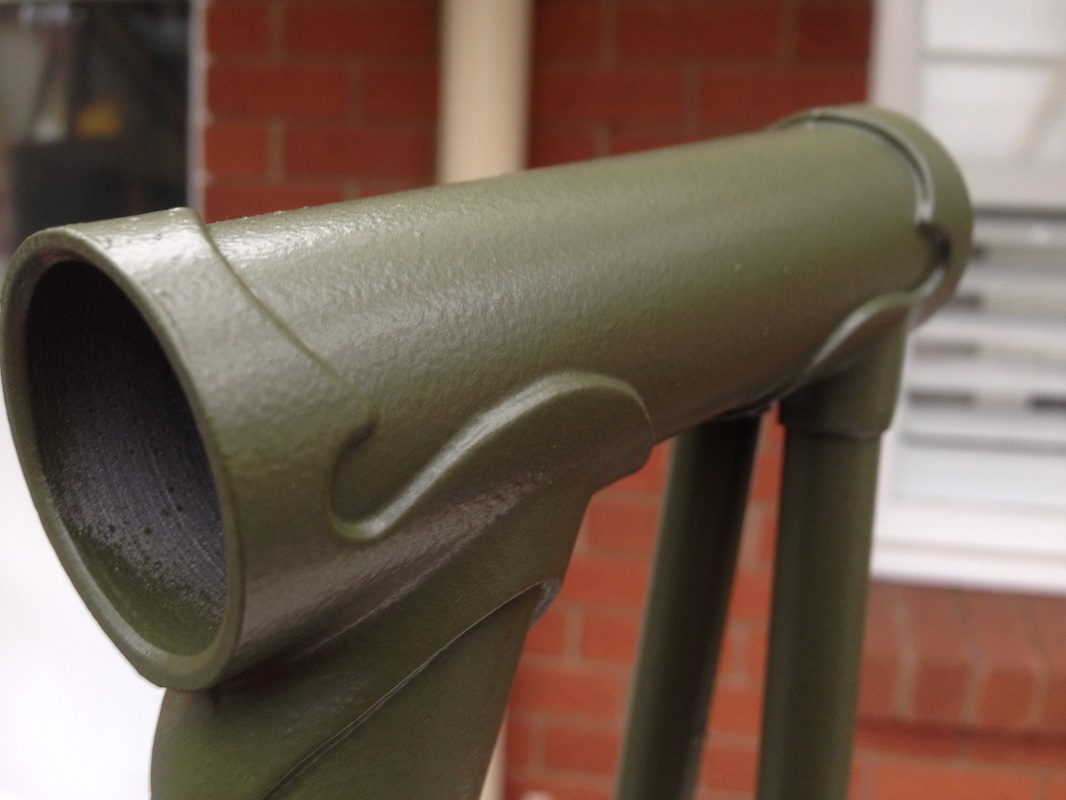
Bennett Sebring Mk2 Mixte Frame and Fork... quality chromo frame top of the line in its day....Solid and straight but paint stuffed....rust is only superficial, check clean bottom bracket and top of seat tube.... Forged dropouts , nice nervex lugs and fork crown....blazed on cable guides are branded Shimano....50 cm seat tube x 53 cm top tube...A Soma Mixte frame will cost you $400 US .... Makes this a good option for a Mixte build....check pics.
I spotted this one at about 2am on Gumtree. $45 and the guy sounded like he knew his stuff. I do like the mixte frames and even though they look like a female specific frame, the design is universally suited for both males and females. I was considering buying a Brown Jersey mixte frame but thought it would be more special building up one myself. Will be more personal.
This is what the ad on gumtree said about the frame:
Bennett Sebring Mk2 Mixte Frame and Fork... quality chromo frame top of the line in its day....Solid and straight but paint stuffed....rust is only superficial, check clean bottom bracket and top of seat tube.... Forged dropouts , nice nervex lugs and fork crown....blazed on cable guides are branded Shimano....50 cm seat tube x 53 cm top tube...A Soma Mixte frame will cost you $400 US .... Makes this a good option for a Mixte build....check pics.

The build slowly begins.....
Well, I have so many things to do but can't help myself. I'm gonna slowly get to work building up the mixte. The is also a new direction for the build now. This will be another single speed bike. The wife is not interested and prefers my Giant Yukon mountain bike to ride around with. There are some parts that I already have which I will list further into the build but for now this is what I have.....
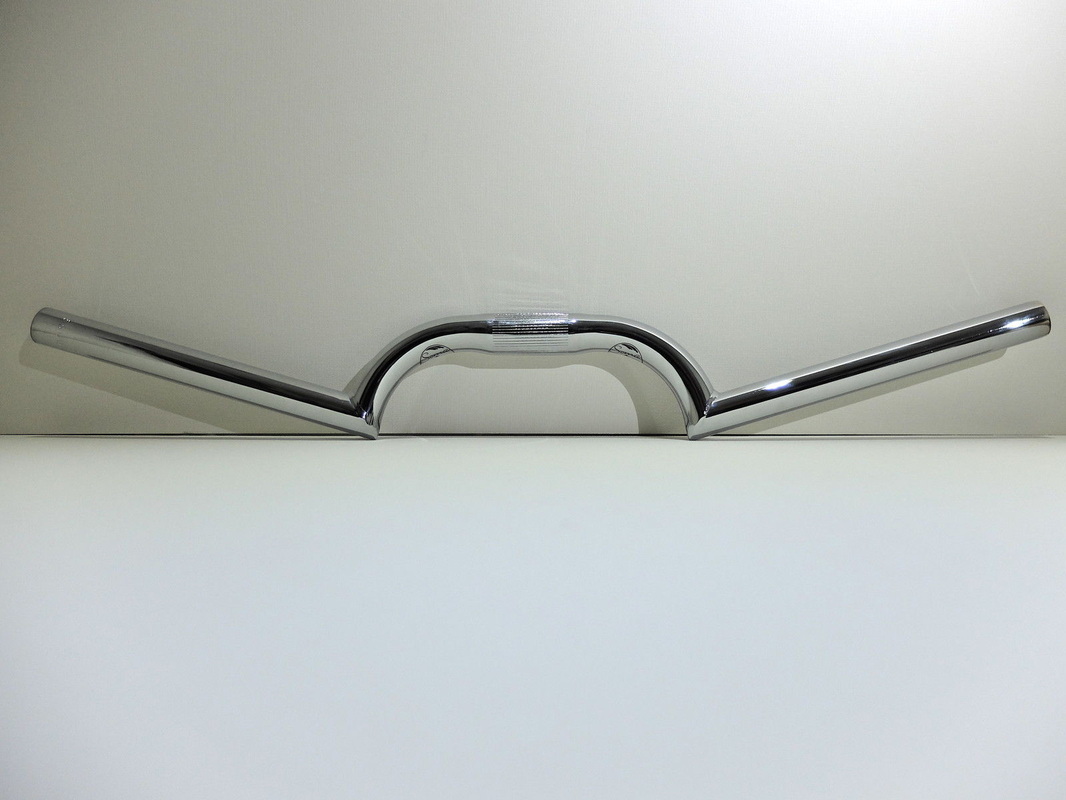
Soma Condorina - Cafe Racer Style Handlebar
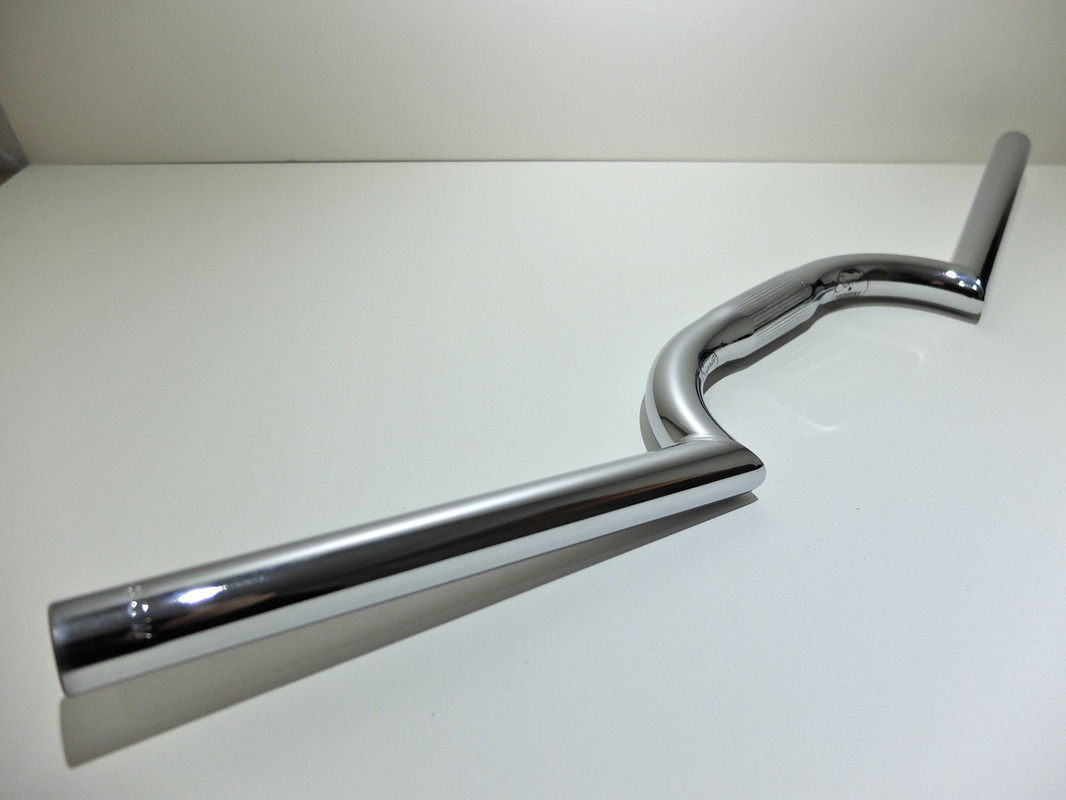
Ever since these bars came out from Soma I thought they looked ultra cool as I am a huge fan of café racer motorcycles, in particular the Harley Davidson XR 1000 Café Racer ridden by Michael Douglas in Black Rain. Also the awesome looking café racer modified Ducati Sport 1000 featured in Tron Legacy. I know this is a bicycle and it cannot even compare to either of those two rides but at least I’ll have my handlebars! May even look at getting some side mirrors to add to the look, you never know! Still unsure as to whether I mount these or just display them! But if I ever get rid of any bike I ain’t getting’ rid of this bar! I've spent about $70 for these, yes I know they are expensive but they are worth it.

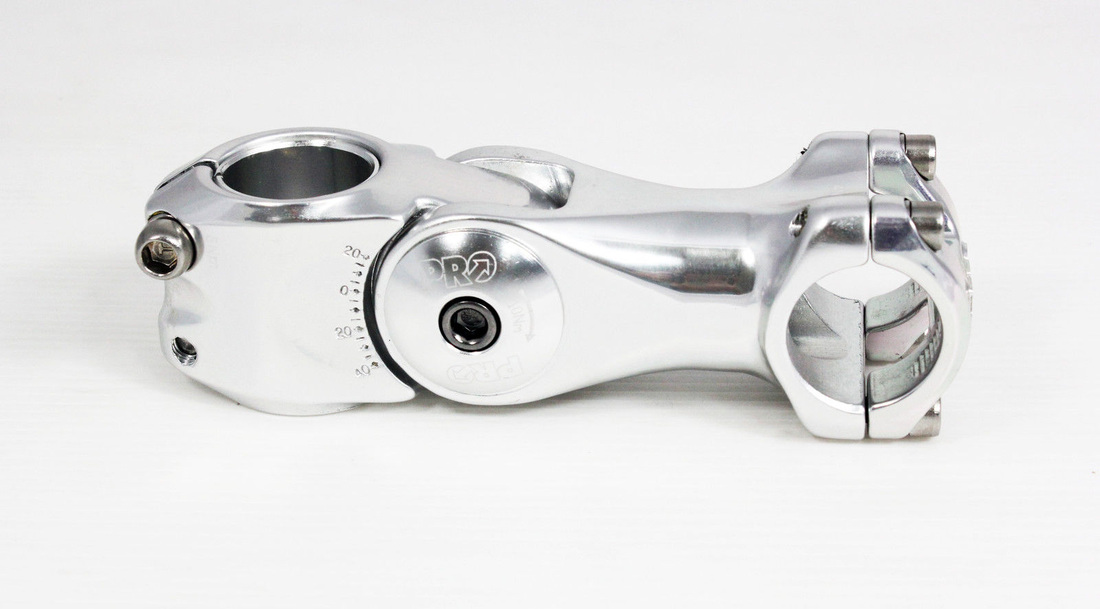
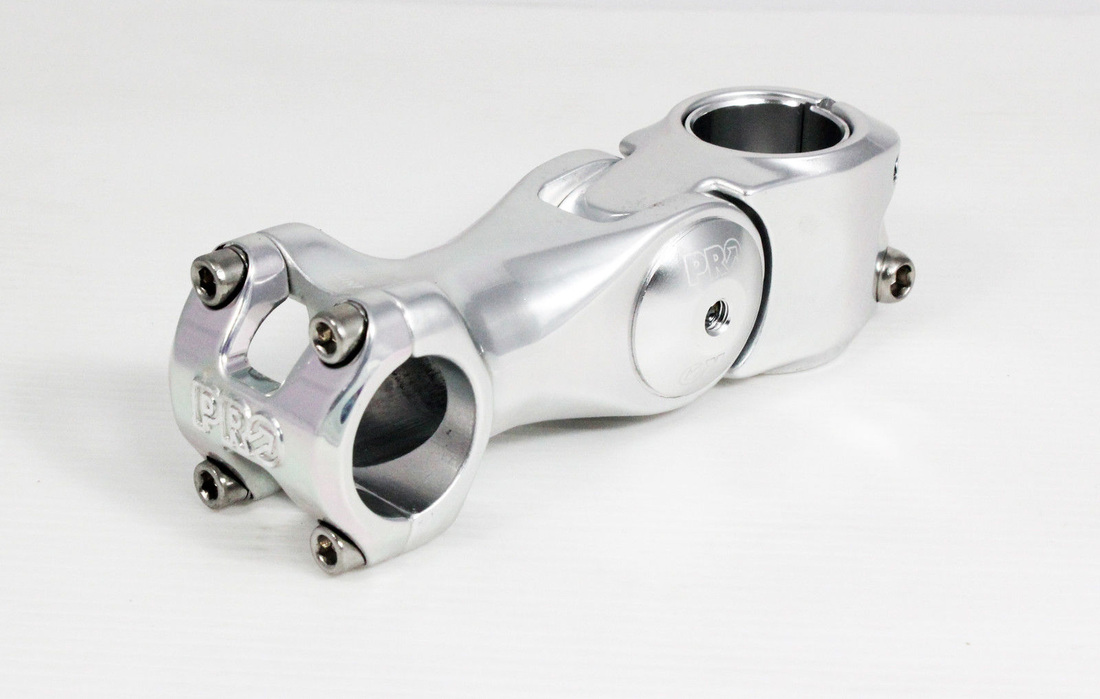
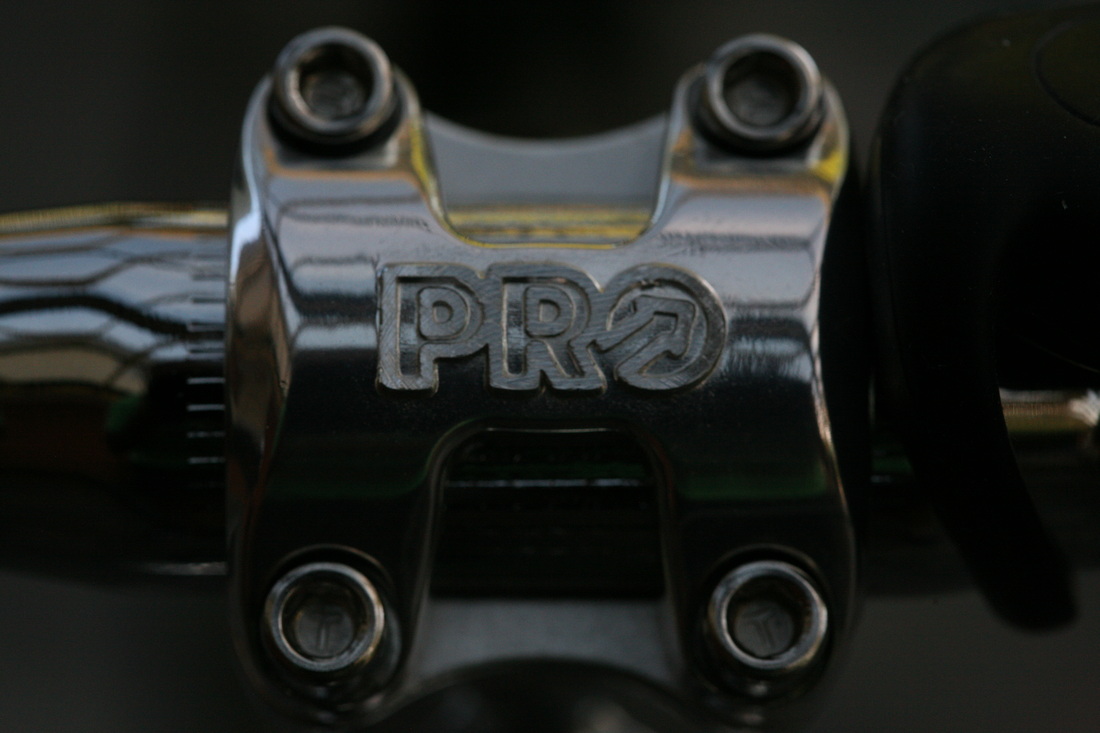
Shimano PRO Adjustable Angle Stem 70°-130° / 25.4x95MM / 267g / Silver
I decided to go with an adjustable stem so that I could adjust the reach of the bars. Again this is only for the Soma bars and I am unsure whether this will be even mounted.
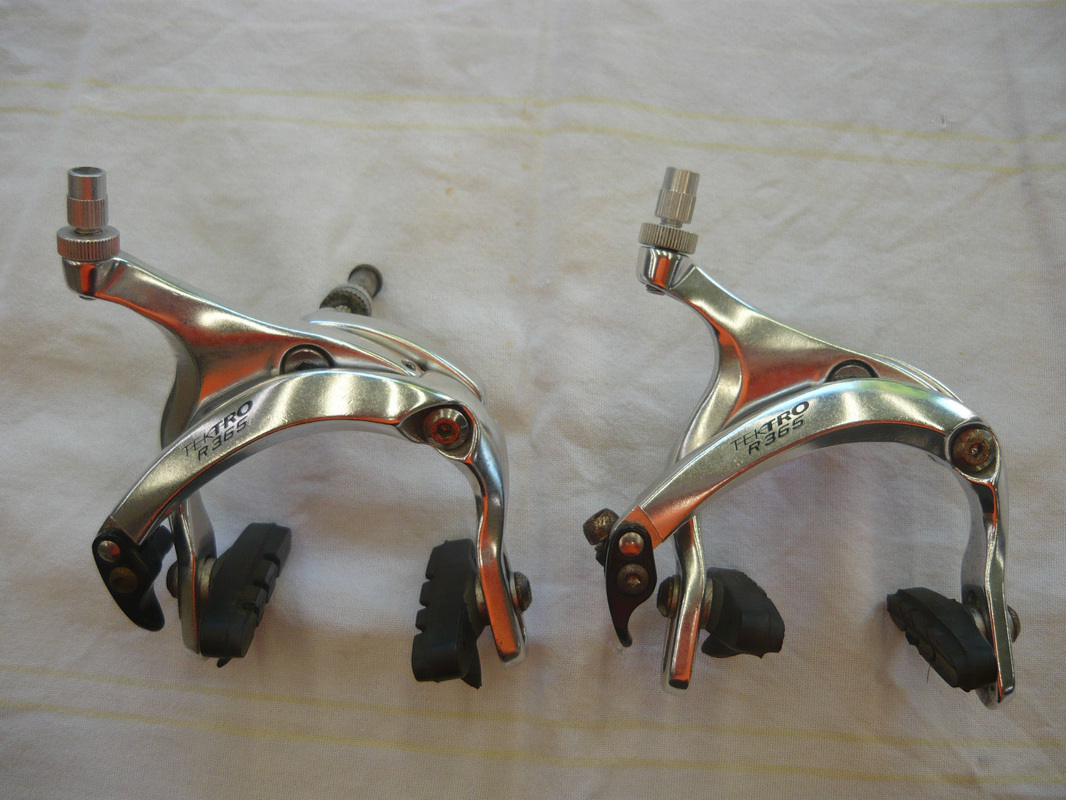
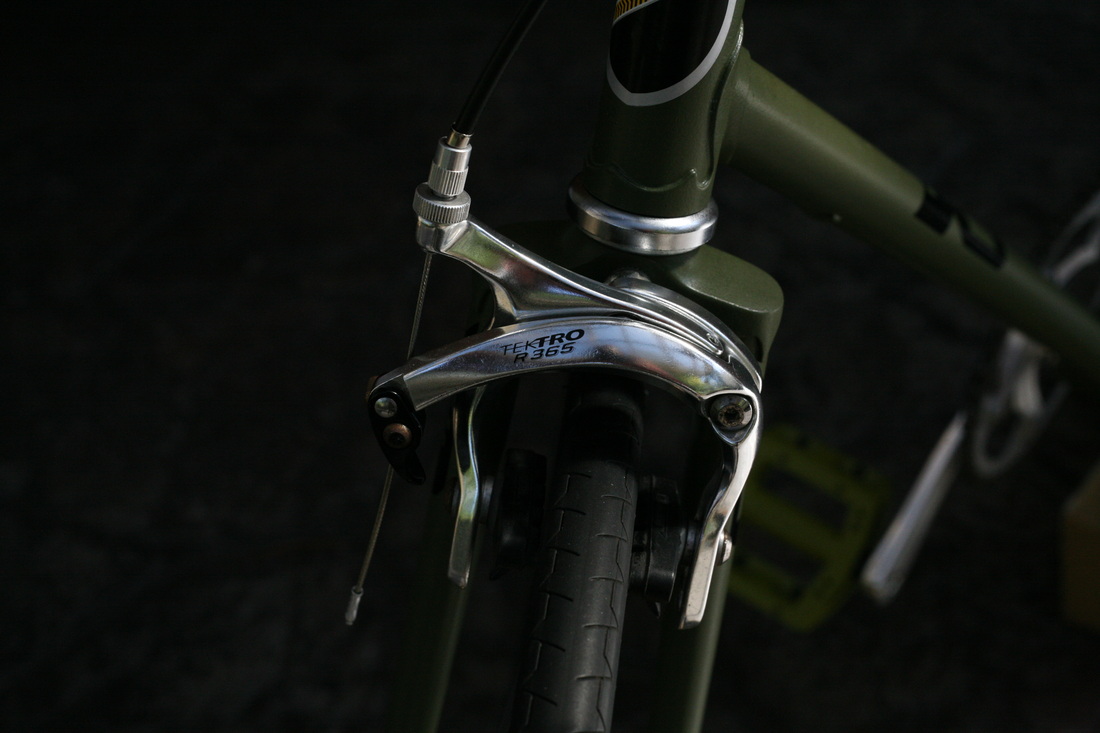
Tektro R365 Brake Calipers - Silver (Used)
I was about to order some R559 calipers from Brown Jersey but came across these on ebay second hand. They have abit of rust in the rear springs but other than that they have hardly been used. Even the pads are good. So I snapped them up.

A Closer look and a bit more prep....
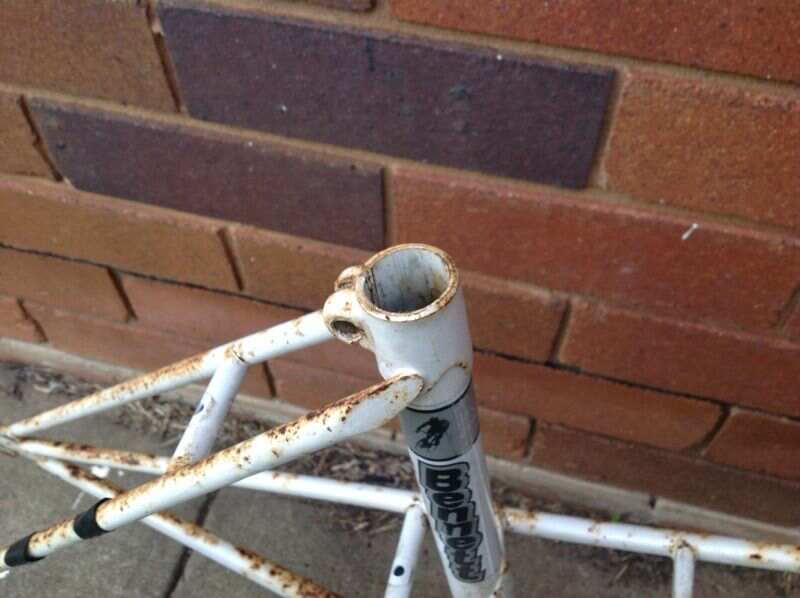
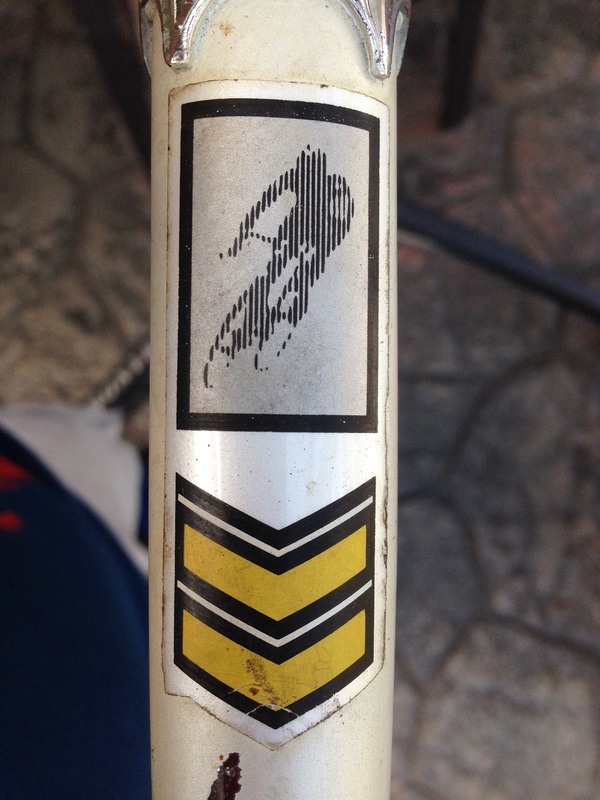
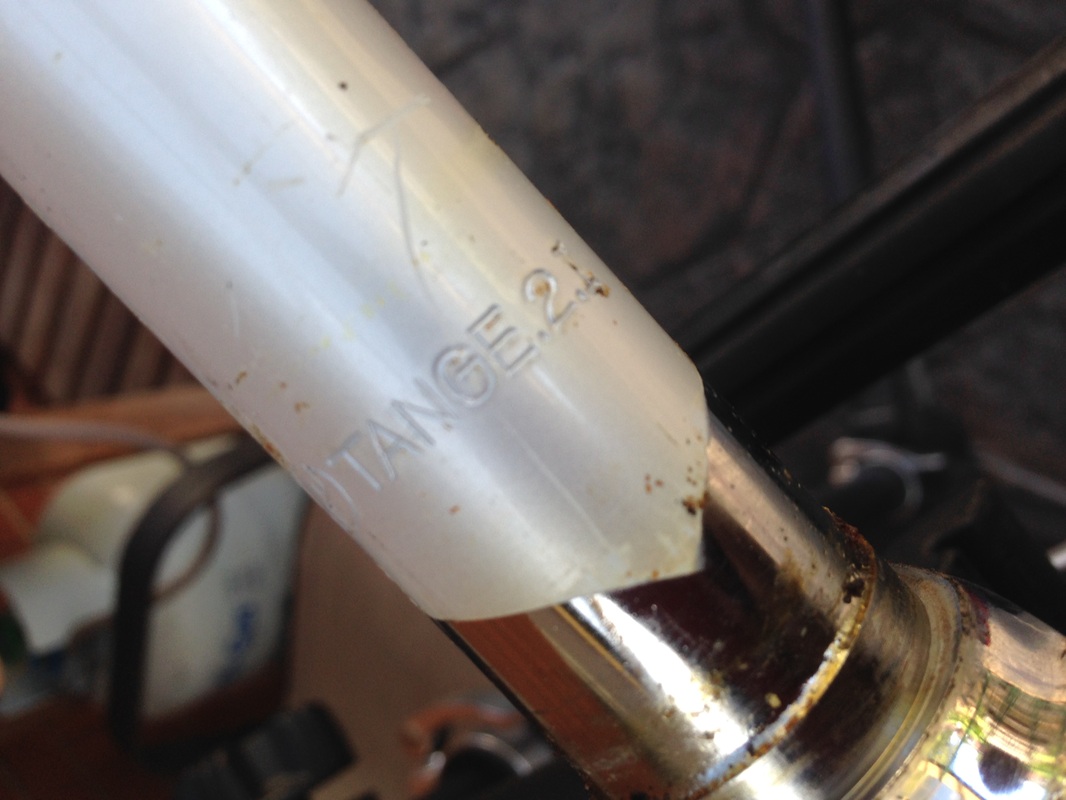
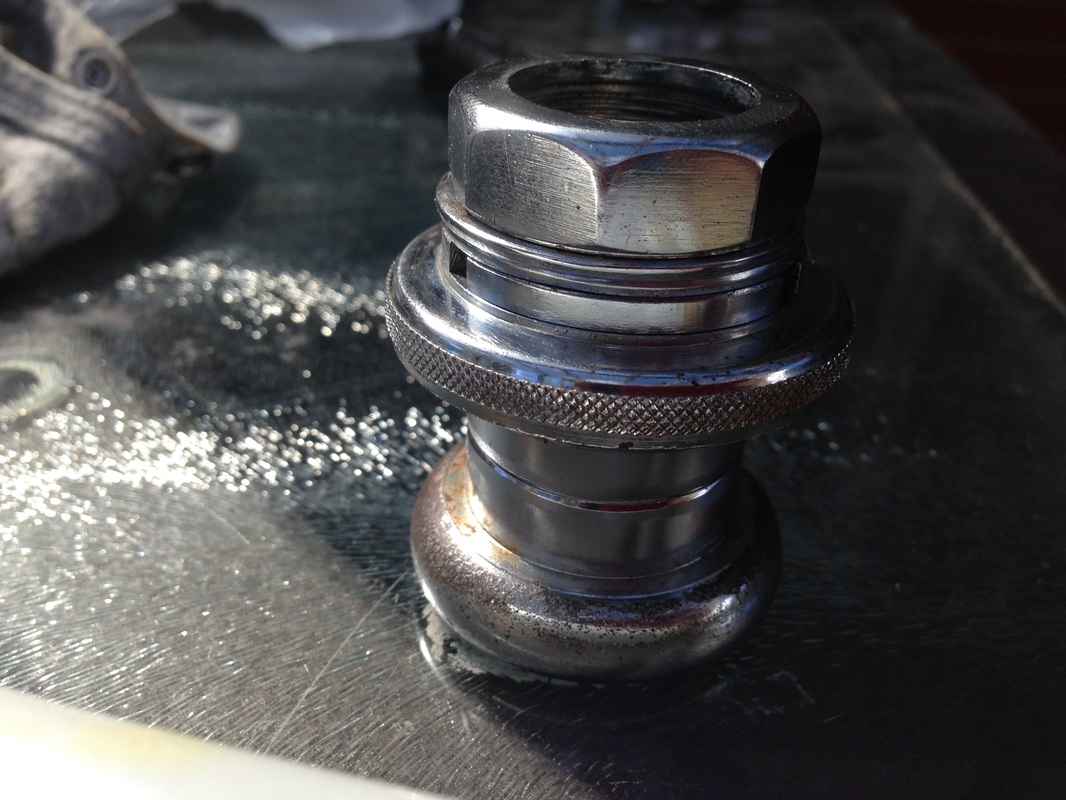
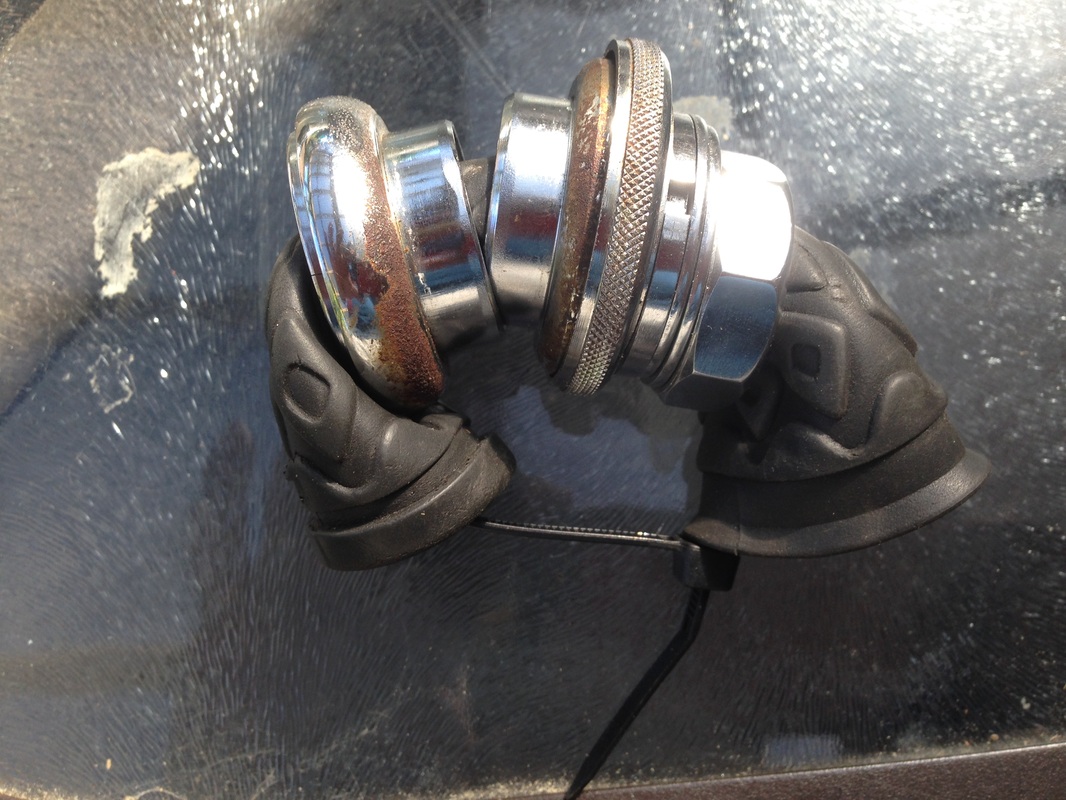
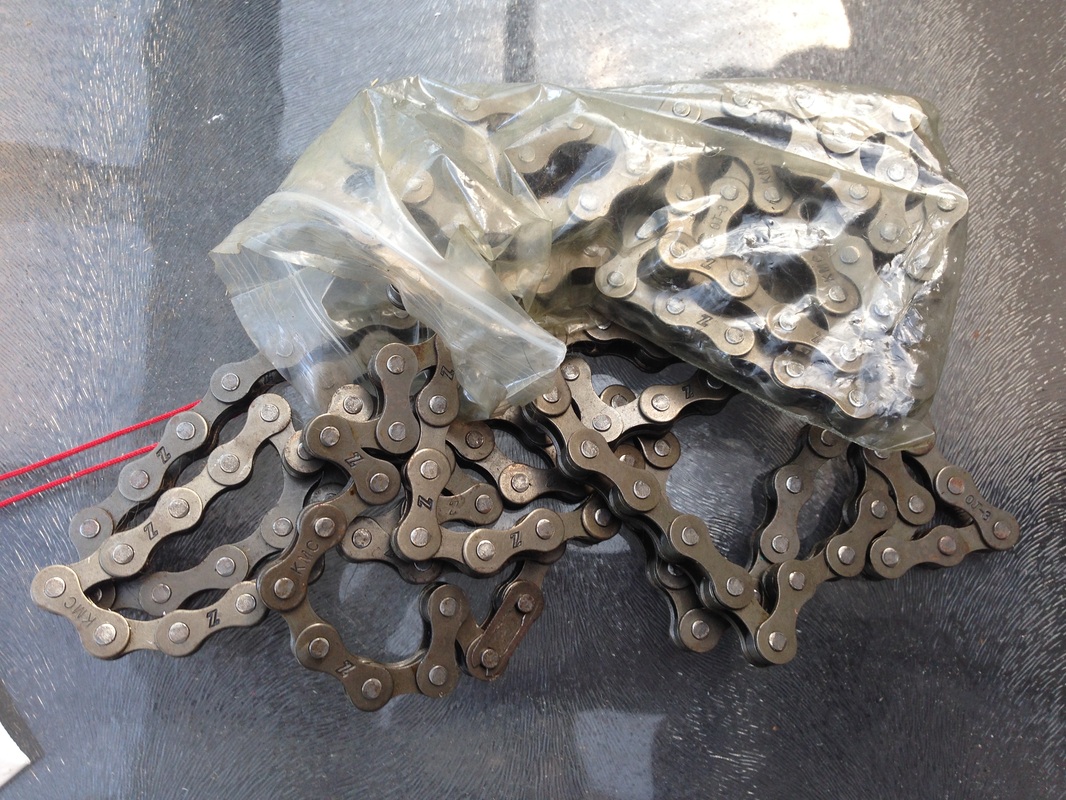
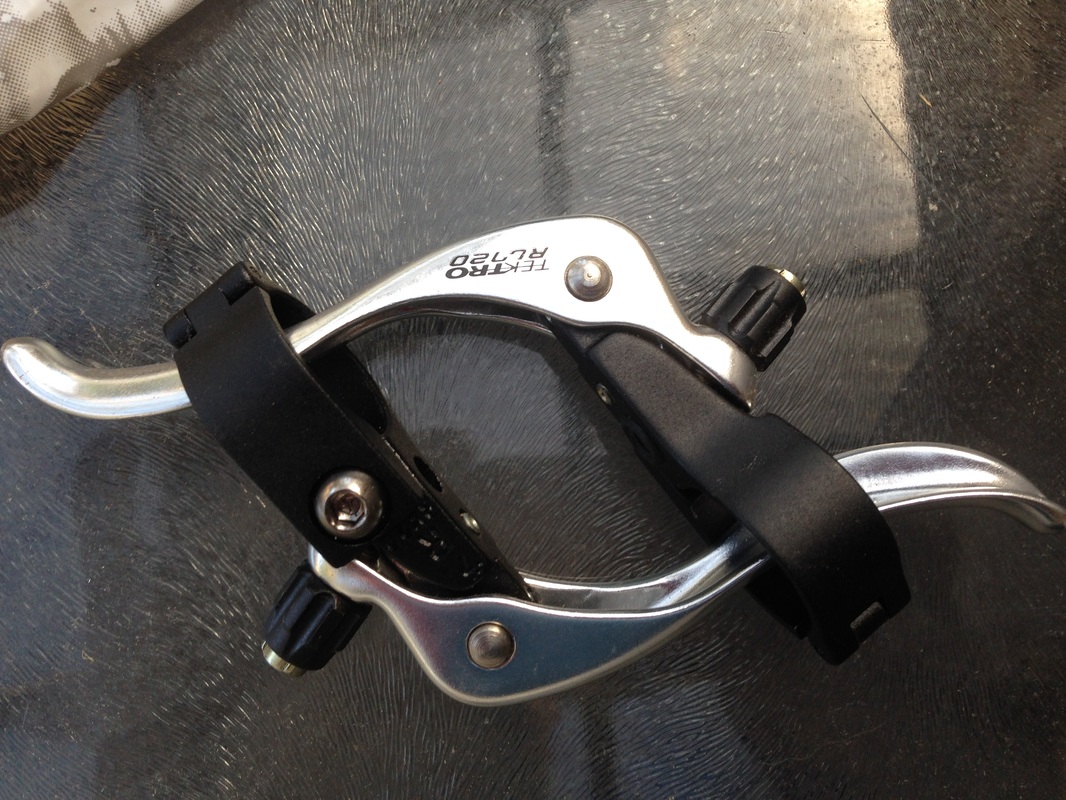
I got the frame up on the stand and finally managed to remove the headset cups and also the crown race. They are in good order. Just a bit of surface rust on the cups that’s all. I’ll get them cleaned up as best I can. I’ve put the headset assembled on an old grip and then used a cable tie to hold it all together, looks abit stupid but will help me get the order right as I always forget. I also took some clear photos of the existing decals on the bike. Might look at trying to clean them up a bit in photoshop or send them to my mates sign writing mate who may be able to produce some better looking original copies. Also dug up a spare single speed kmc chain I had lying around from an unfinished project and my Tektro RL720 brake levers. I also got a chance to inspect the frame a little closer and found a serial number. Overall the frame is in great condition and I will be getting it sandblasted and painted soon. Just gotta decide on a color.


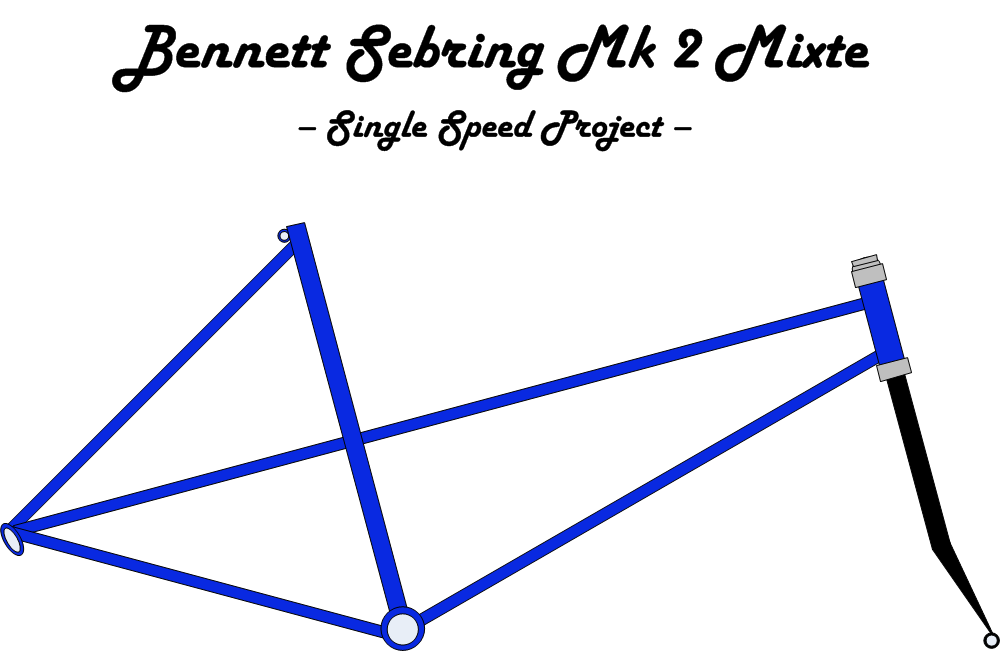
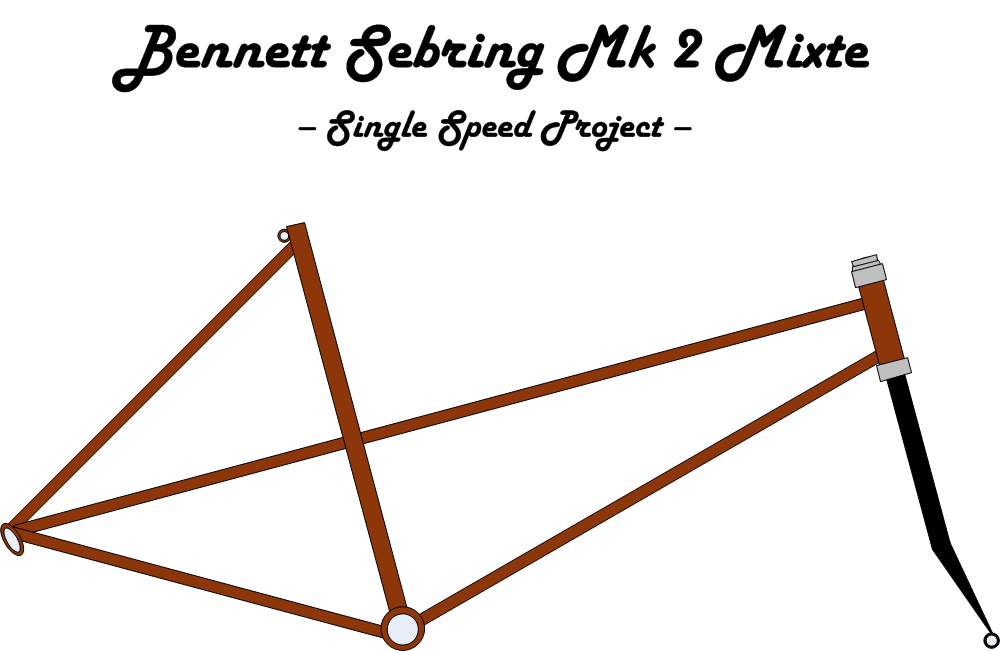
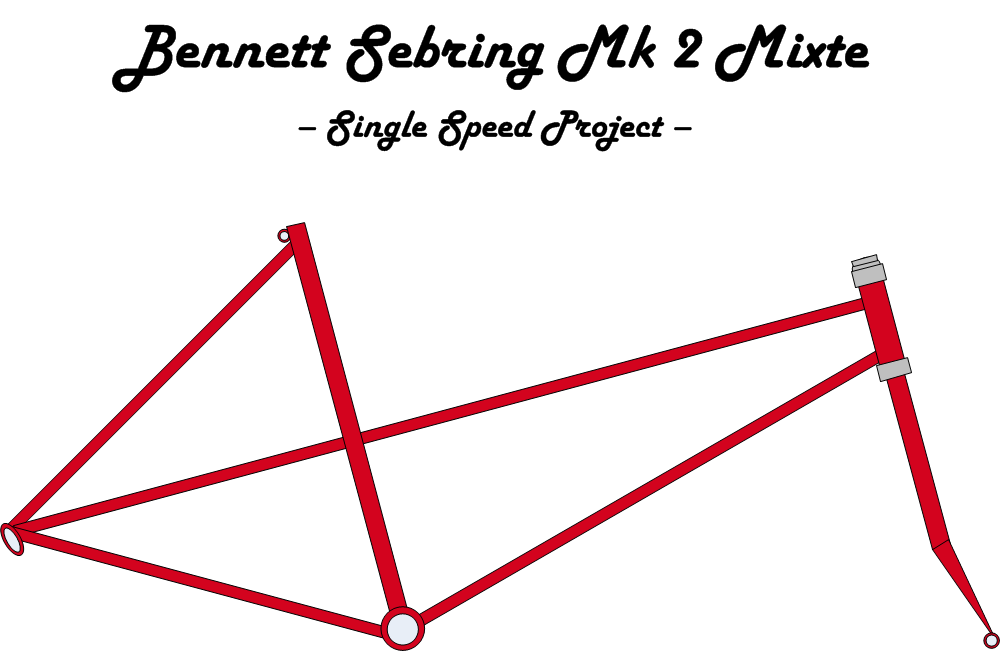
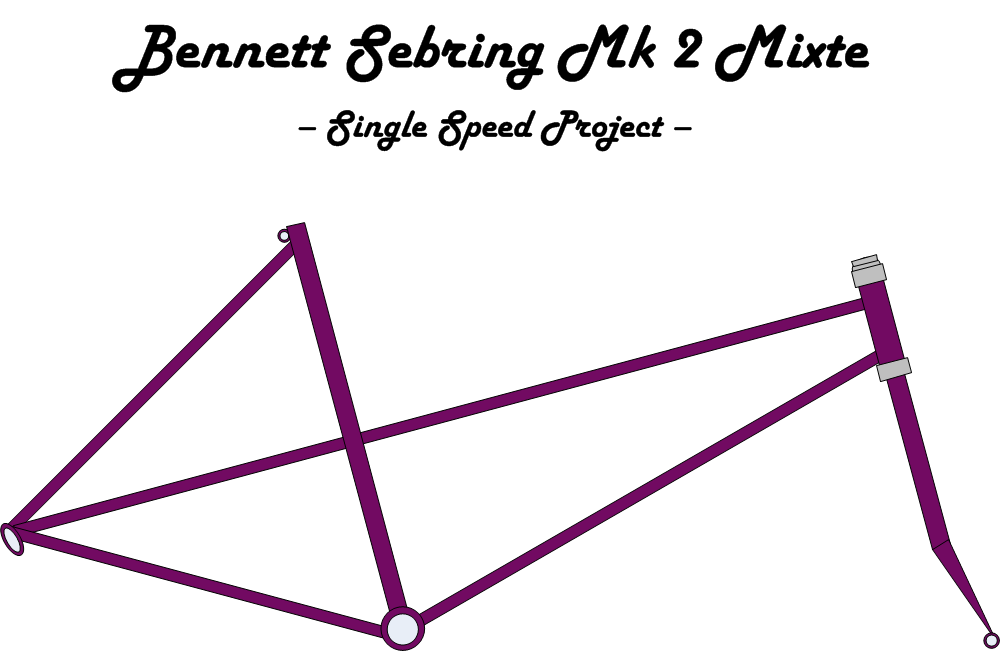
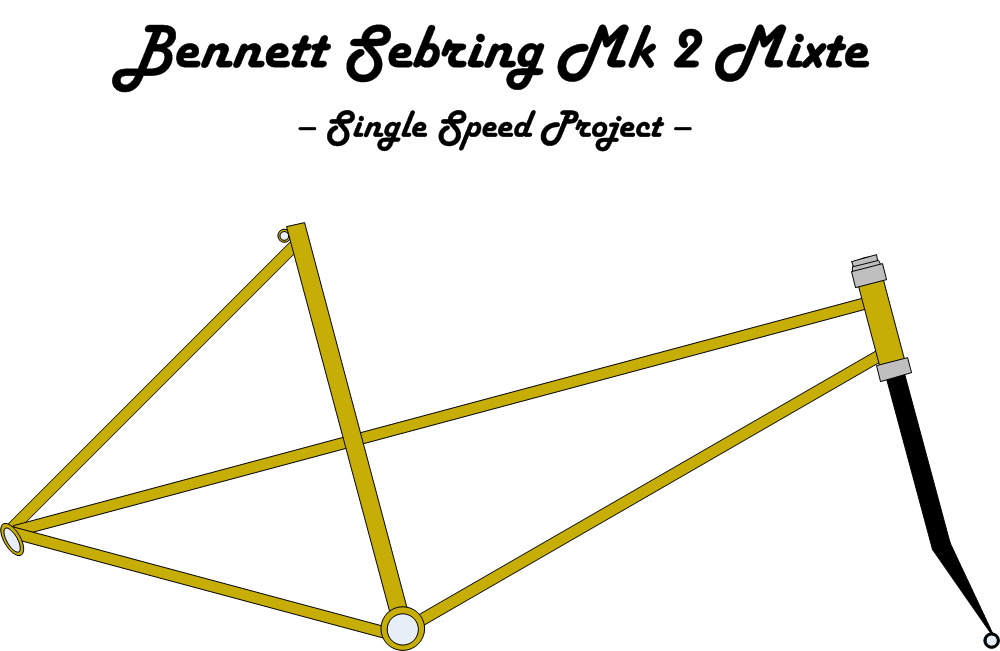
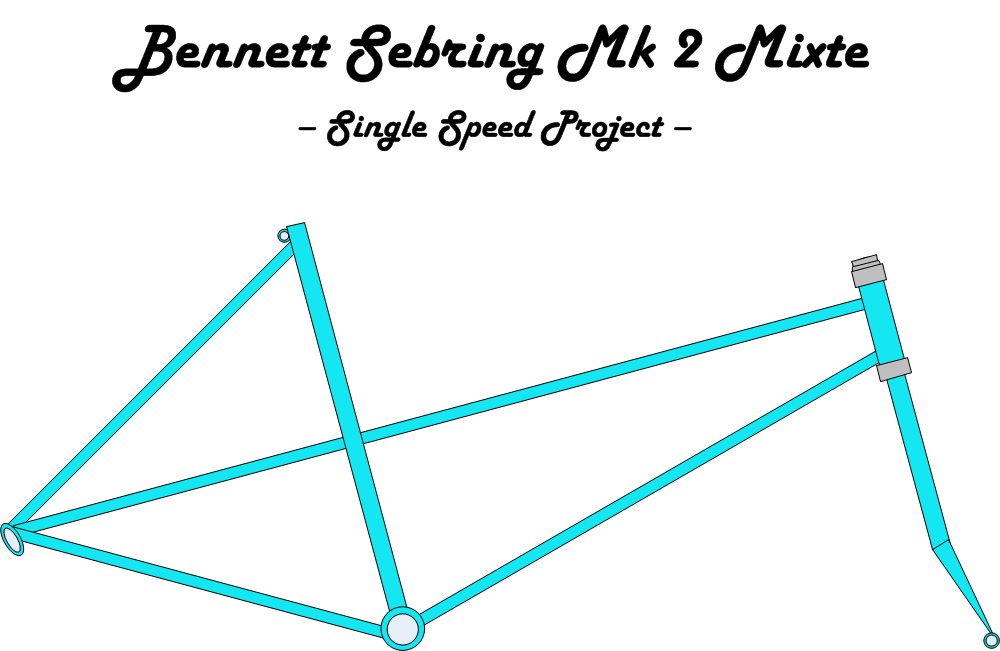
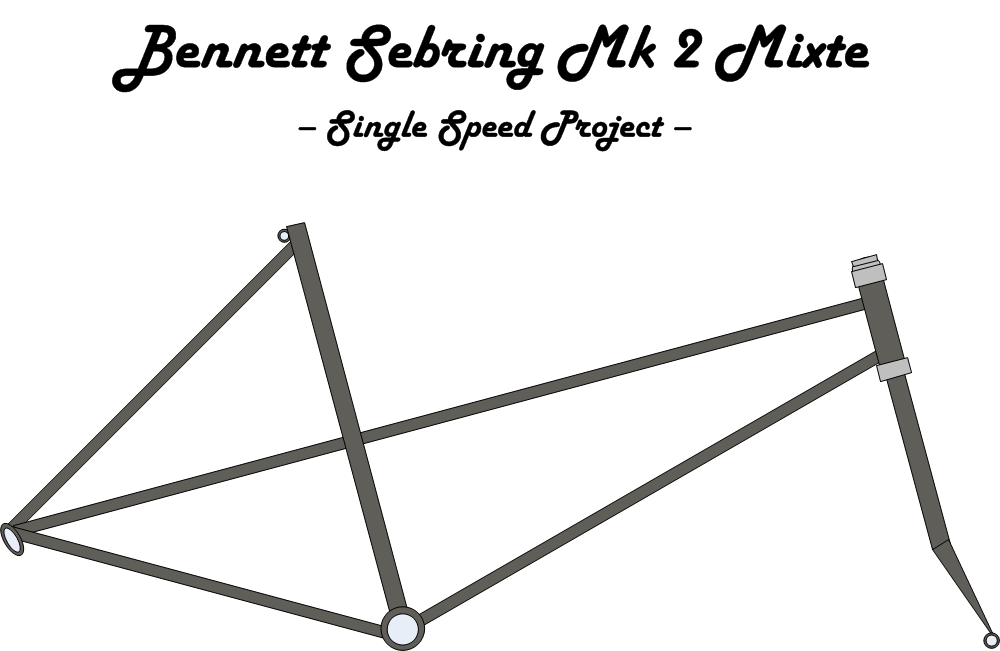
Design and Color Choice
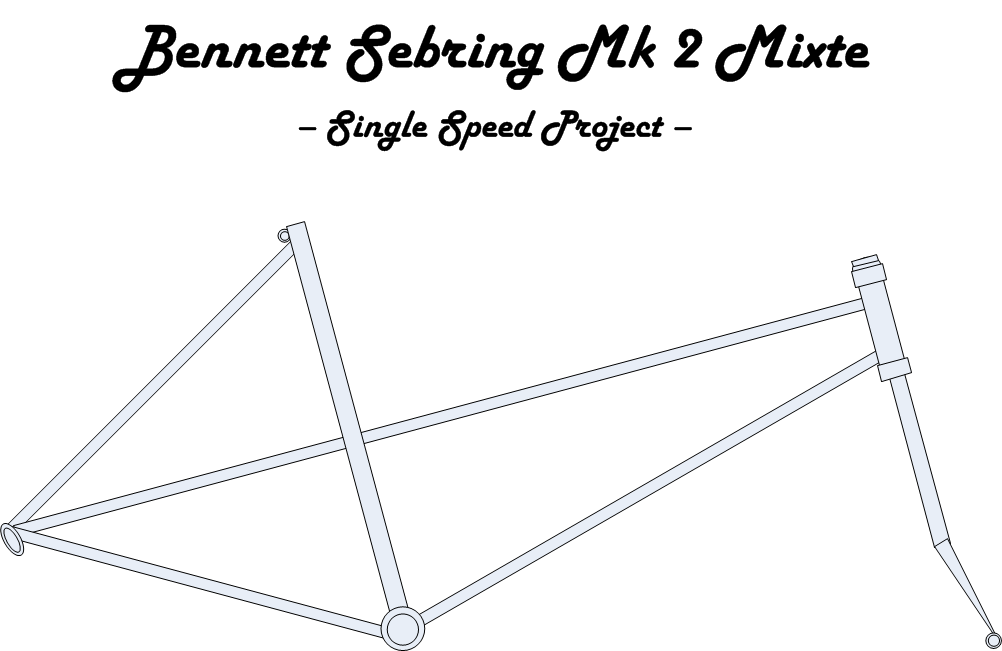
I thought for the design and color scheme, I'd have a go at using MS Visio this time. Wasn't that hard really and I quite enjoyed the process. I threw on a few color schemes just to get an idea of what the frame could look like. See below.

Sand Blasted and Primed!
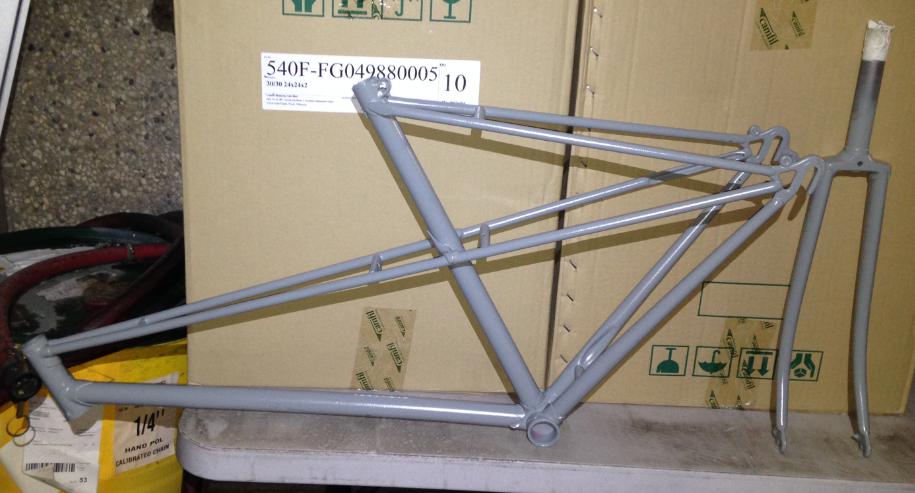
Well the frame has now been blasted and primed ready for paint. Still gotta choose the colour though. I was thinking camo green or even a matte black. I've already done the orange thing once so will go down the path of a different colour. Such a hard decision to make! Parts wise I’ve got everything except for a stem, brake cables and cable outers, a sealed bottom bracket. The rear wheel and 16t cog, seat post (gotta measure it) and a seat post bolt to holt the seat in place in the seat tube. Also need my Bennett stickers, they aren’t ready yet. Stay tuned!
Front Fork Work - Powercoat instead.
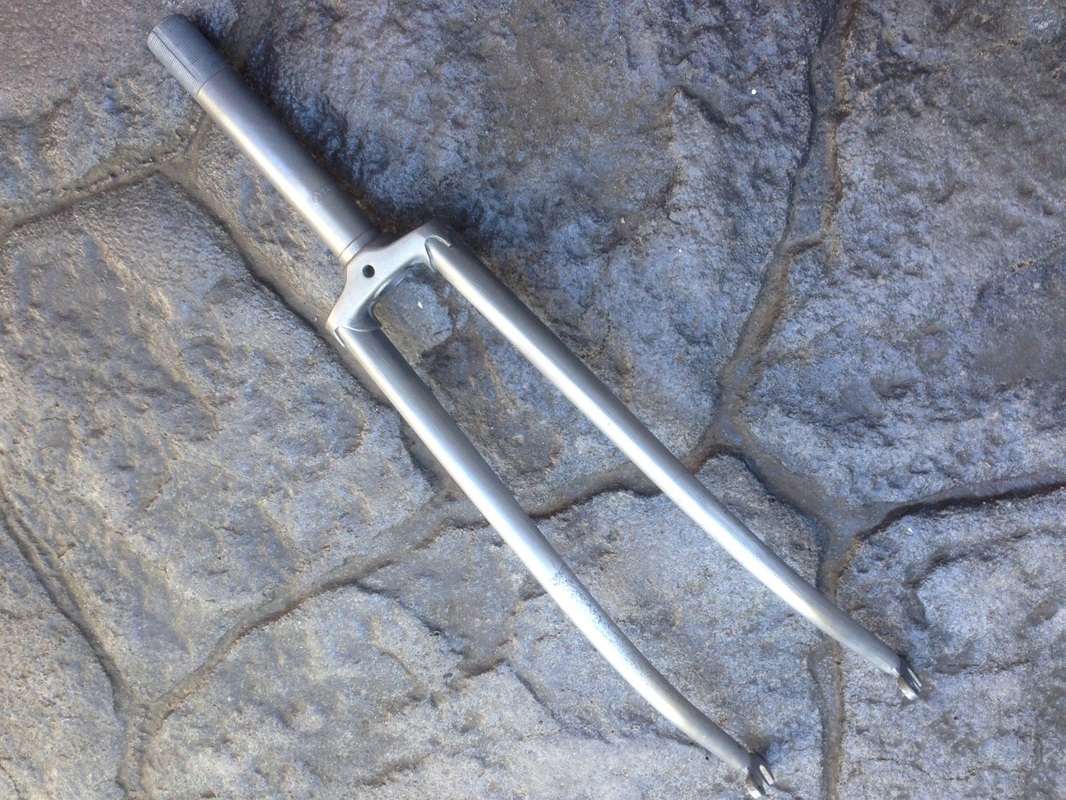
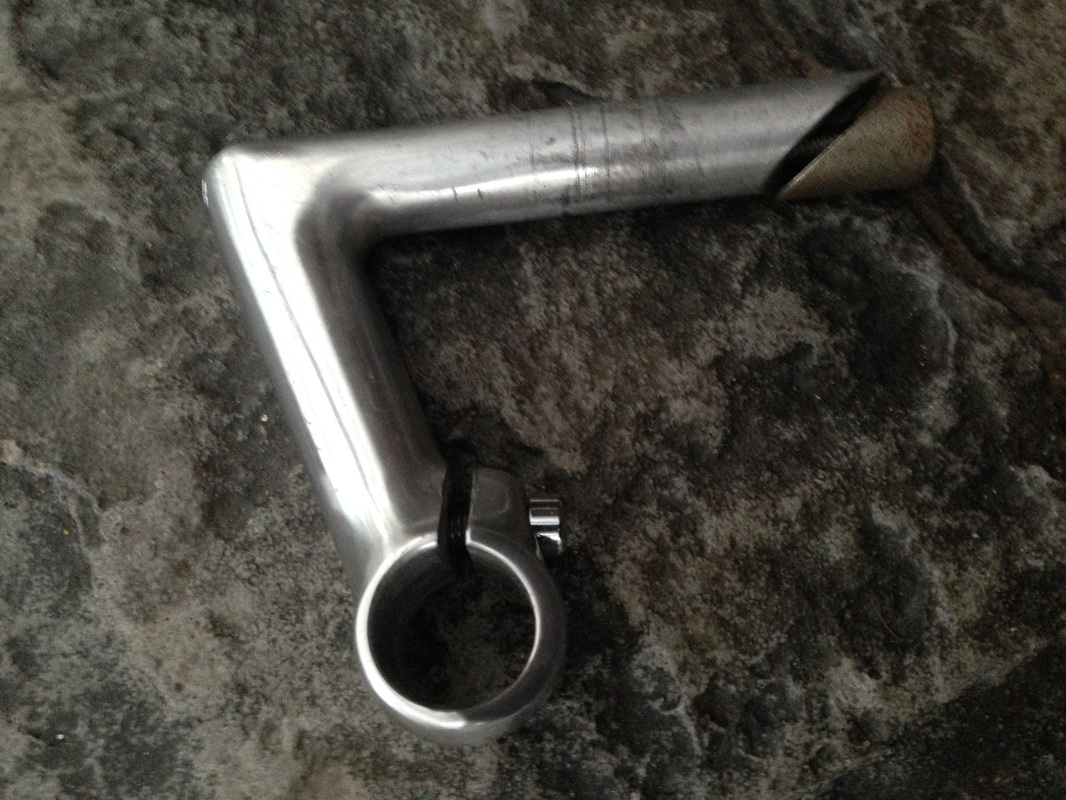
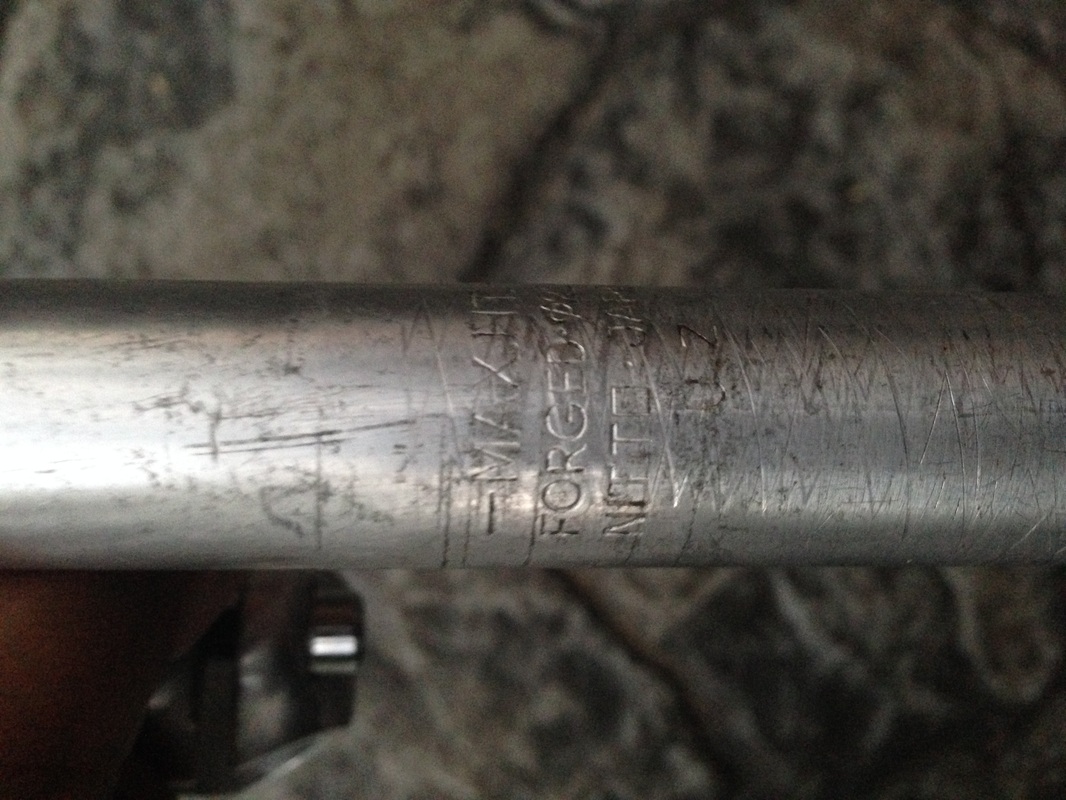
I've decided against using paint. So I have used paint stripper and rubbed back the primer to bare metal and will be getting the bike powder coated. Stil not sure what colour though. So far I have done the fork only, which took a while. I also came across an old Nitto quill stem that I had laying around. Only wish I could team it up with the soma handlebar but they are not compatible. Well, the clamp size is the same but the stem won't slide onto the bar due to the kinks in the design etc.
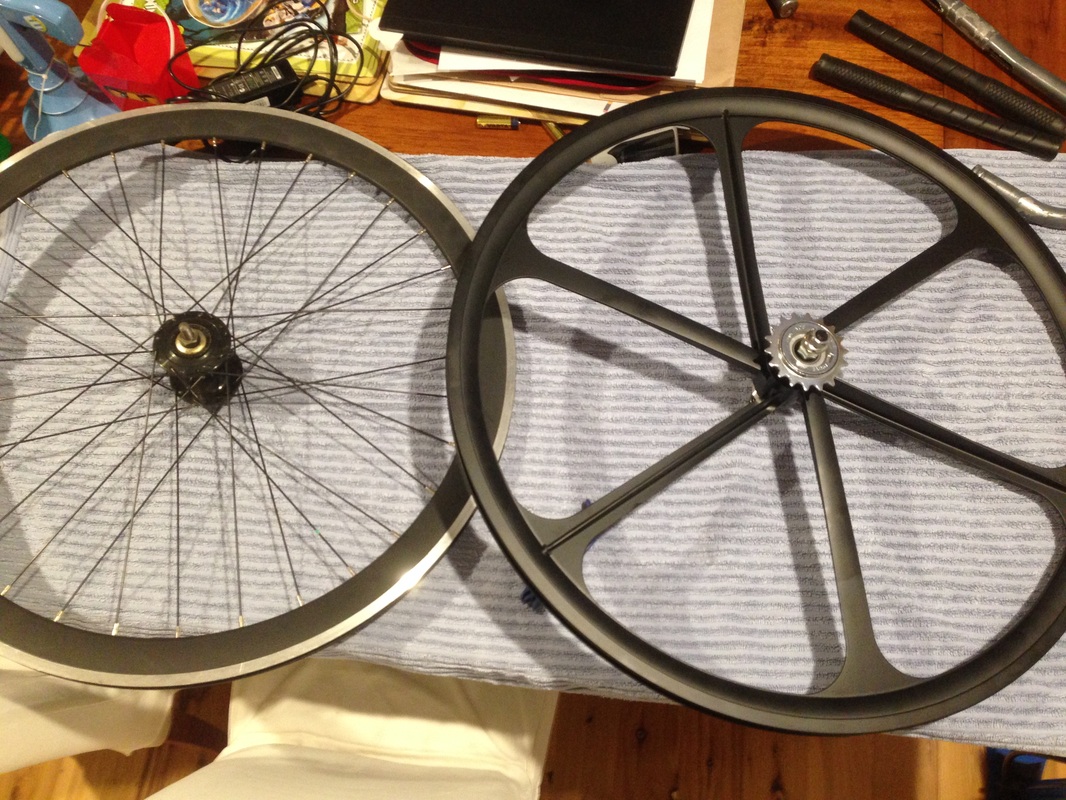
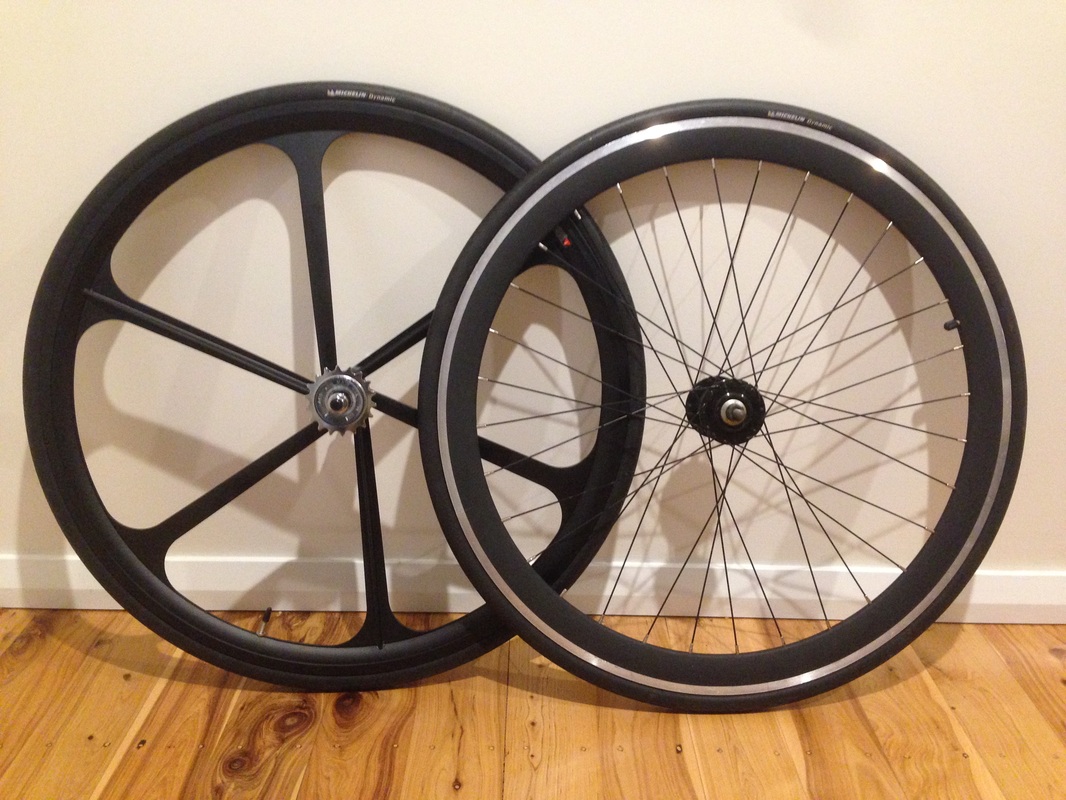
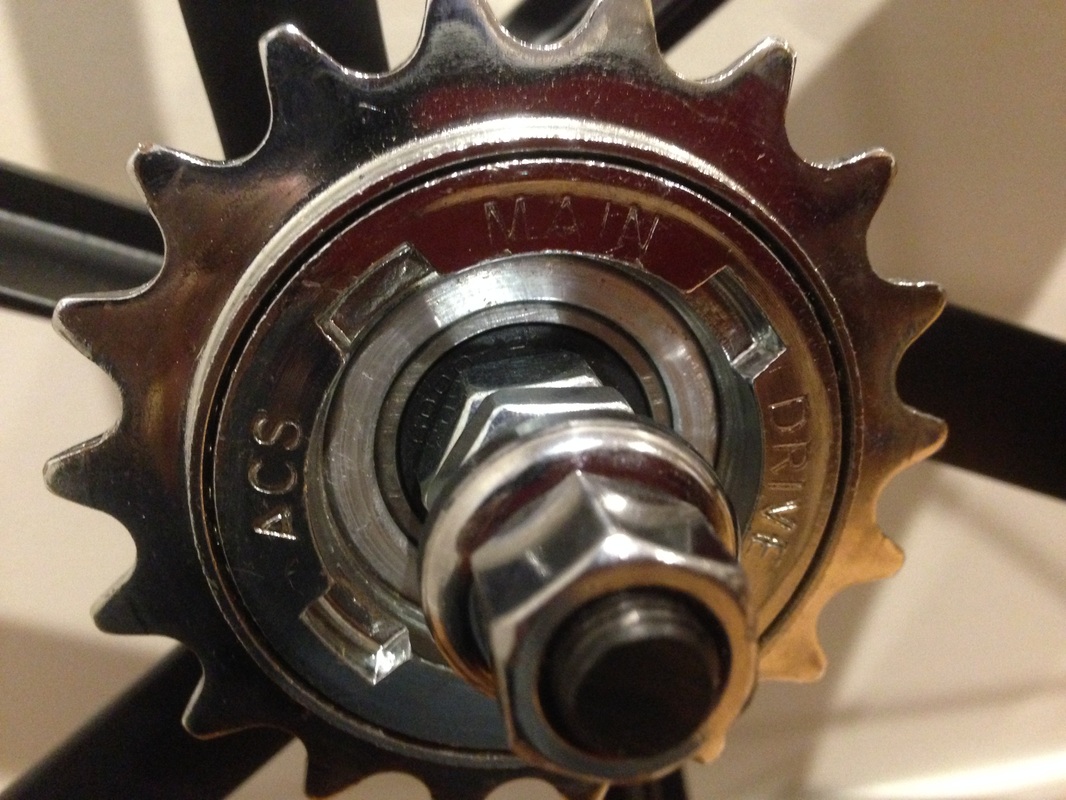
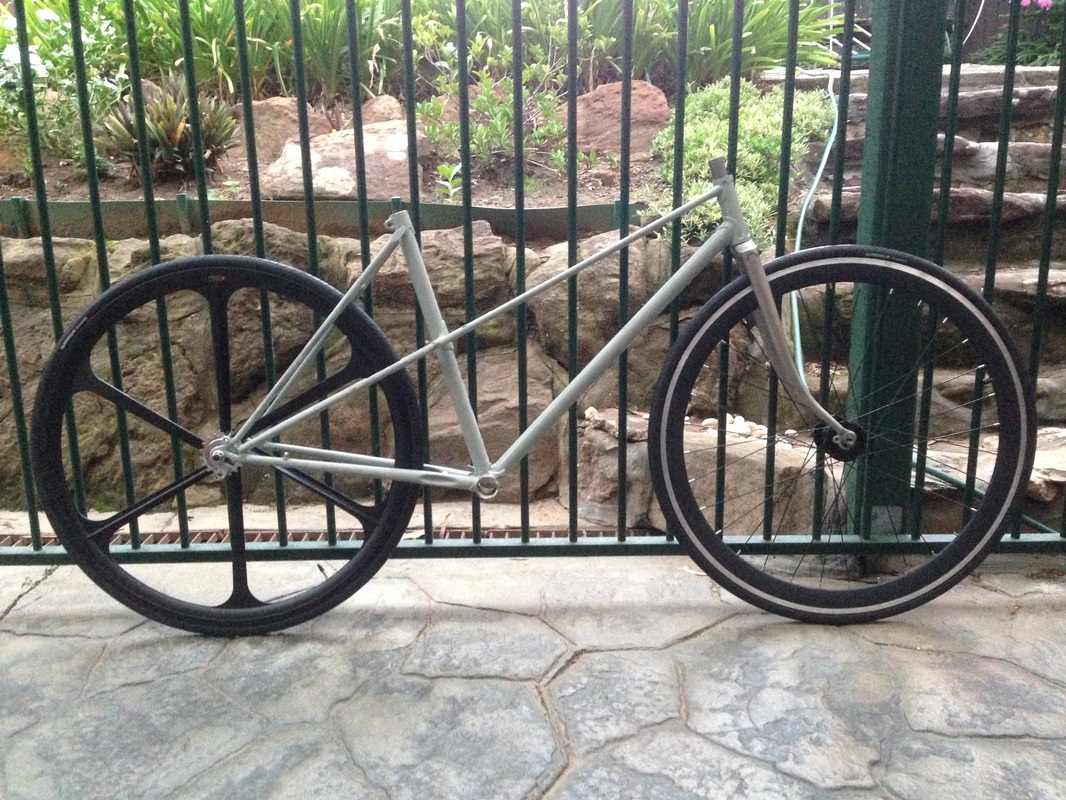
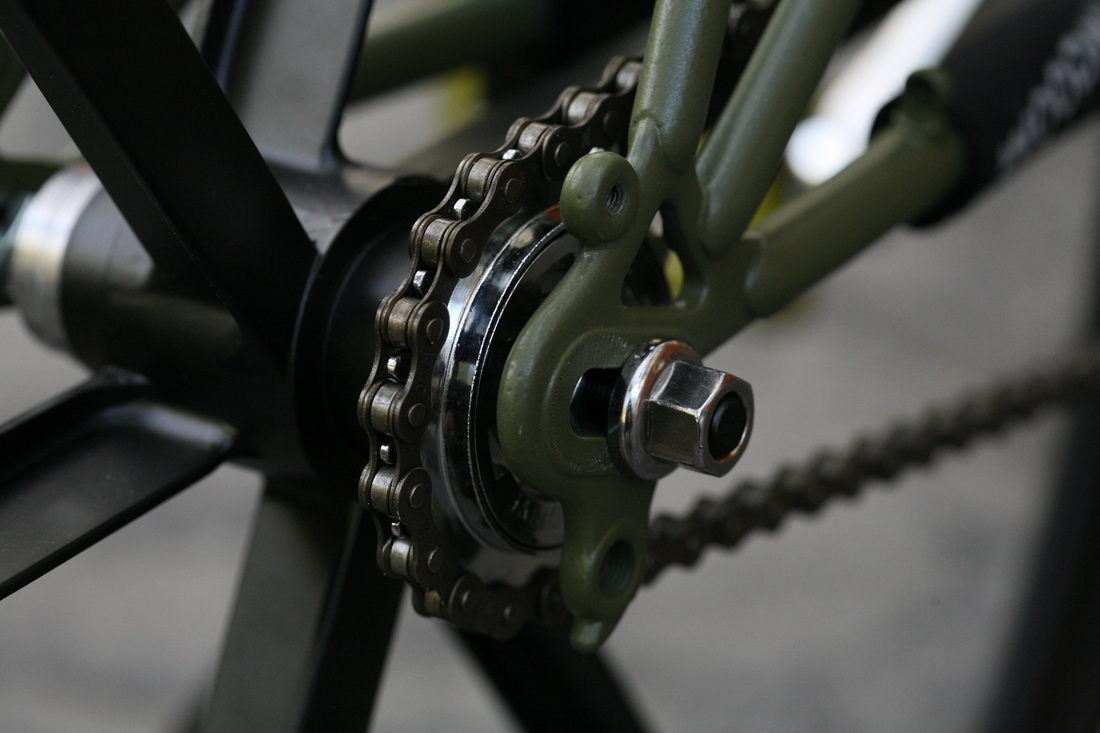
Wheels - Rear: Alloy Rim (matte black), Front: Fixie with Quando Hub (matte black)
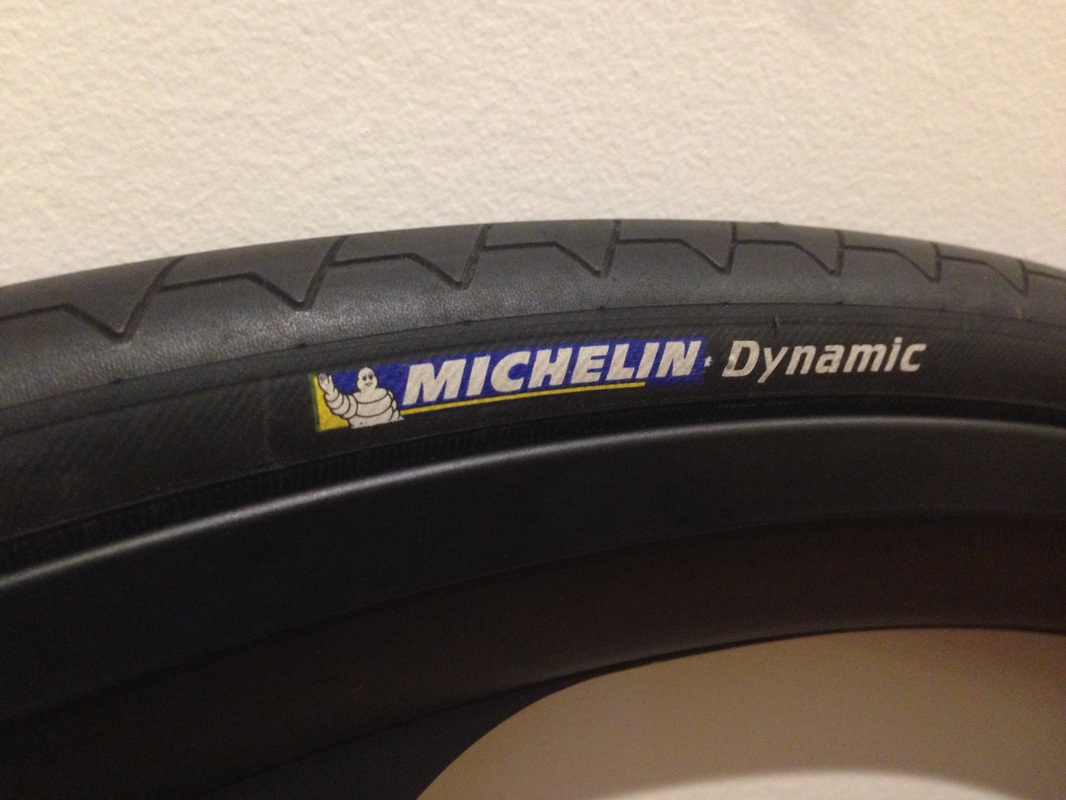
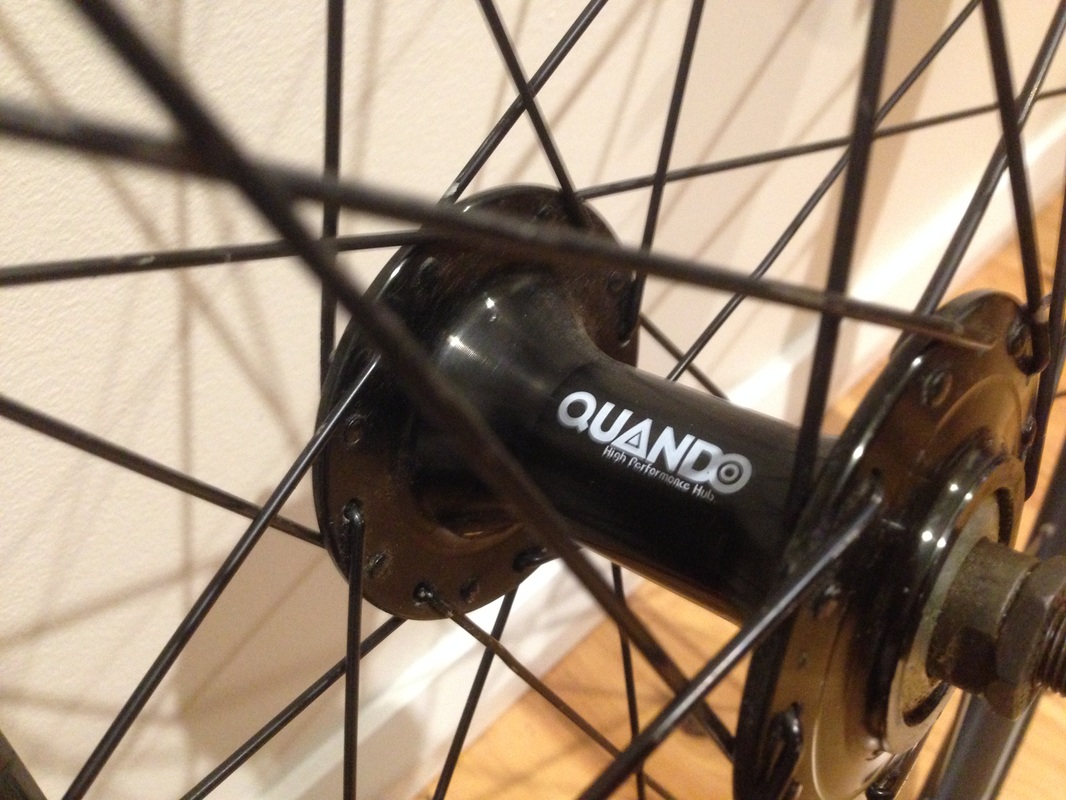
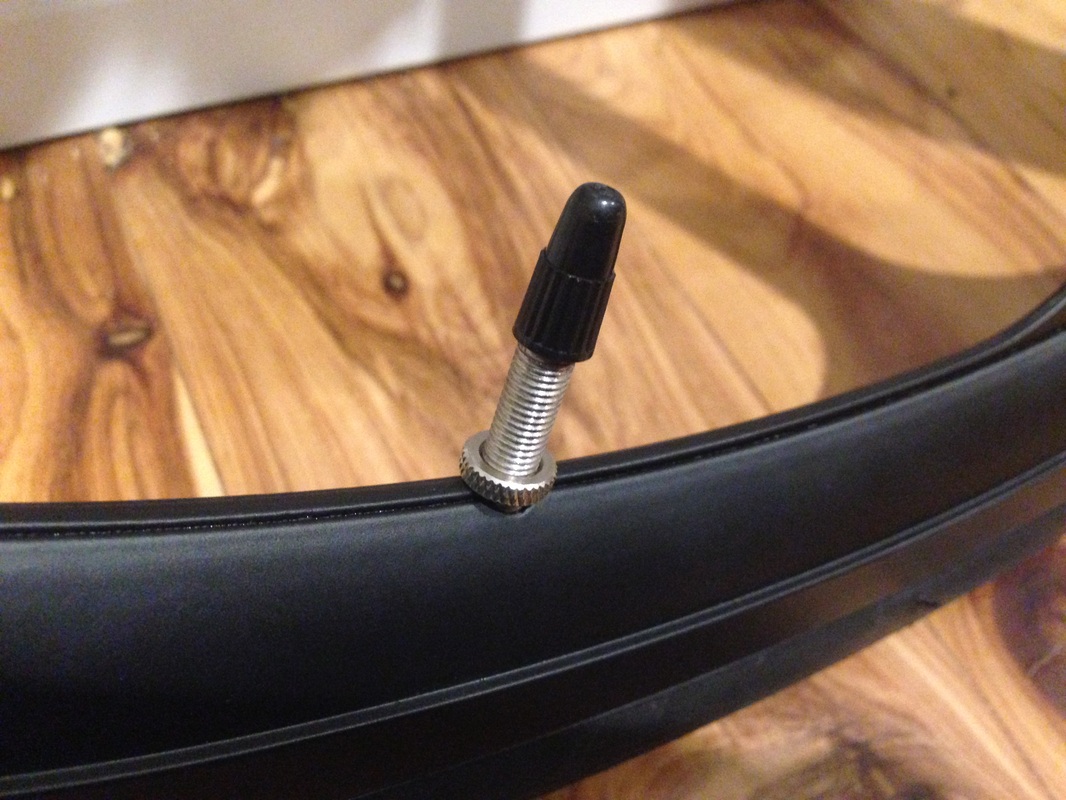
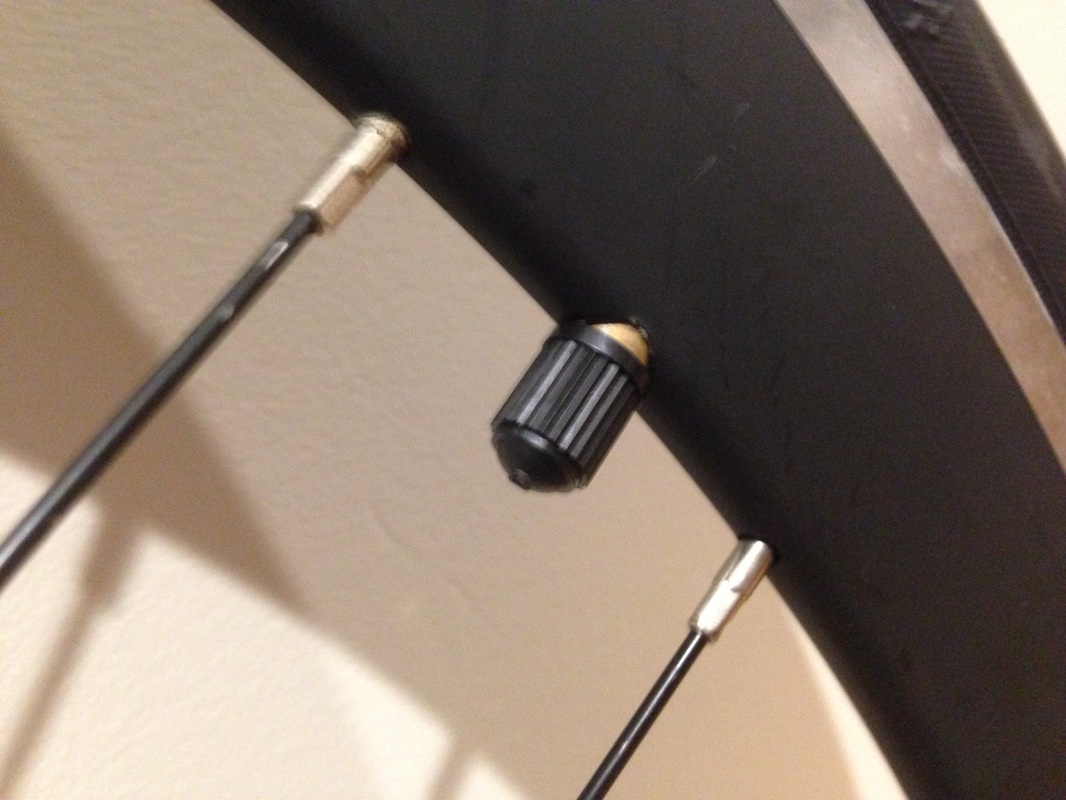
So whaddya do when the wife is away overnight on a business trip? Get the bike parts and tools out and get to work on them right on the dining table of course! I finally got the wheels sorted out. Got myself a nice looking alloy on the web which looks the business, cost me about $70. The rim does not have a machined braking surface but brake pads will still work on it, just not as efficiently. I'm not that worried though because 70-80% of braking is on the front wheel anyway. Also sourced an ACS 18T single speed freewheel and installed it. The rim requires a presta valve tube with a long valve. I do not want to drill into this rim so will stick with this type of valve. The beauty of this rim is that it will never need truing and is super strong. The front wheel is a NOS wheel from a bike shop this one does have a machined braking surface which is important. Cost me $20 and was a bit rough. Was ordered by a curtomer but never picked up so I snapped it up. It had a slightly damaged hub which resulted in a bent spoke. Some of the spokes were not tightened enough either. I sorted out these problems with the tensioning and also bent back the spoke. The rim and spokes are a bit scratched up but they are working fine now and I'll just spray some black paint on the bits that need them, also need to source some axle bolts. I also put back on the Michelin Dynamic tyres that came with my Raceline originally. I may swap these over for Continentals down the track. The final pic will give you an idea of what the bike will look like with the wheels installed. I couldn't help myself!!! You'll also notice that the front wheel axle is not fully seated into the dropouts. This is because the fork is used to having an older 27" wheel axle so it looks like I will have to file out the front dropouts to fit the more modern axle. May have to do it again once it is powder coated as powder coat is thicker than paint.

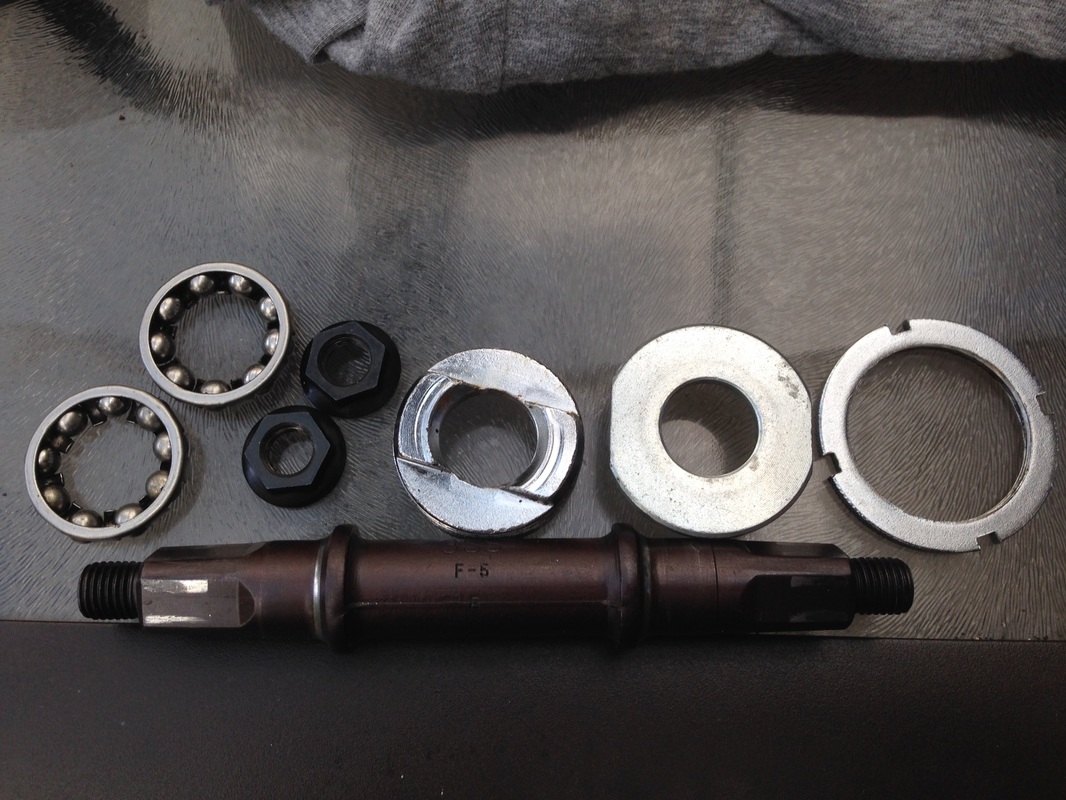
Bottom Bracket (unsealed) - Europa (80's)
Normally I would go for a sealed bottom bracket but this bike is made up mainly from parts from my parts bin as well as some NOS items and a couple of new parts too. I already forked out for the handlebars and the rear wheel so I figured I could just re-use more old parts. Does the same job anyway! This unit came off the Europa frame that I had built into a single speed for my cousin. Was in perfectly good condition, just gummed up with grease and rust. The cups, cones, shaft and bearings were in good condition so with alot of help from some WD-40 and abit of elbow grease the came up looking good. A couple of the ball bearings kept falling out of the cages but I soon sorted that out. I also trial fitted it into the frame and attached the cranks. No probs whatsoever. So that's one less part I have to worry about.
Parts gathered, parts still required, work yet to be done.
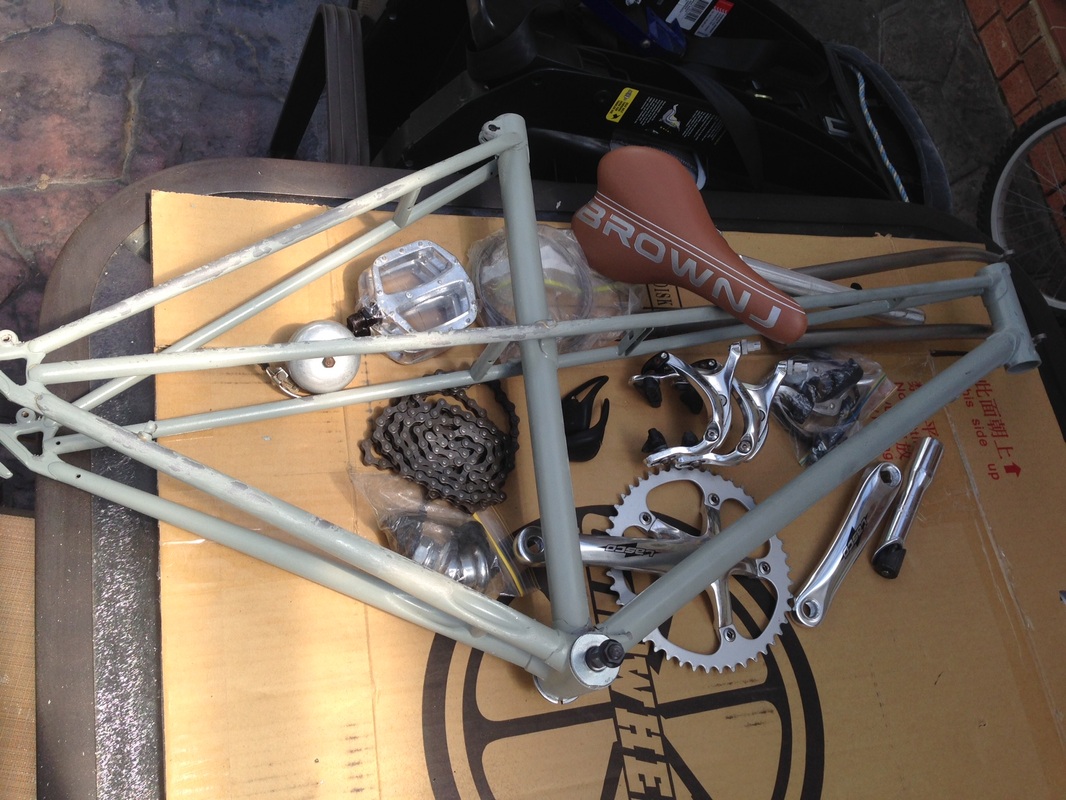
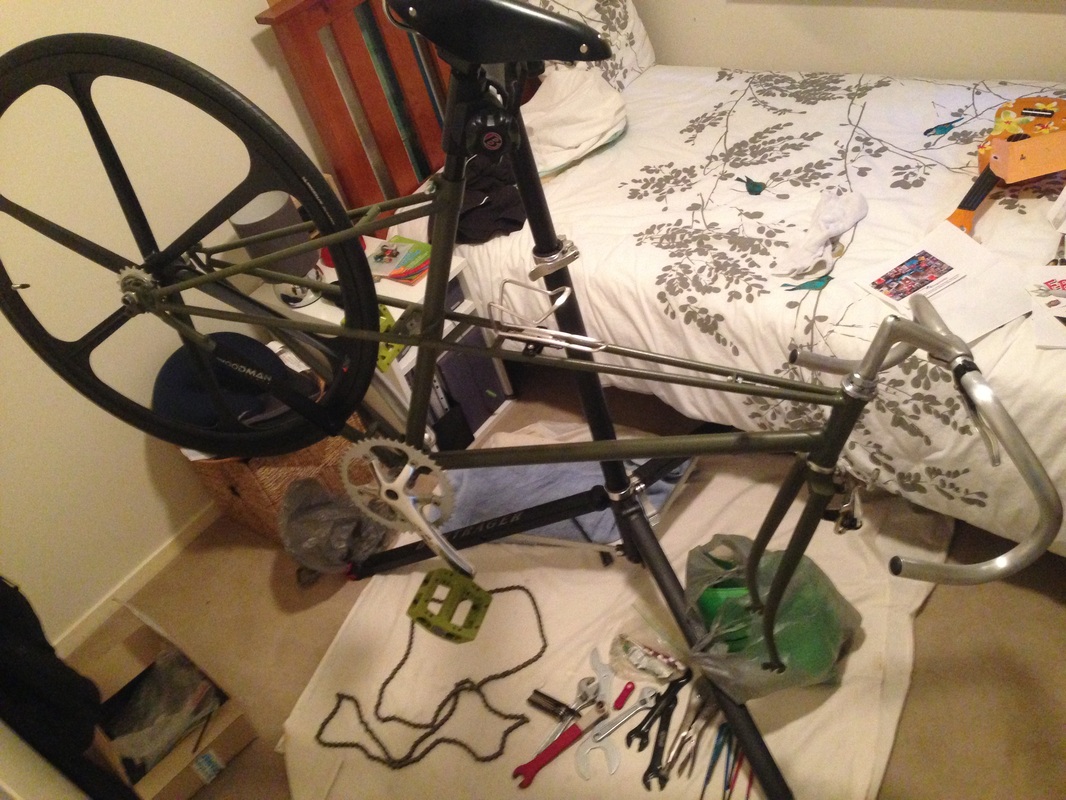
As you can see from the picture I still have quite abit of work to do but most of the parts are there. The only items that I have which are not in the picture are the wheels and the Soma handlebar. In the photo:
Parts I already have: frame & fork with bottom bracket installed, original Tange headset (used), new no name alloy pedals (which i just found today while cleaning up!), 2 x KMC 1/8" chains (1x used), my old Knog Frog lights (used), Lasco 46T SS Crankset with 170mm arms (NOS), Tektro R365 brakes (used), new brake cables, ferrules and caps, Tektro brake levers, a Brown Jersey tan coloured saddle attached to a 25.4mm seatpost (unsure if this post is the right one as I am missing a seat tube bolt to check), front and rear wheels and tyres (as above). Also the keen eye will notice my old 1/8" to 1" adapter to convert the stem to modern sizing. I am still tossing up whether to use it or an oild Nitto quill stem that I have which is abit more retro. The Nitto doesn't fit the soma bars though. I also have a bell from a Raleigh Twenty which is old looking but is the loudest bell I have ever heard. It will need to be polished up.
Parts I still require: Stem (on it's way), brake cable outers, seat tube collar bolt (to tighten seatpost in - still unsure of measurement), possibly some bar tape for tidying up cables but not sure yet, still thinking about it. Also a water bottle mount of some sort. I have a couple of systems in the parts bin so will play around with those to see which fits best - behind seat mount or on the handlebars. The older frames like this one don't come with mounts in the frame.
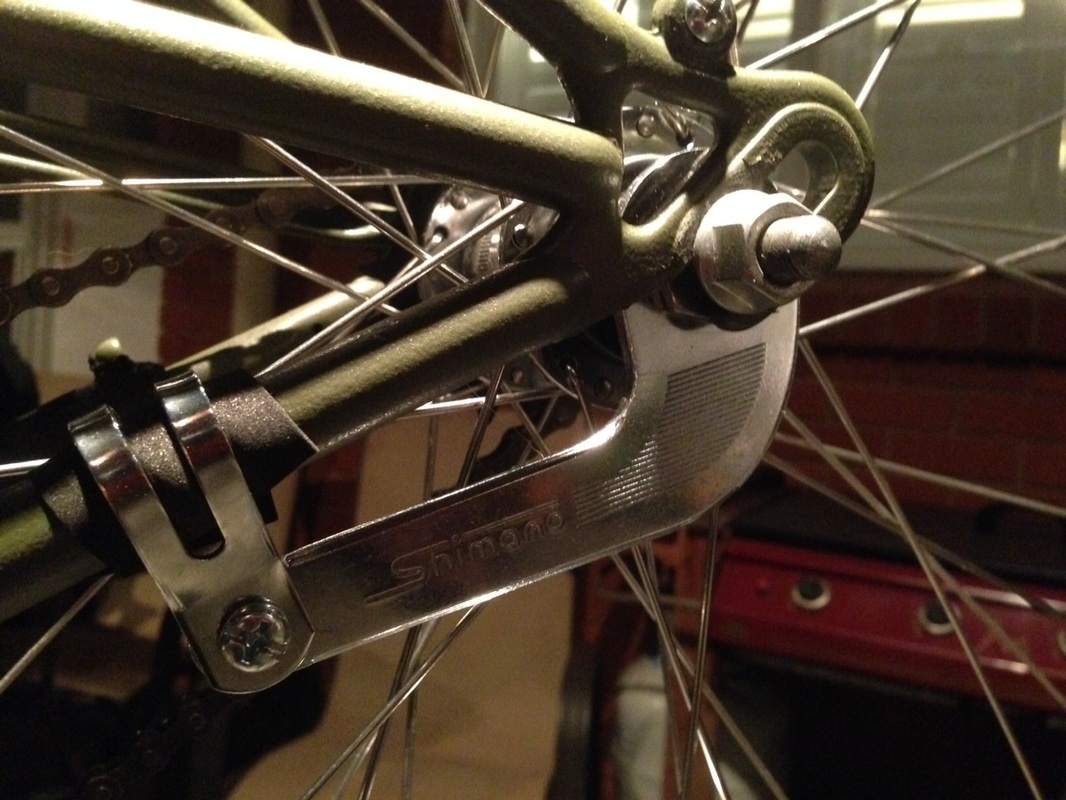
Work still required: Drilling out the brake caliper mount on the back of the front fork and rear triangle in order to fit the larger sleeve bolt for the calipers (needs to be done prior to powder coating), measuring the seat tube to get an exact size for the seat post, possibly change the bolt on the top of the stem adapter as it is looking a bit rusty, complete sanding and then off to the powder coaters for it's new colour, whatever it is.
Parts I already have: frame & fork with bottom bracket installed, original Tange headset (used), new no name alloy pedals (which i just found today while cleaning up!), 2 x KMC 1/8" chains (1x used), my old Knog Frog lights (used), Lasco 46T SS Crankset with 170mm arms (NOS), Tektro R365 brakes (used), new brake cables, ferrules and caps, Tektro brake levers, a Brown Jersey tan coloured saddle attached to a 25.4mm seatpost (unsure if this post is the right one as I am missing a seat tube bolt to check), front and rear wheels and tyres (as above). Also the keen eye will notice my old 1/8" to 1" adapter to convert the stem to modern sizing. I am still tossing up whether to use it or an oild Nitto quill stem that I have which is abit more retro. The Nitto doesn't fit the soma bars though. I also have a bell from a Raleigh Twenty which is old looking but is the loudest bell I have ever heard. It will need to be polished up.
Parts I still require: Stem (on it's way), brake cable outers, seat tube collar bolt (to tighten seatpost in - still unsure of measurement), possibly some bar tape for tidying up cables but not sure yet, still thinking about it. Also a water bottle mount of some sort. I have a couple of systems in the parts bin so will play around with those to see which fits best - behind seat mount or on the handlebars. The older frames like this one don't come with mounts in the frame.
Work still required: Drilling out the brake caliper mount on the back of the front fork and rear triangle in order to fit the larger sleeve bolt for the calipers (needs to be done prior to powder coating), measuring the seat tube to get an exact size for the seat post, possibly change the bolt on the top of the stem adapter as it is looking a bit rusty, complete sanding and then off to the powder coaters for it's new colour, whatever it is.
Sanding back the primer - 1/3/2015
Well thats man many many hours of my life I'm not gonna get back. I've so far spent a couple of afternoons just trying to get the newly applied primer off the frame. 3-4 coats of paint stripper, wire brushing, steel wool, pressure washer, sand paper, scraper, rotating wire brushes....you name it I've used it. This primer is real hard wearing stuff. I found the best way was the rotating brushes compined with a drill but forget batteries. You need a direct current unit! So far all I have done is all the hard to reach bits which is what the brushes are best for. I will do the larger flatter areas with sand paper. The brushes mark the frame a bit so I will go over with some smoother sandpaper to make it smooth. As it is getting powdercoated, scratches aren't that big a problem. Powder coat is thick and will smooth out and fill every gap and scratch. I've got many more hours to go so I don't think there will be a visit to the powder coaters anytime soon! Hopefully I will get this stage finished in the next two weeks.

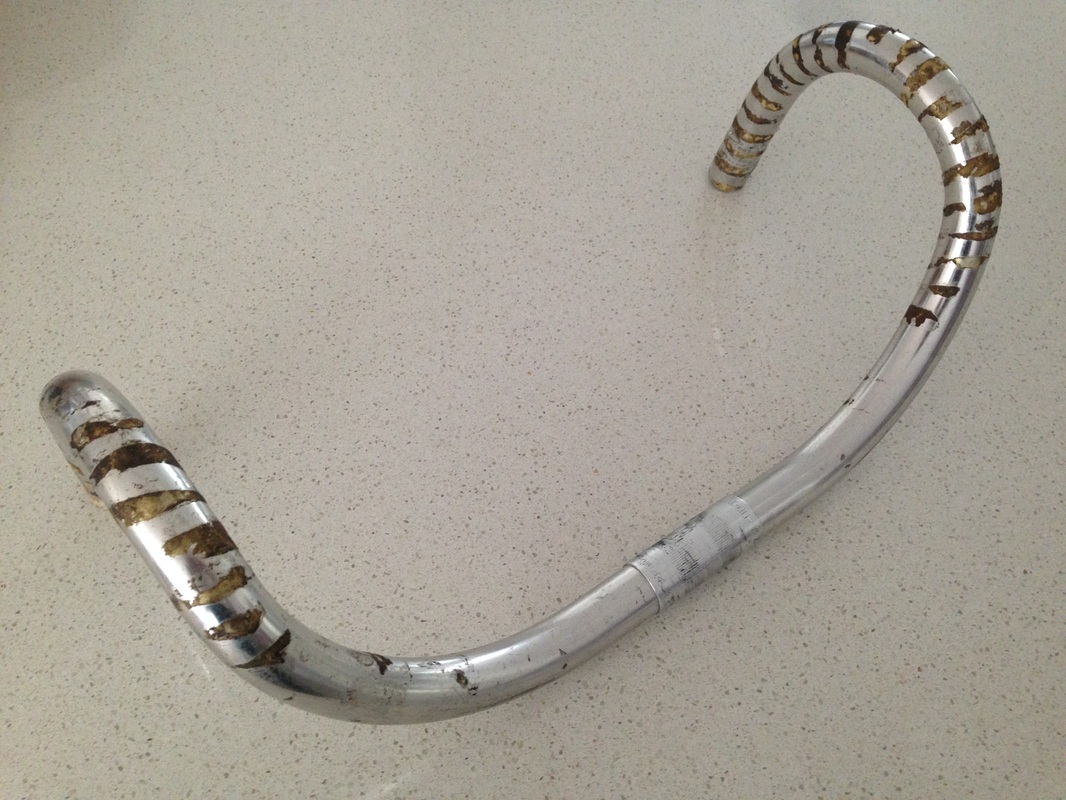
Quill stem and handlebar option #2 - Nitto
For a long time I've had this Nitto quill stem sitting in my toolbox. It was the very first part I had ever bought for my fixie build up and in the end I ended up going with an adapter to use more modern handlebar/stem setups. I have been looking for an excuse for a couple of years now to use it. So i got it out, gave it a clean up and then went online to search for some matching Nitto bars. The idea was to give the bike a clean look. If I end up going with this setup, I don't even want to put handlebar tape on. Just the clean look of the bars and stem with two or possibly only one brake lever. This inspiration came from the cycling show I watched called 'Pedal', a 2005 documentary that foloows the lives of NYC messengers, bikes they used their jobs and their lives. One guy in particular called 'Mo' uses this setup. The idea is that they ride fixed, with no brakes or even handlebar tape etc. Basically anything that is gonna cost them money that they can do without, they ditch it. This is because they don't make great money. I liked the look of the setup so I have copied it. The Nitto bars cost me $30 and came with a whole lot of gunky handlebar tape adhesive residue which looked like it had been caked on for years. So I spent about 2 hours with some Jif, WD-40, water, rags and 800 grit sandpaper getting them clean again. I like the matte look but may consider polishing them up to a nice finish in the future. For now they look fine and the idea is not to have a pristine bike anyway, just needs to look good, go fast and be easy to maintain. I also mounted my RL720 brake levers to see how they would look. Because there is no bar tape I'll just use my finger-less gloves when I ride.


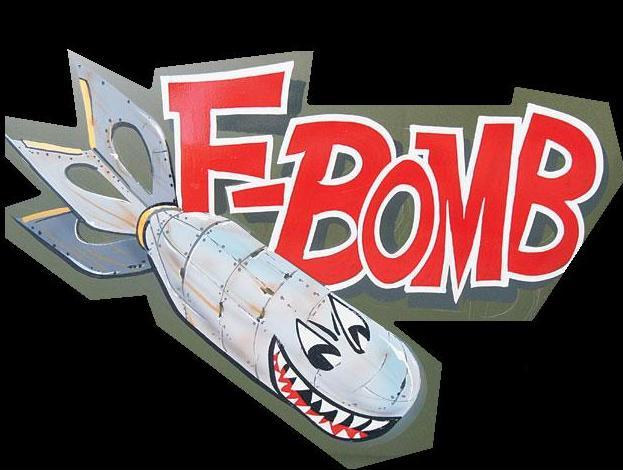
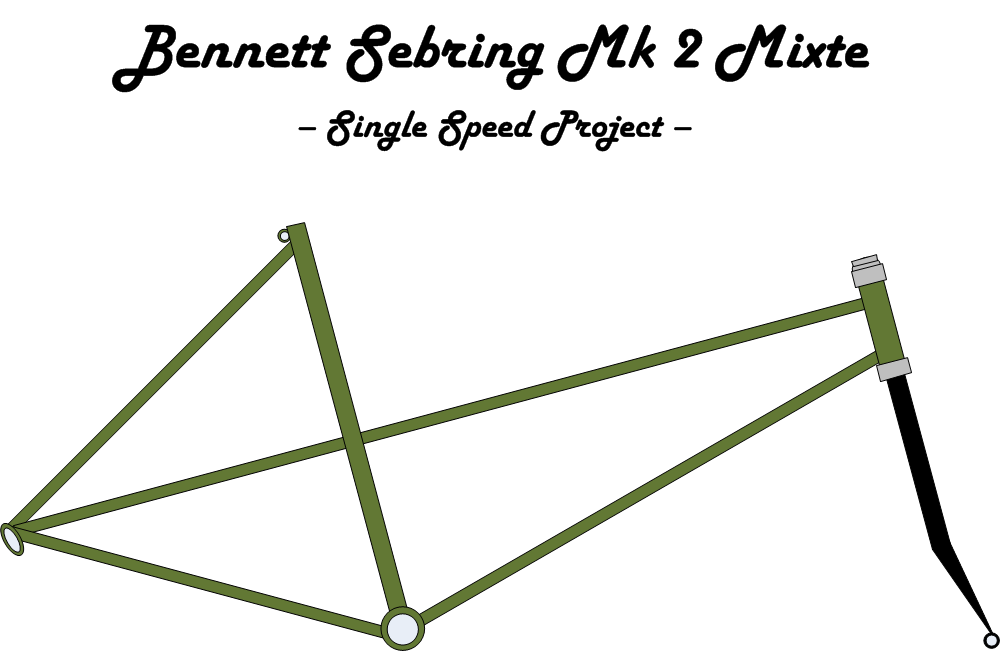
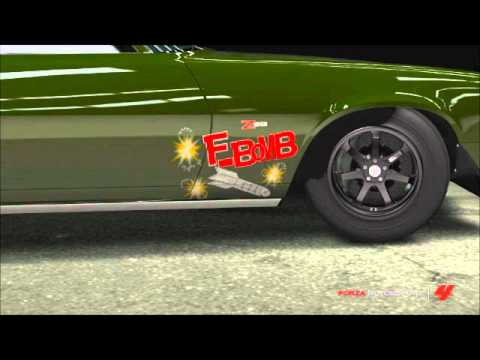
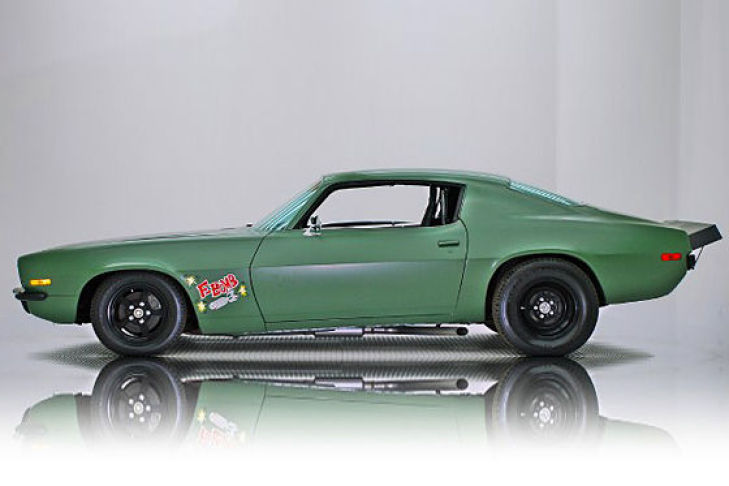
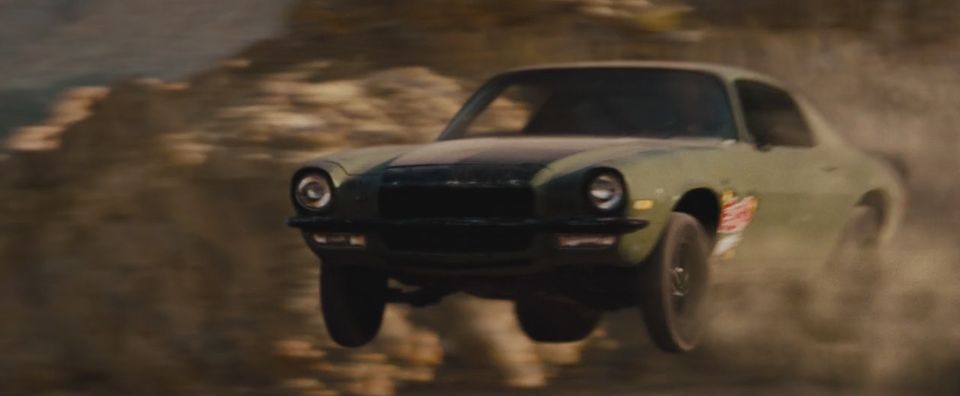
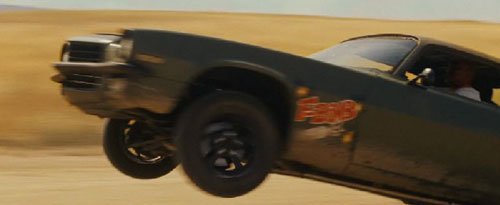
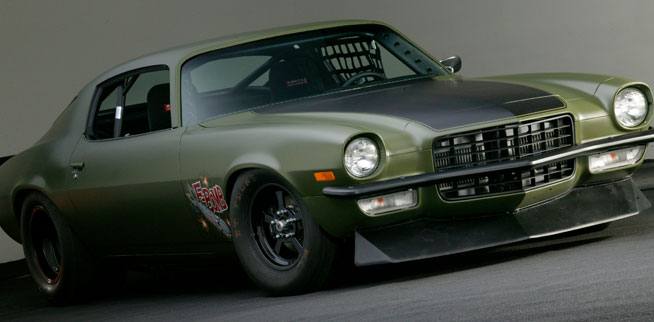
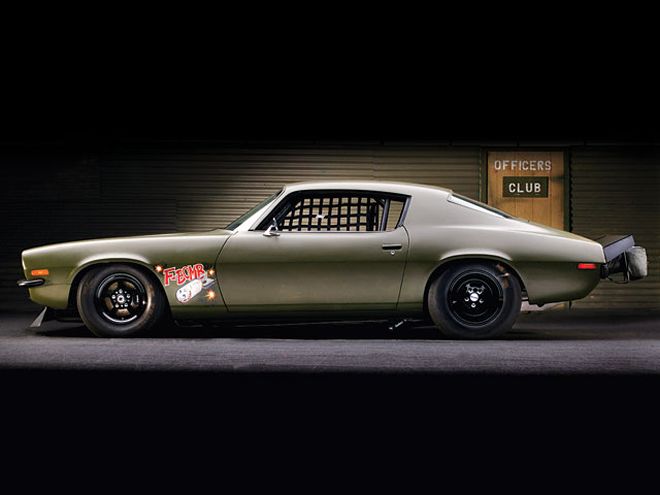
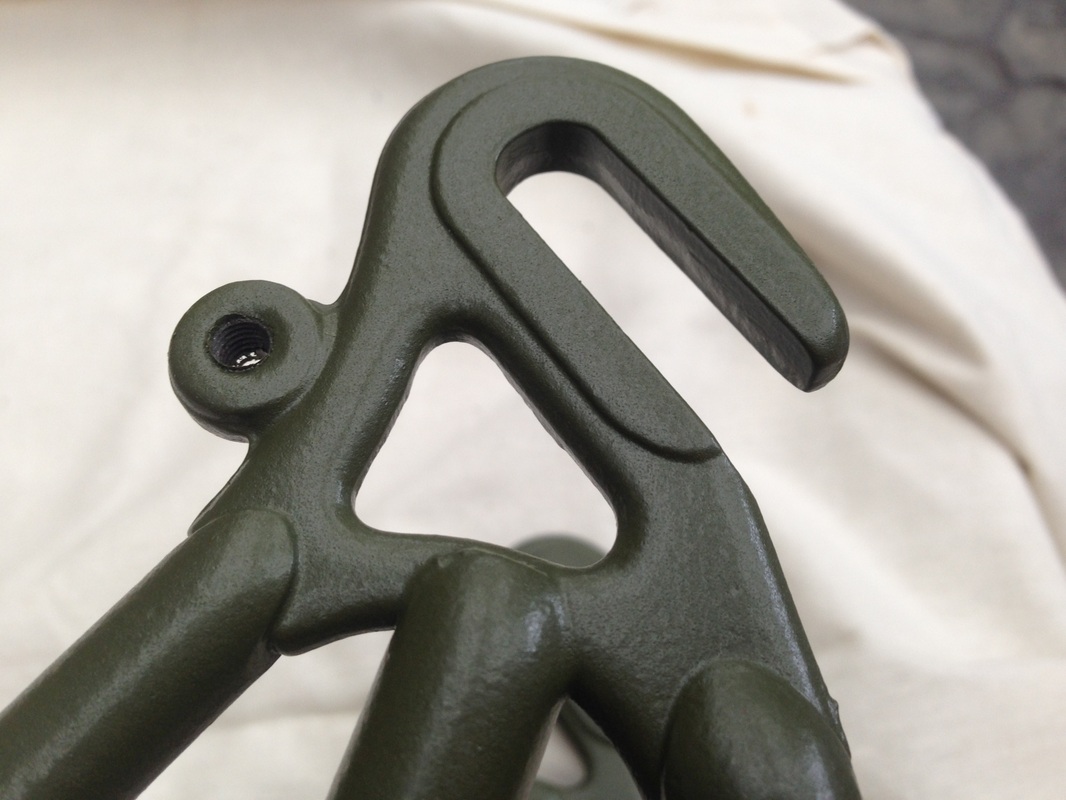
Inspiration for color choice - Army Green (F-Bomb Green!)

Paying homage to the F-Bomb Camaro on Fast and Furious driven by Vin Diesel, and also to David Freibergers '73 F-Bomb Camaro from Hot Rod magazine which is one of the most awesome cars I have ever seen and heard. I've decided to do an F-Bomb single speed. The colour chosen will pretty much be army green (olive green). Like the one on the left. Below you will see shots of the actual F-Bomb Camaro. An SS bike really isn't the same as the real F-Bomb but it's what I've got to work with and I love my bikes, so I'll be happy with this. Something different!


Dropped off to powder-coaters! - Monday 9th March 2015
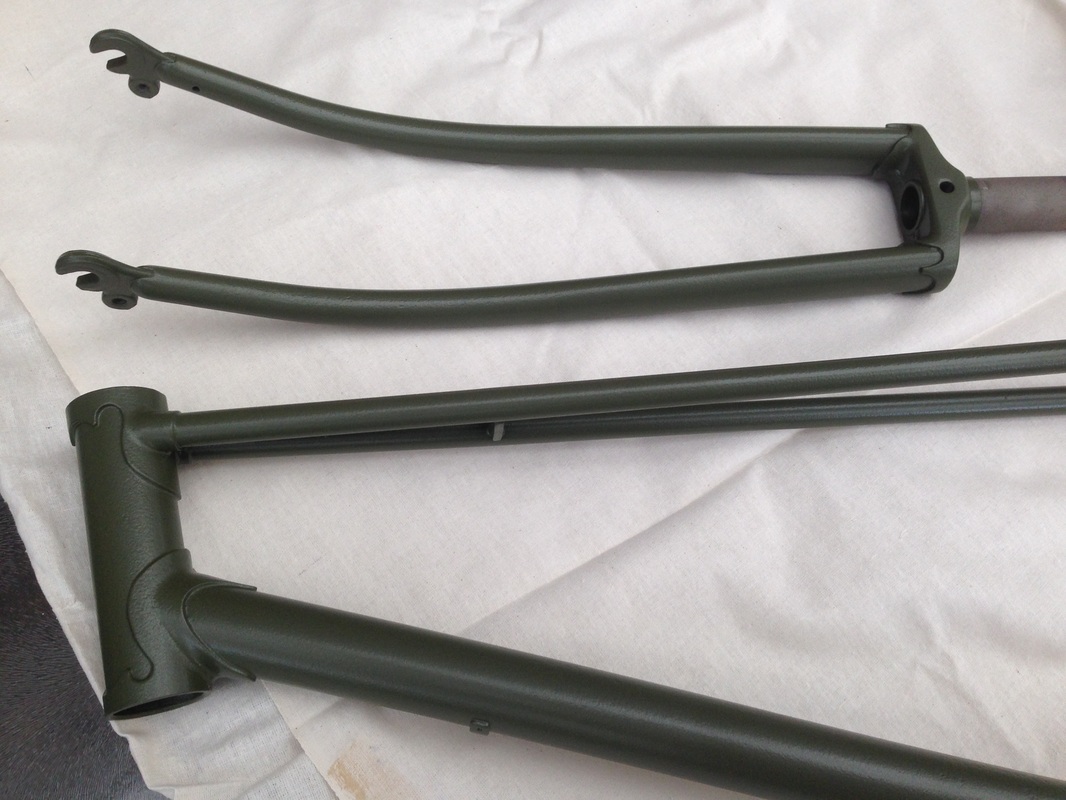
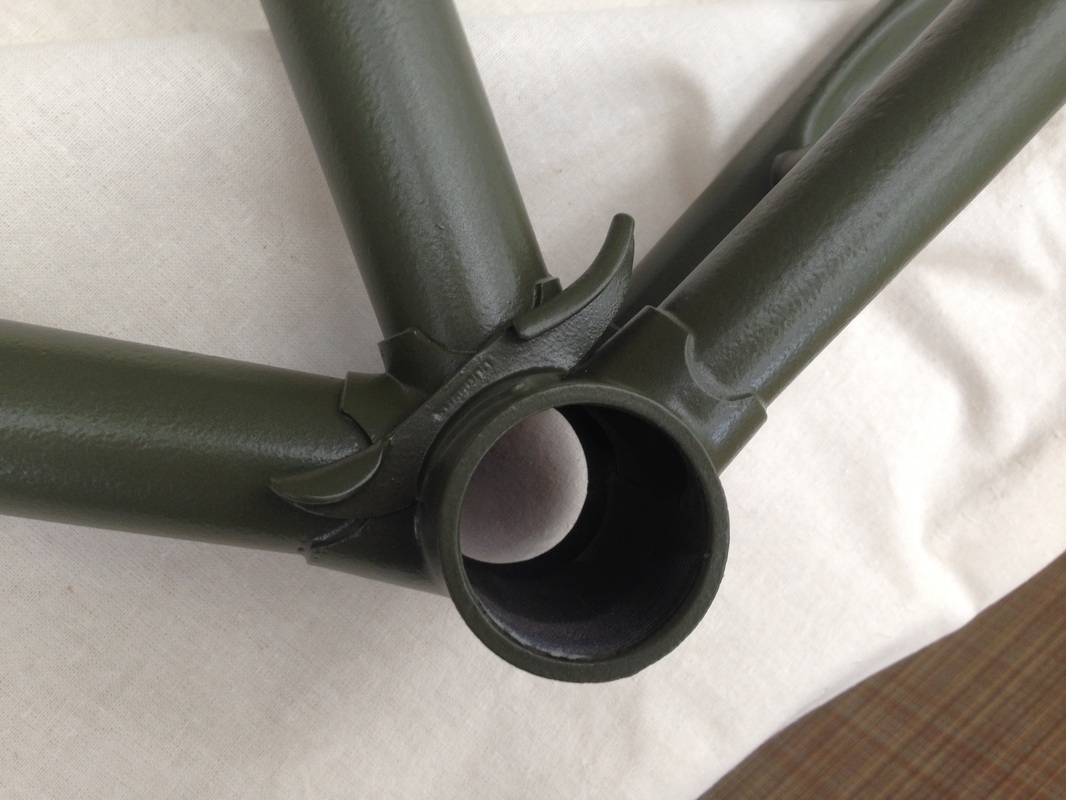
Back from the powder coaters! - Friday 13th March 2014
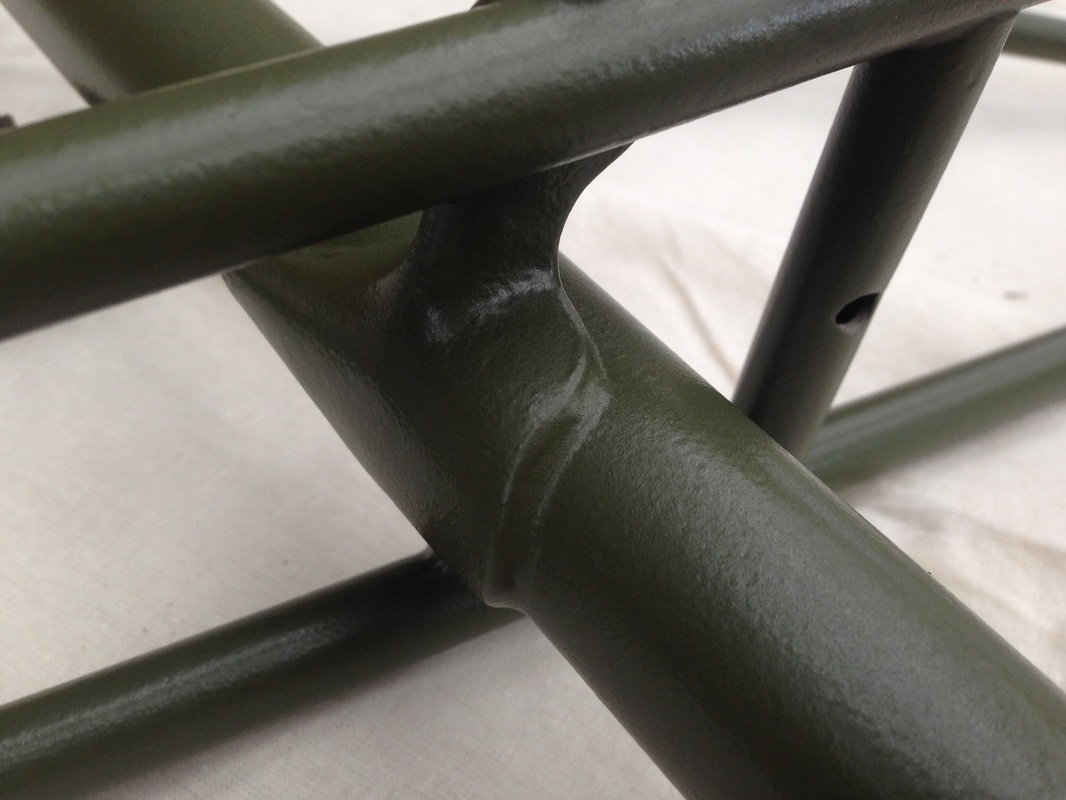
Well I finally got the frame back from the powdercoaters and it looks awesome. Most of the old scratches and bumps have smoothed out and they did a really good job taking care to cover up all the threads before paint. Only thing that was not done right was the crown race which I specifically told them not to coat, but its no biggie, I can live with that. Just have to scrape some of it away or hammer down the race ring real hard! See below for the pics when I got it back to my house.


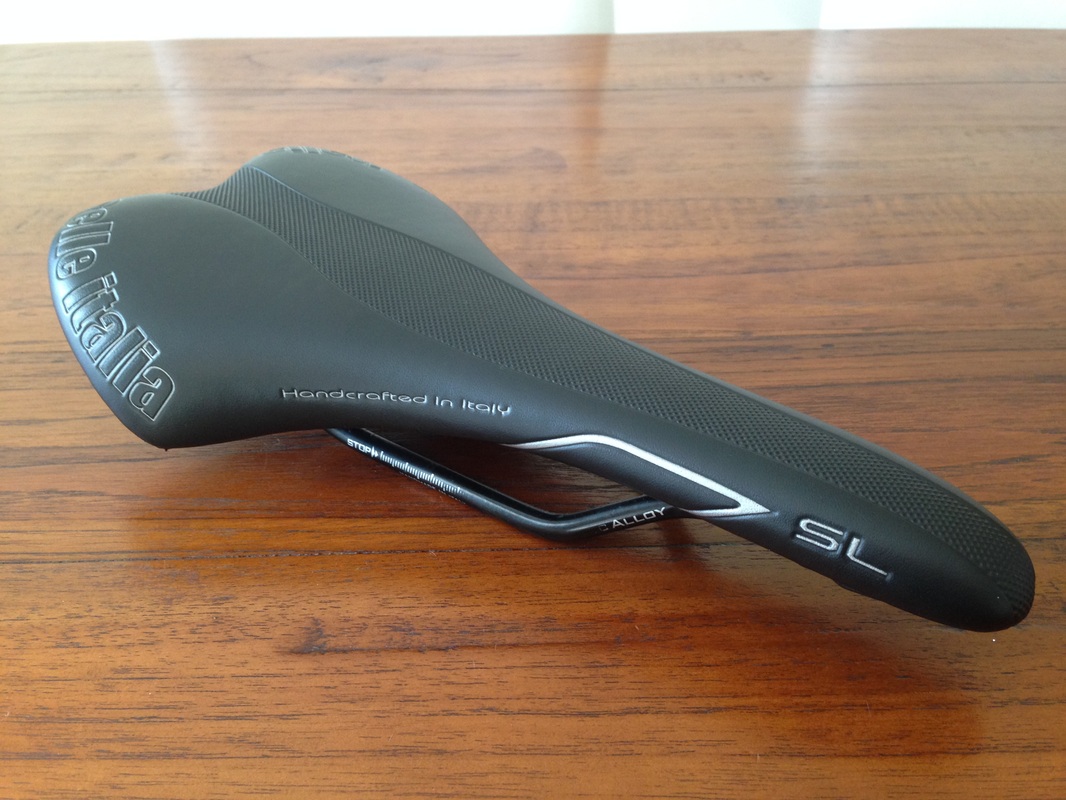
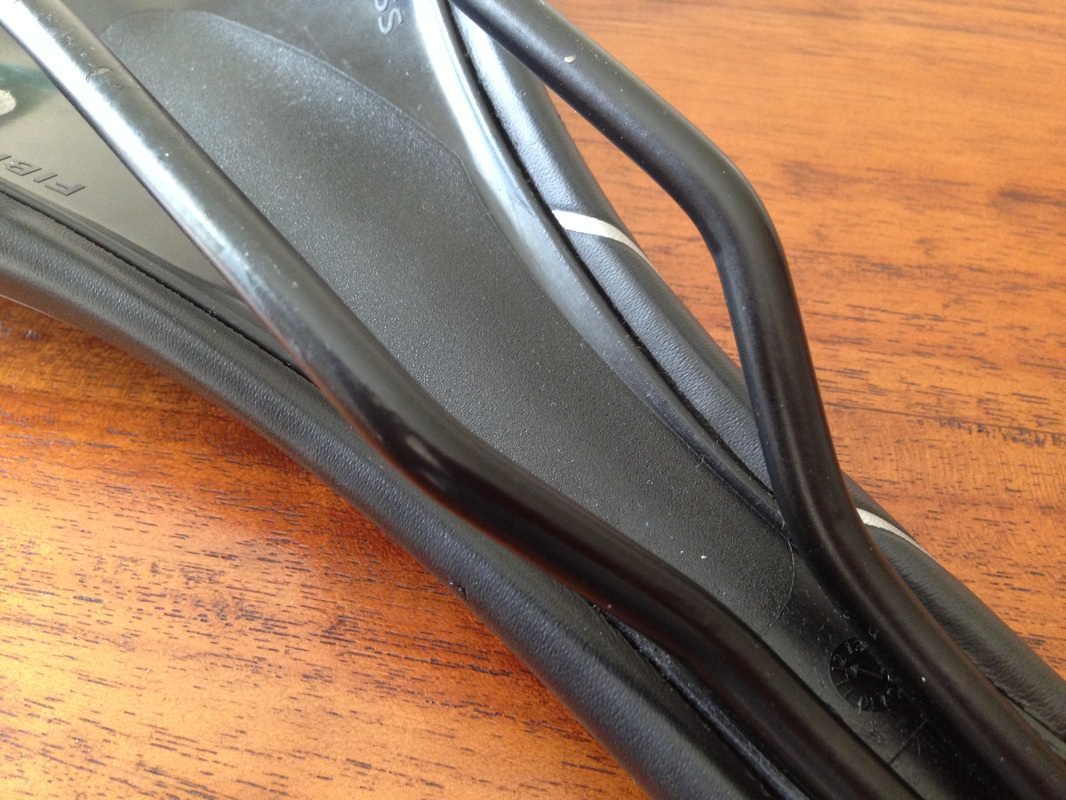
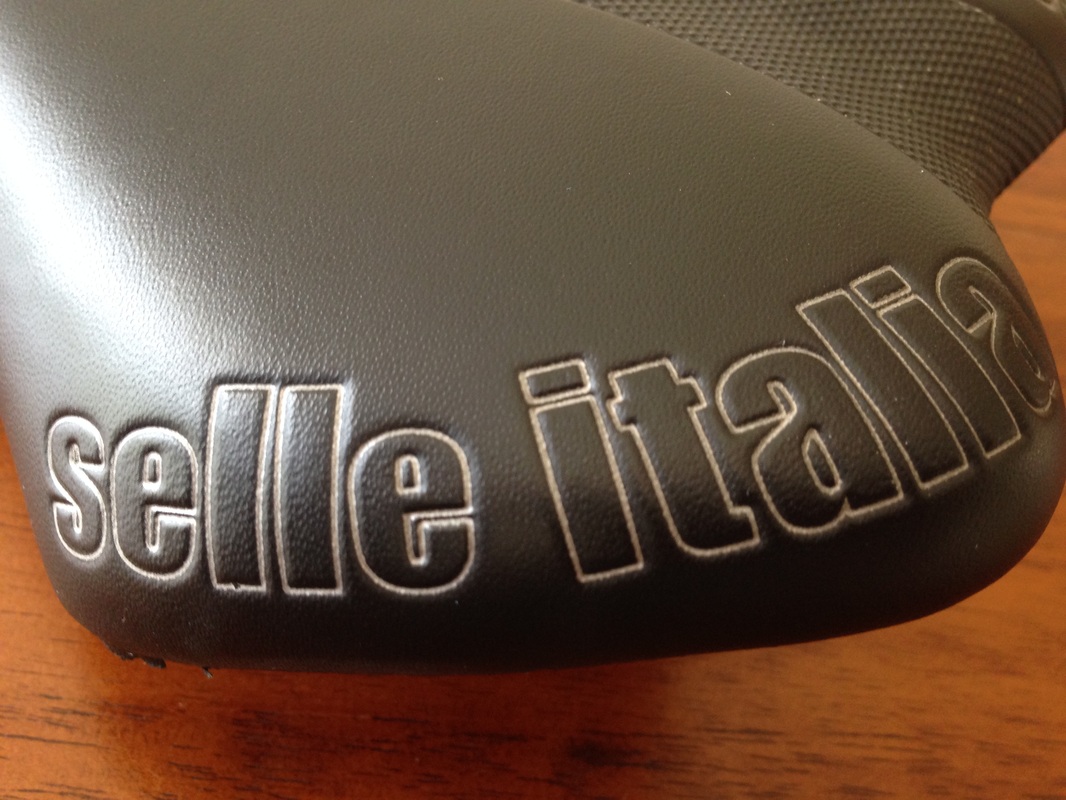
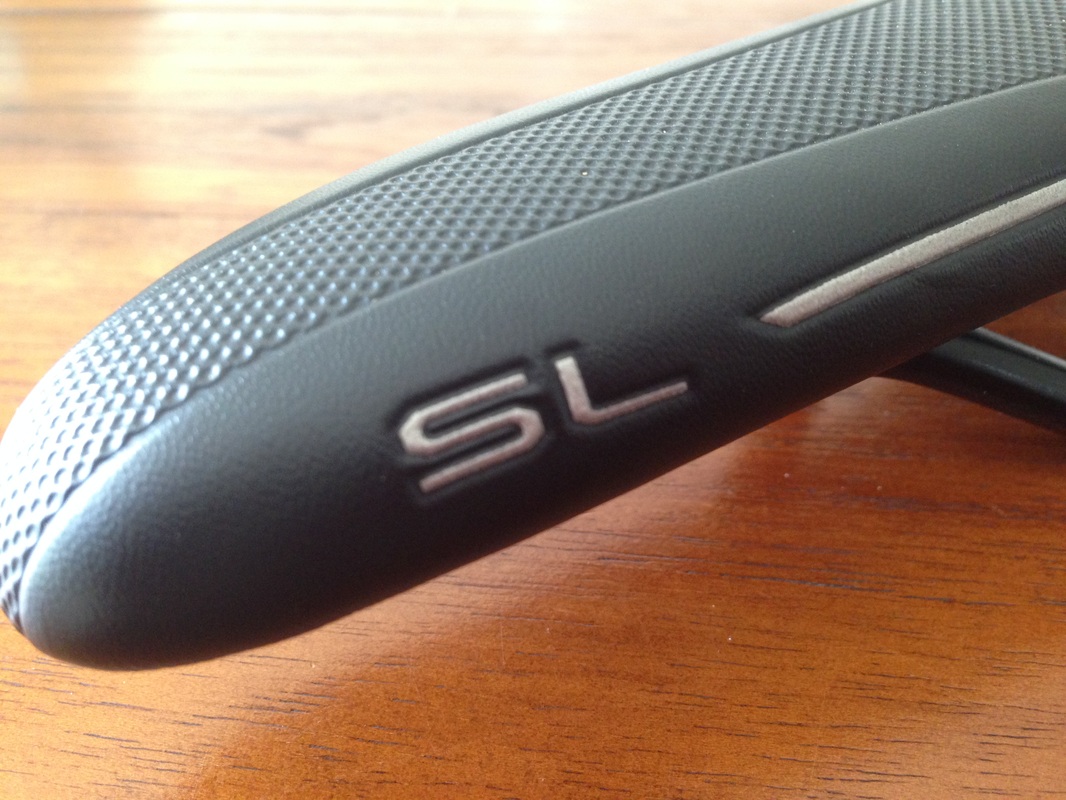
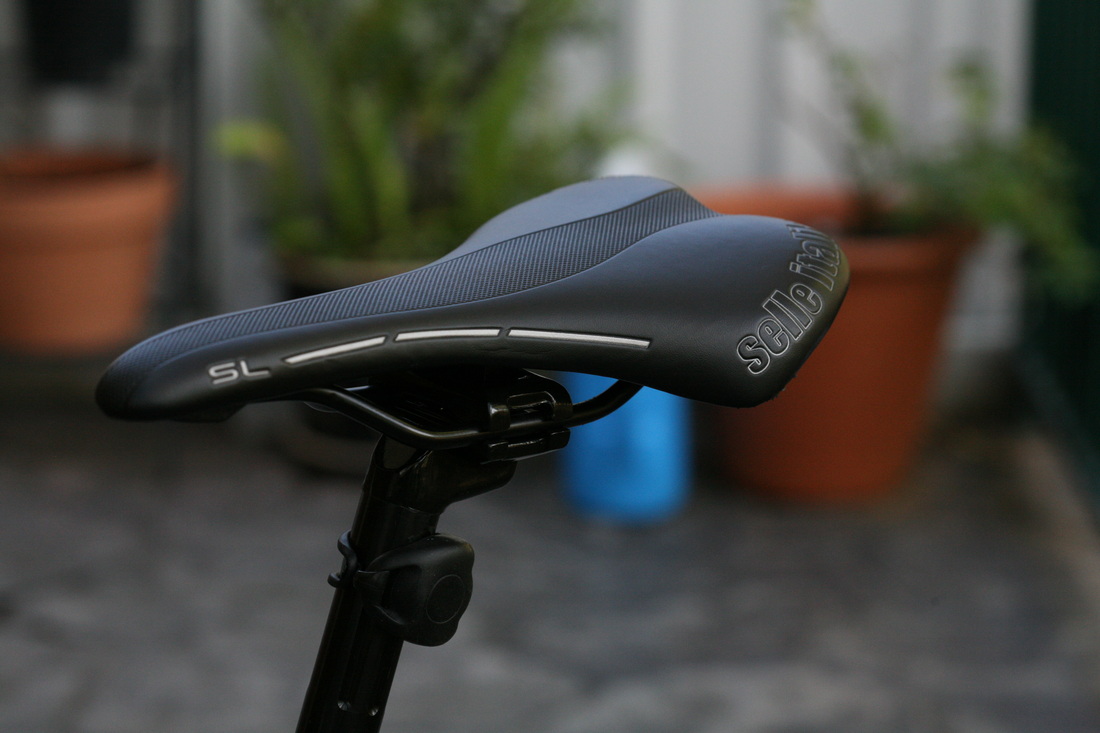
Selle Italia SL 142mm Road Saddle - Black
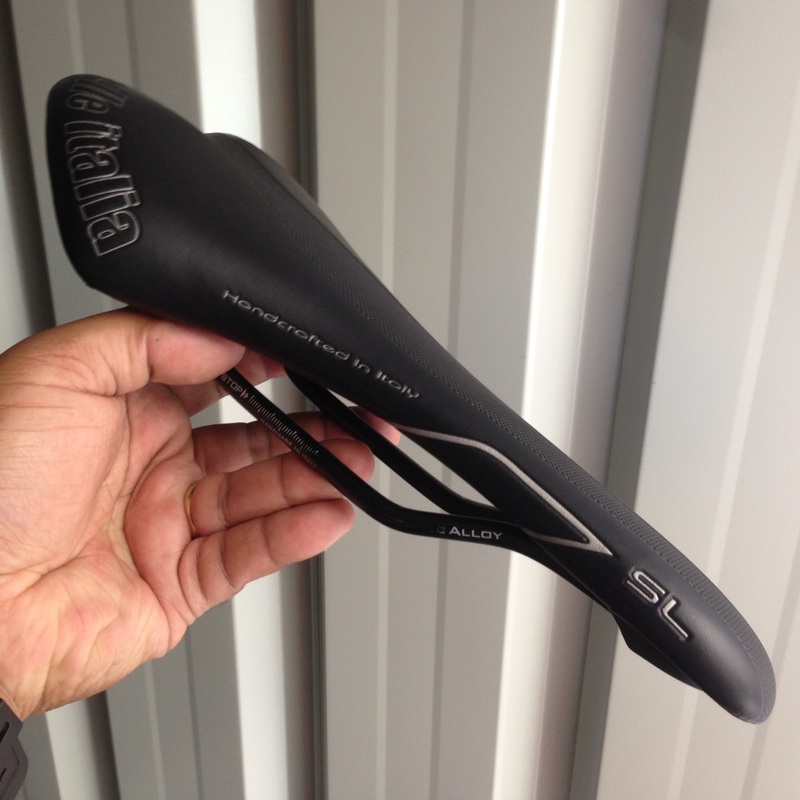
I picked up this saddle from a guy in the next suburb. Hardly been used and he used it once. Didn't like it so he decided to sell. I scored it for $50 which I thought was a pretty good bargain. Time will tell if I like it or not. If not they I always have a couple of back up saddles I can put on. I still don't have a seat post though!


Re-assembly Begins!!!
It's Sunday 15th March and I can't wait to get started!
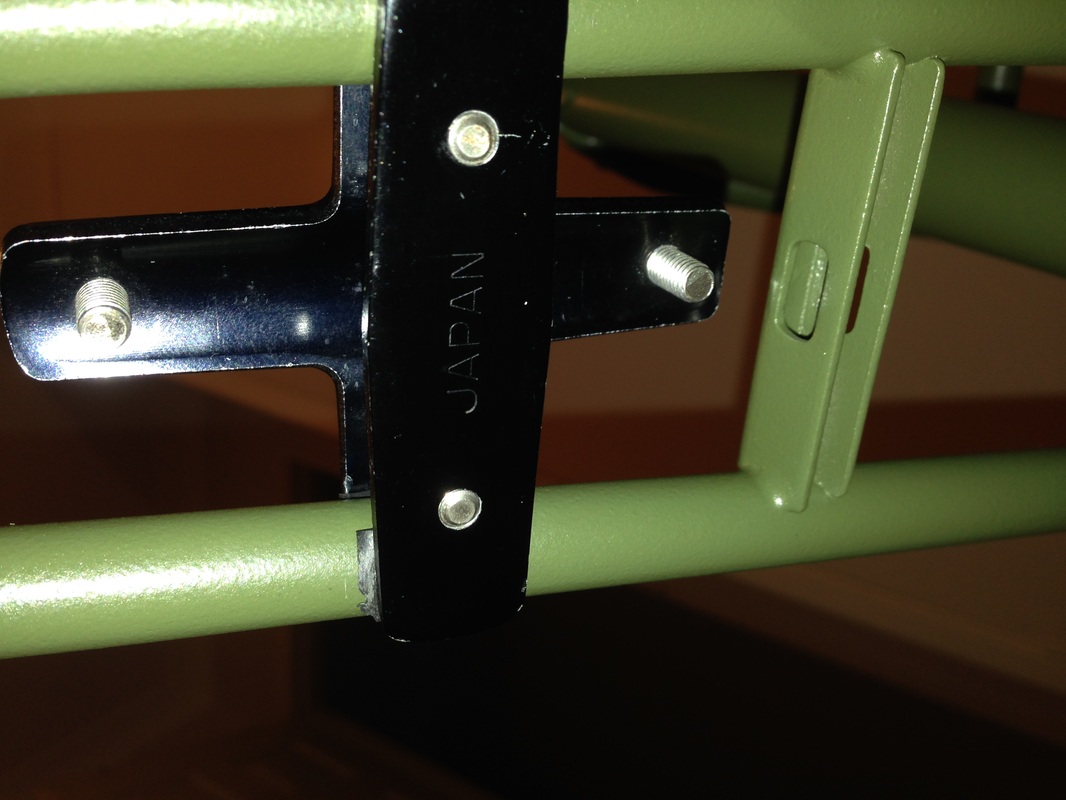
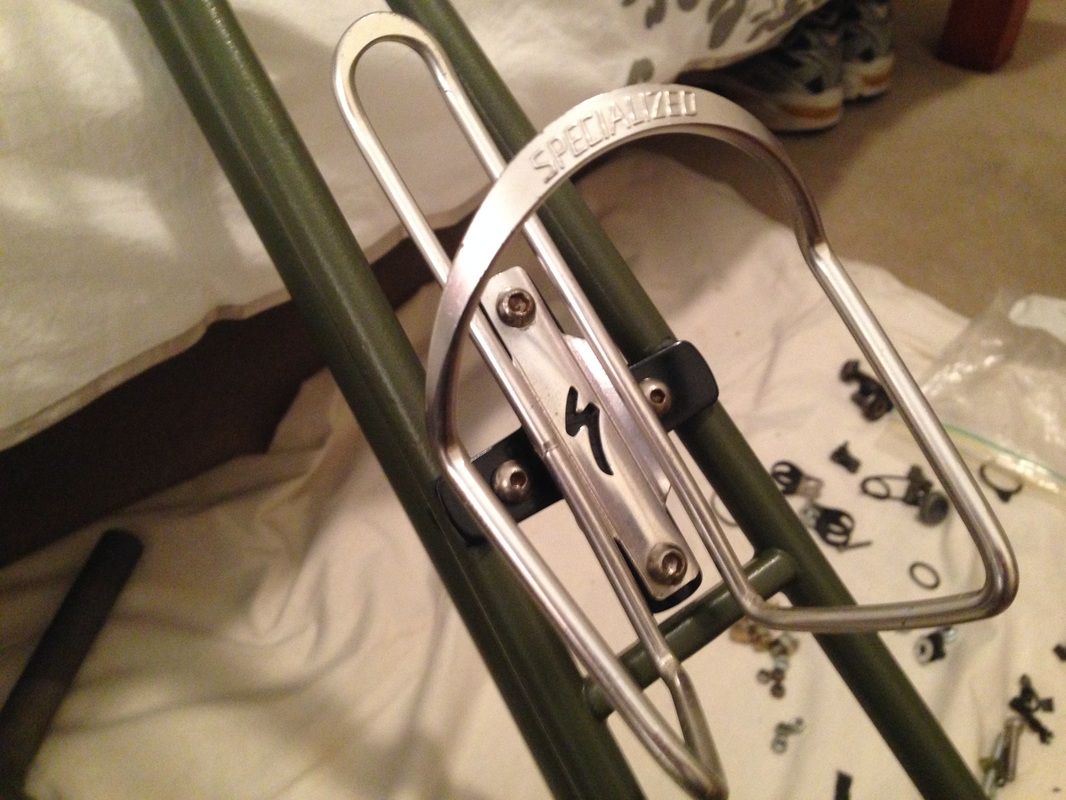
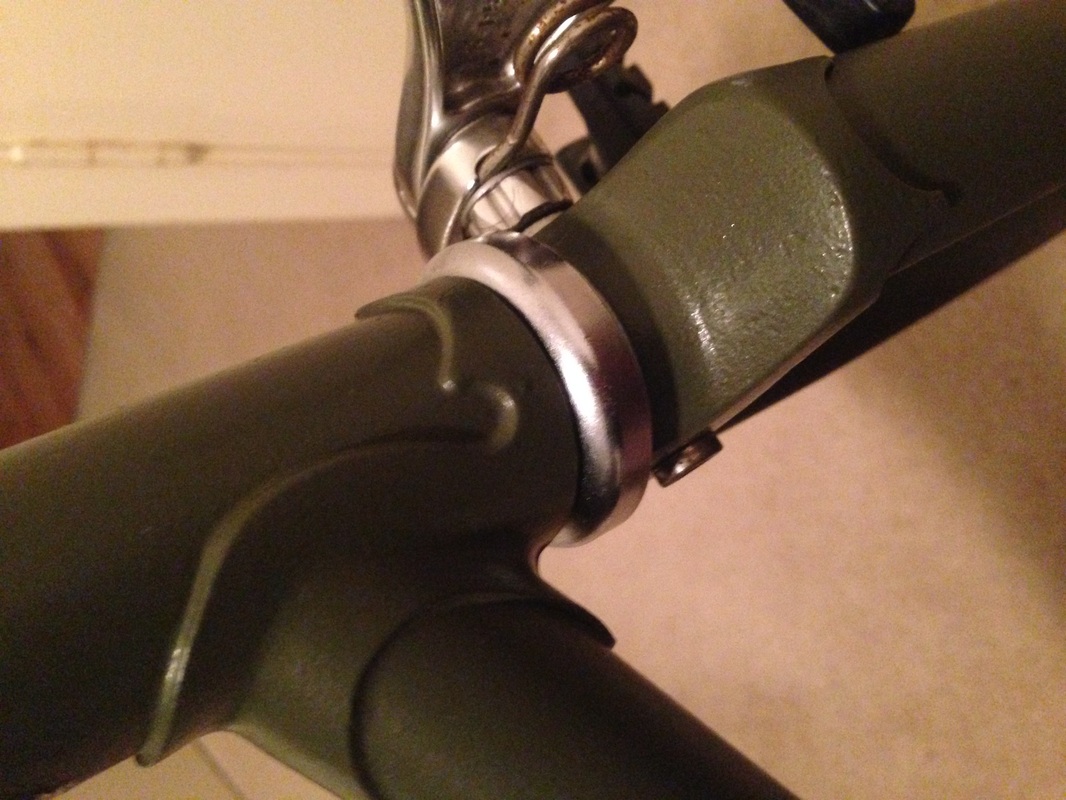
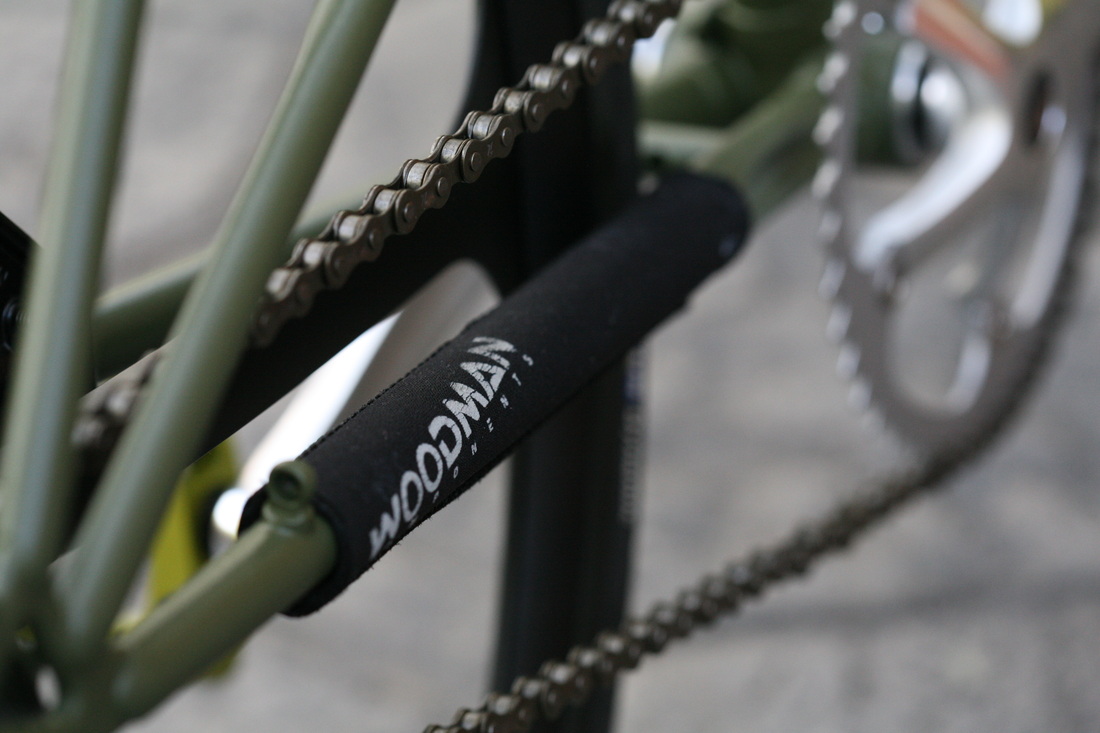
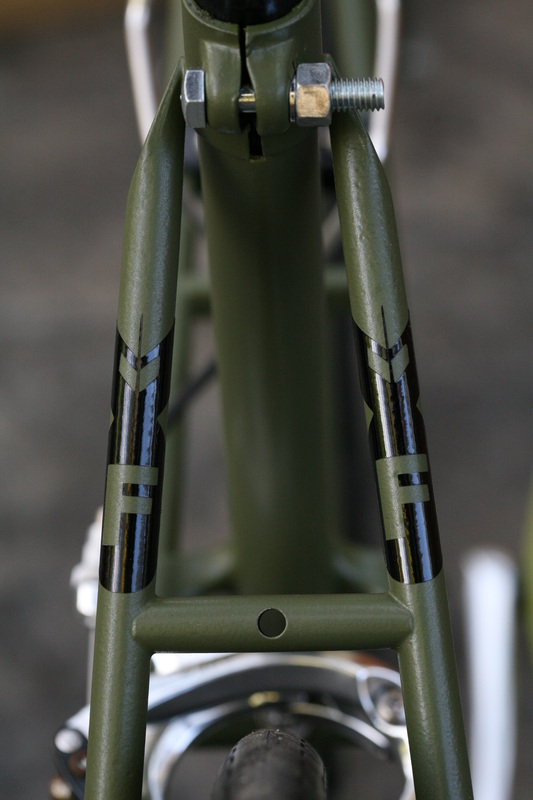
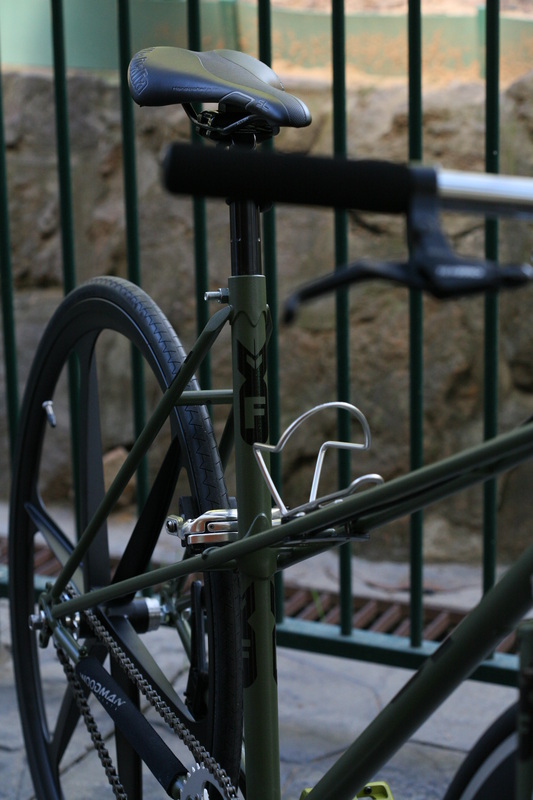
Specialized under seat bottle cage mount + cage - Black (vintage)
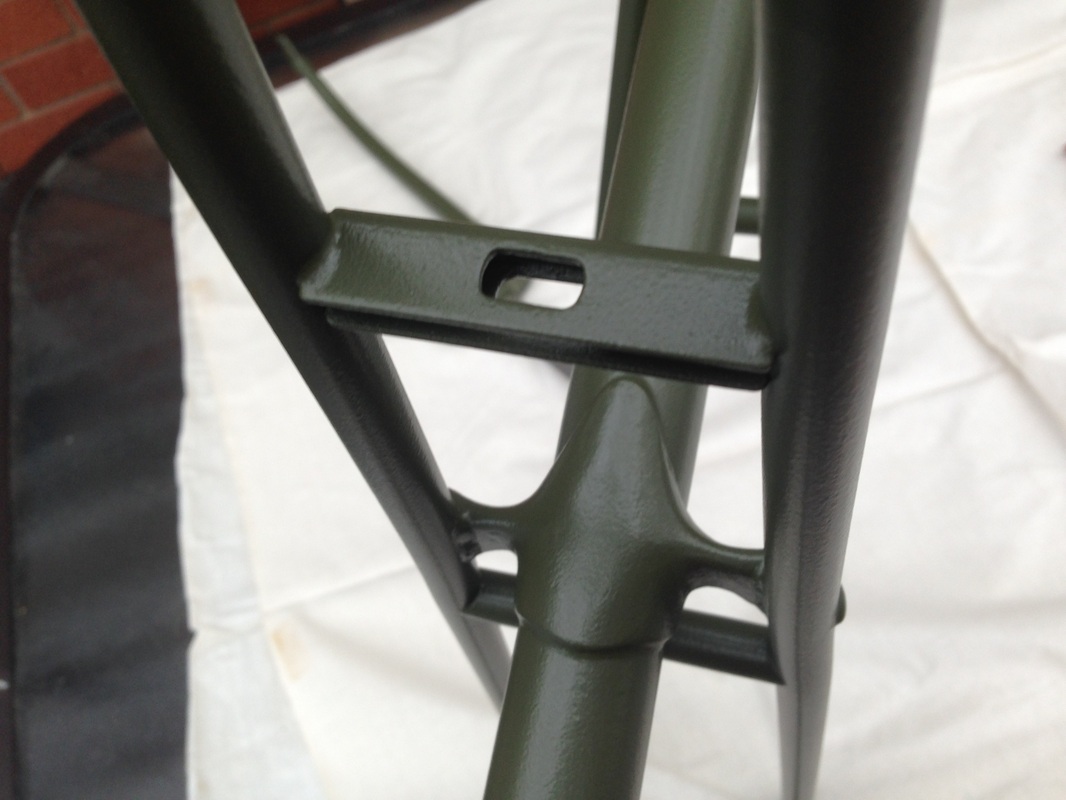
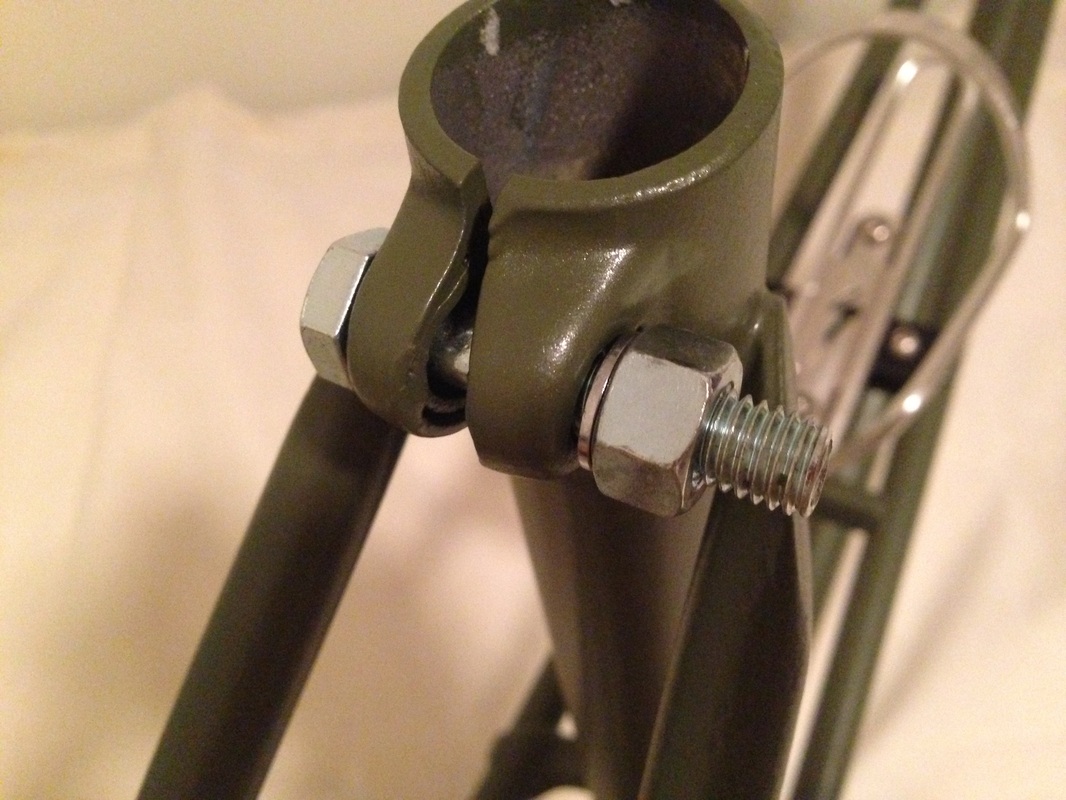
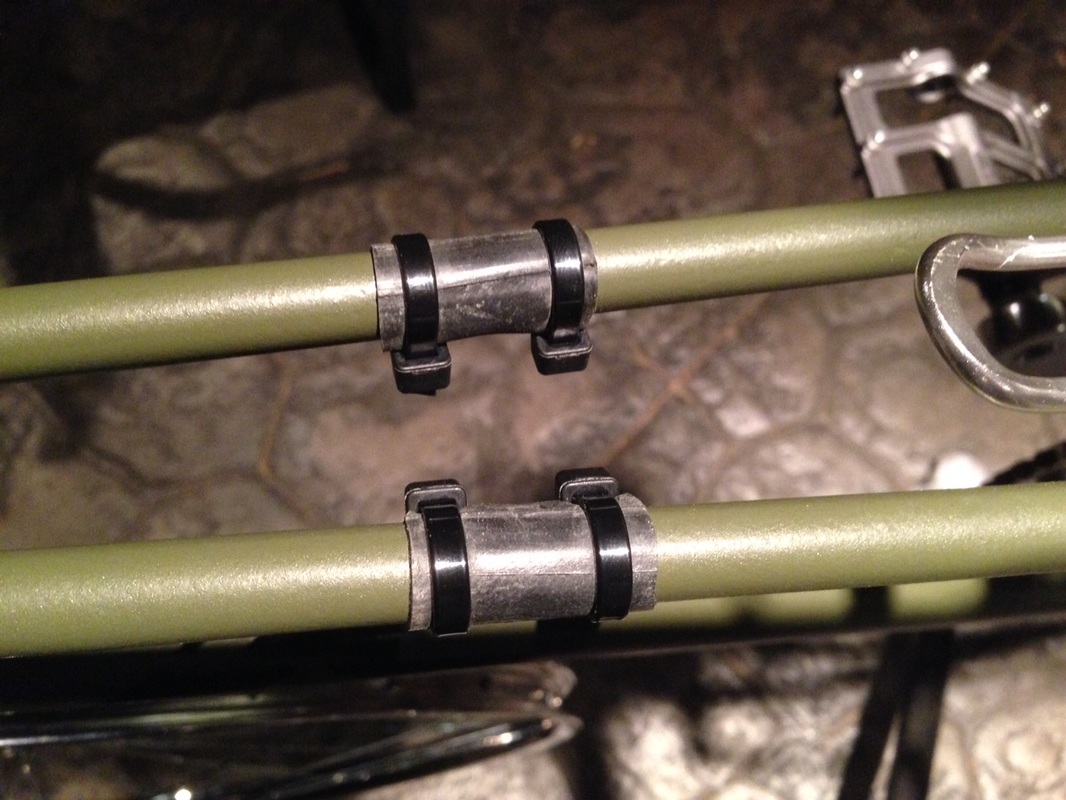
I have held onto this mount for a couple of years now. I used it on my very first fixie bike, the orange Repco Traveller. I got rid of the bike but I saved this mount. It is quite rare to find one now and I bought this second hand from the USA. This little addition to the mixte frame is just a good idea and pretty ingenious I think. I was quite proud of myself when I thought of this! Basically the frame has two parallel tubes going from the head tube down either side of the seat tube and connecting to the rear axle area of the triangle. This allowed me to place a bit of rubber on the two tubes and mount the bottle cage holder as if it was on the under-side of a saddle. The result is a very effective bottle cage mount for a mixte frame that is strong and solid.

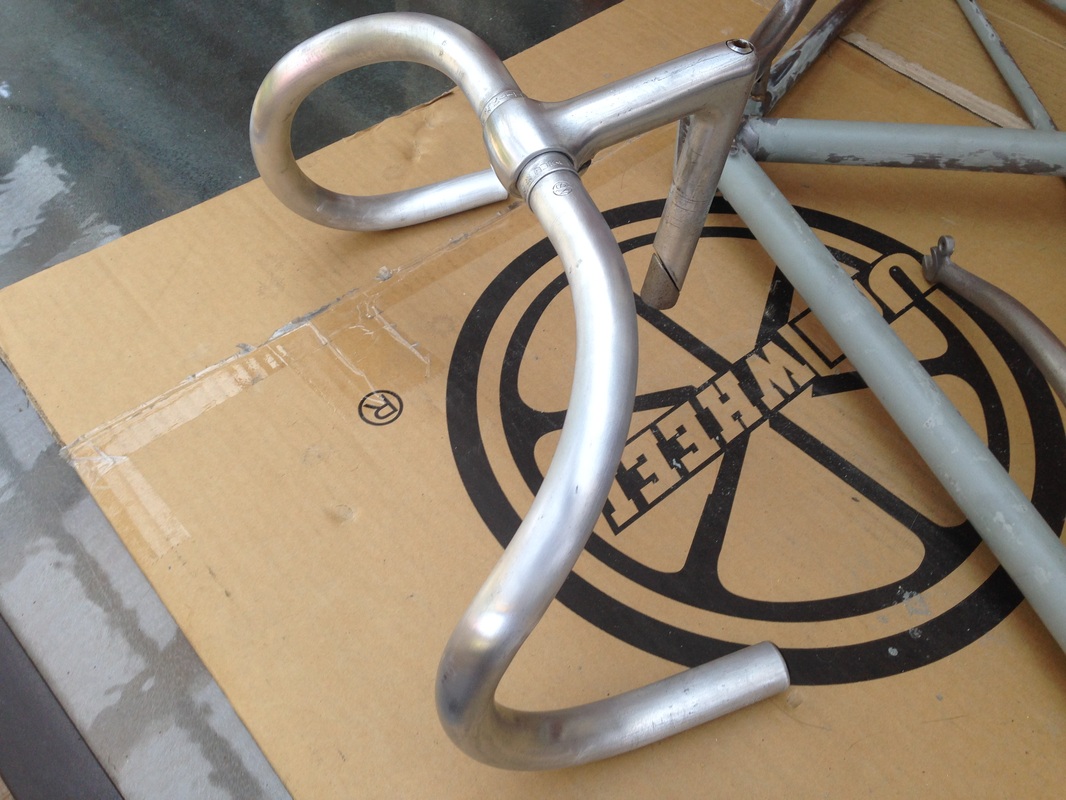
Headset Installation
I ended up having a few issues with the headset. Firstly I replaced the bottom cup with one from the Roadmaster mountain bike I turned into a stool. The existing bottom cup had become very corroded and there was no way I was getting that off to a nice smooth polished finish. So I replaced it. Then after that was sorted, whilst I was cleaning the headset up I noticed that the crown race had a split in it. Crown races are generally very strong and can take a beating, particularly when they are being installed / removed. So again I still had the old race from the Roadmaster which was a bit dirty but worked fine. I tell you that old bike is the gift that just keeps on giving...lucky I keep old parts! So with the headset installed I could then install the Nitto quill stem and bars. The bike was now taking shape.

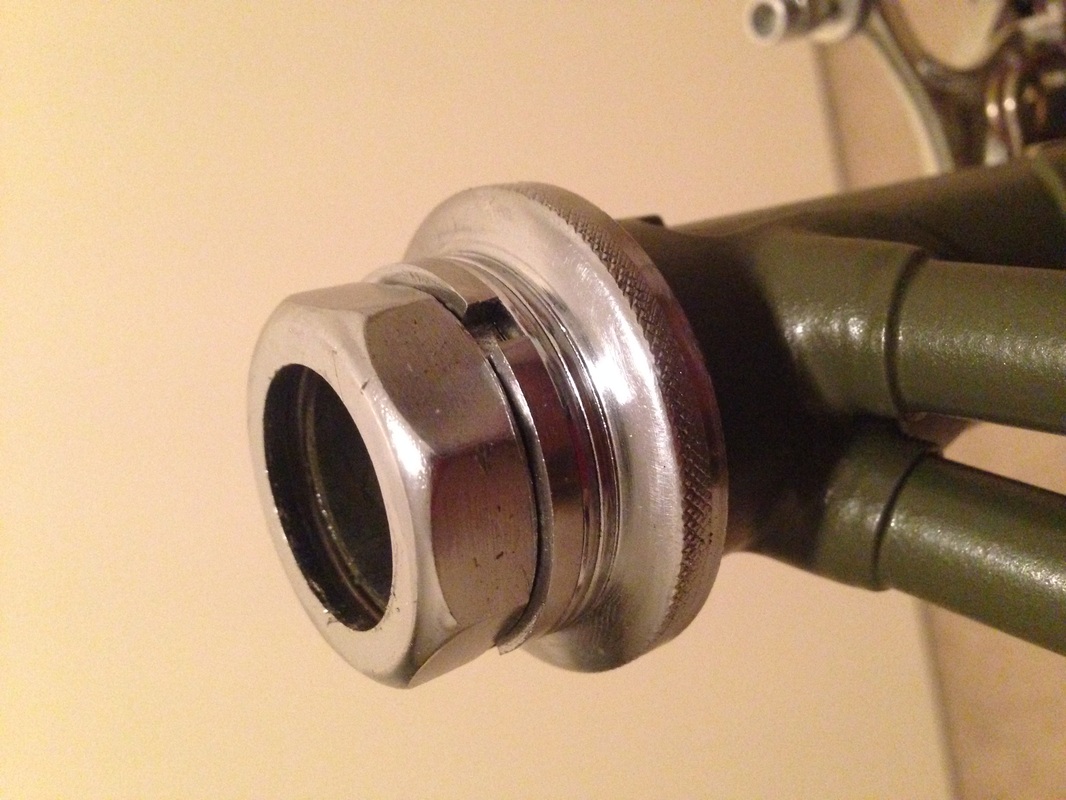
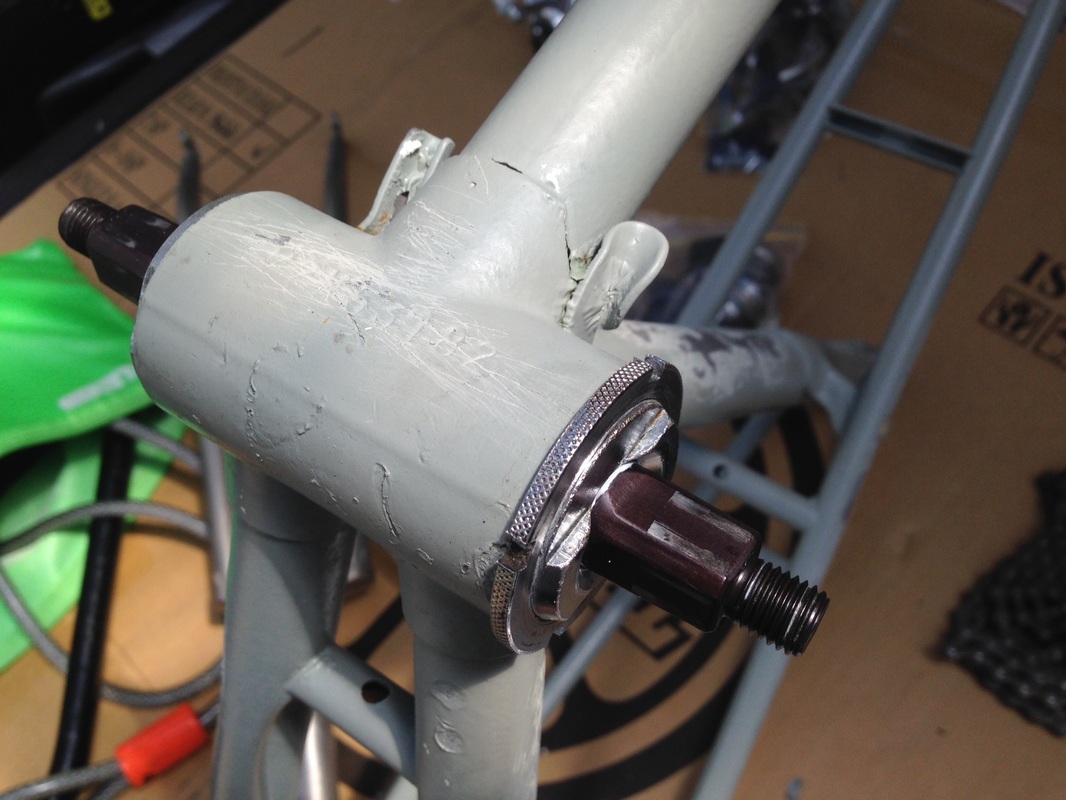
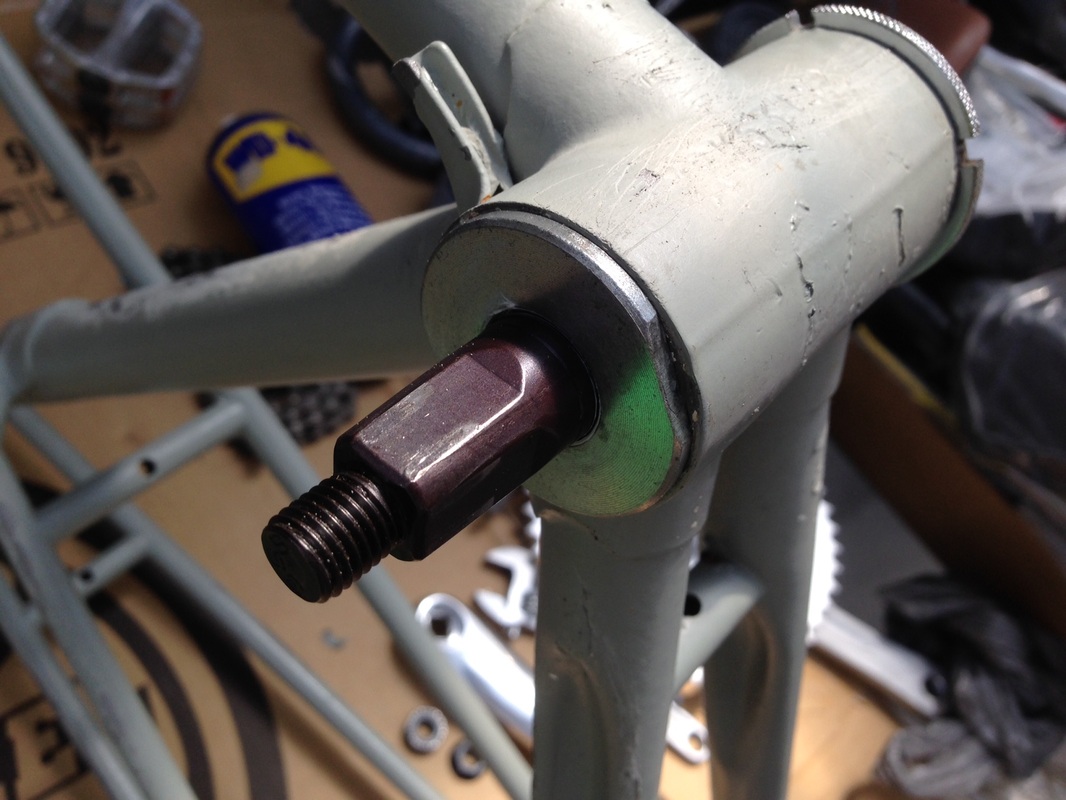
Bottom bracket installation / issues

|
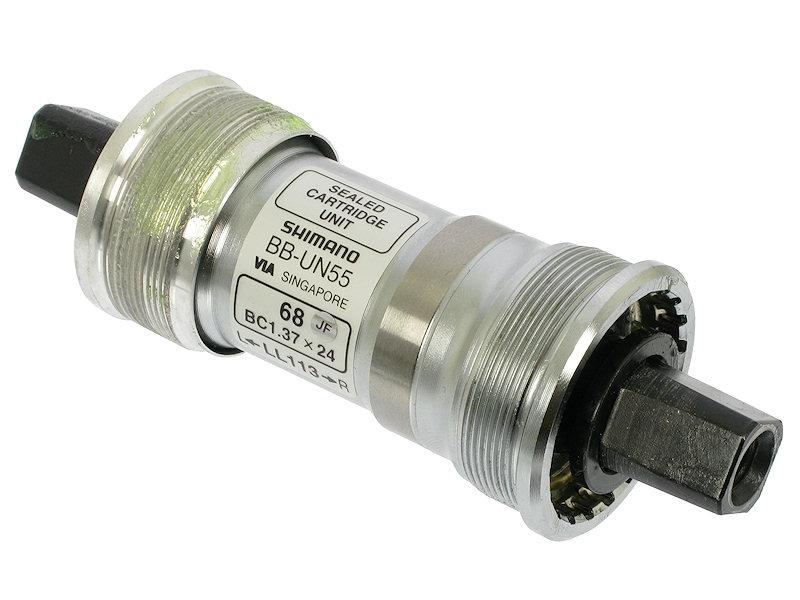
Unfortunately the powder coaters managed to get a lot of paint into the threads so I spent a considerable amount of time wire brushing, sanding, scraping the threads being careful not to strip them so that the bb would screw in better. Took a lot of muscle and patience. Finally got it in but then worked out that the chain alignment would be crap between the rear sprocket and front chain ring. The existing spindle it had was designed for a road bike with 2-3 chain rings on it and it’s nearly 130mm long! So after a bit of measuring I have decided to go with a 113mm long good quality Shimano sealed unit. That should be here in a couple of days. Alignment should be a lot better too with minimal noise from the chain plus front and rear cogs working together.
|
Seat post, Brooks saddle, chain guard, cranks and pedals & trial fitting rear wheel
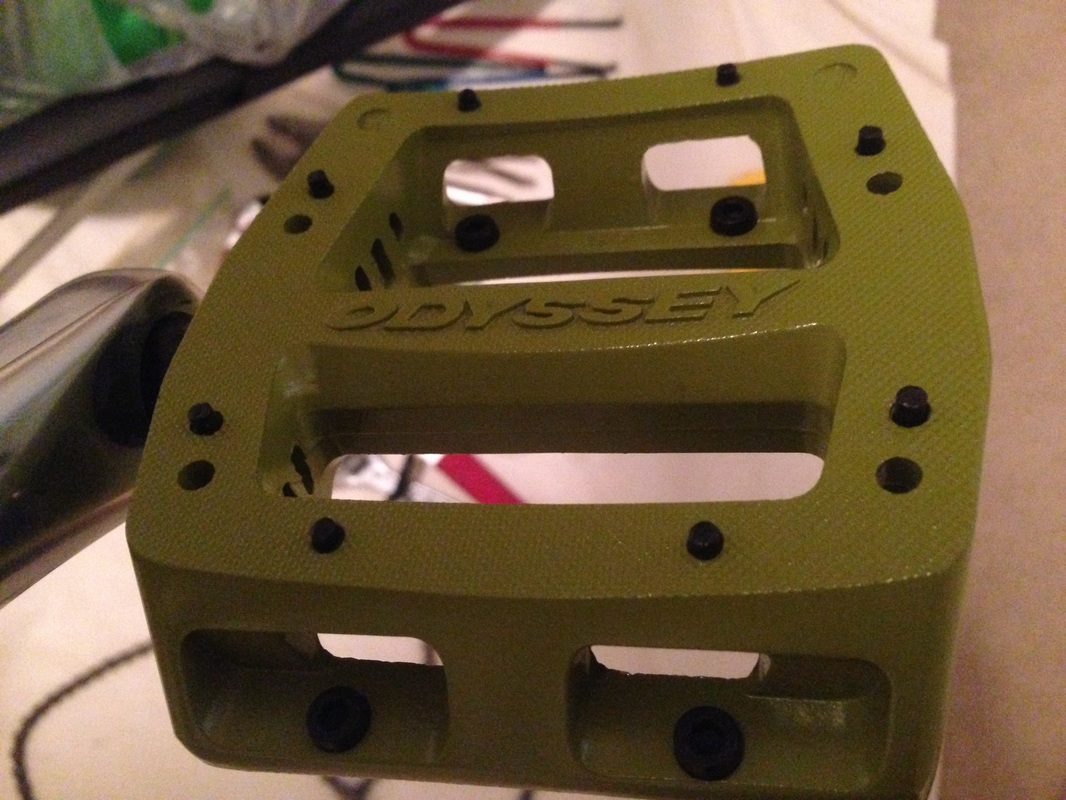
The wife has gone to China for a week and a half on a business trip, so whaddya do? You start working on your bike build inside the house, specifically in the spare bedroom! Sounds crazy but seeing that everything is clean and the bike has been freshly painted, re-assembly is really not very messy at all. I use a bit of grease but that is all and it doesn’t really make a mess. Just in case though I have put a drop sheet down to protect the carpet. I have installed one brake lever, cranks, seat post (25.8mm, generic 400mm black), seat post binder bolt (which may have to be cut down) and lastly my limited edition avocado coloured Odyssey platform pedals. I wasn’t gonna use these pedals and was just gonna display them but had second thoughts, a bike this good should have some bling. I also had to trial fit the rear wheel to check the alignment between the chain set and the rear sprocket which led me to getting another bottom bracket. It does look really good though. I'm still deciding whether to use the brooks saddle or put it on my road bike.


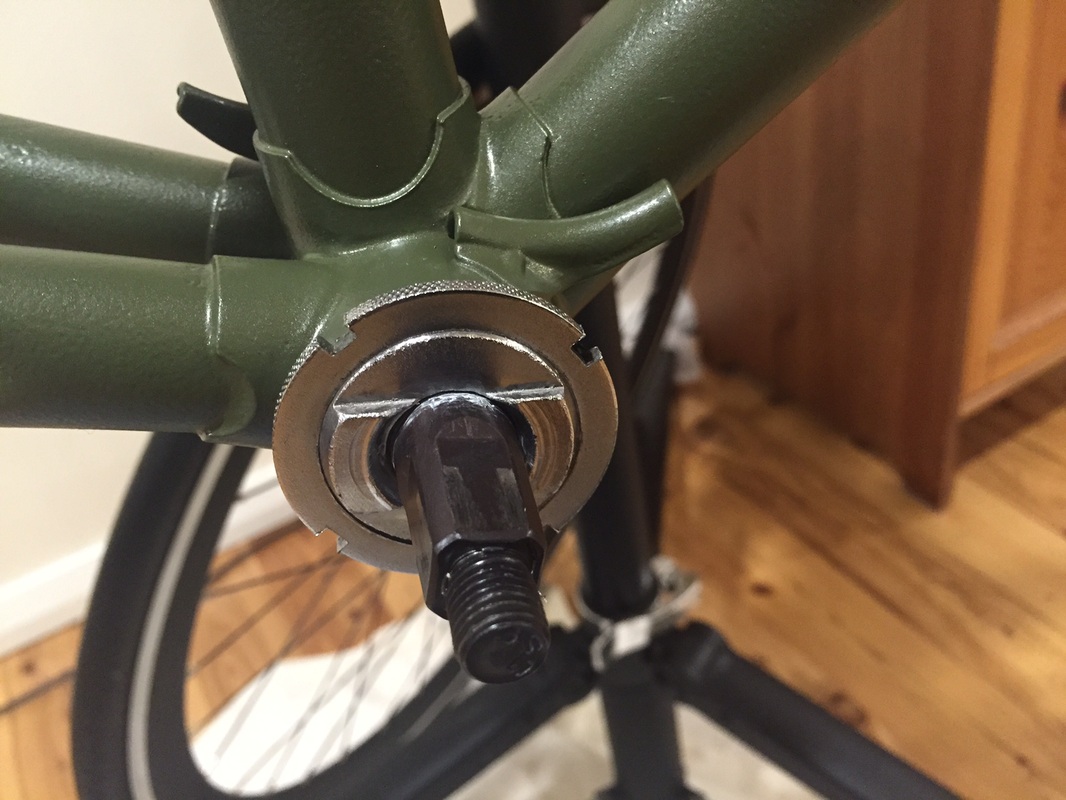
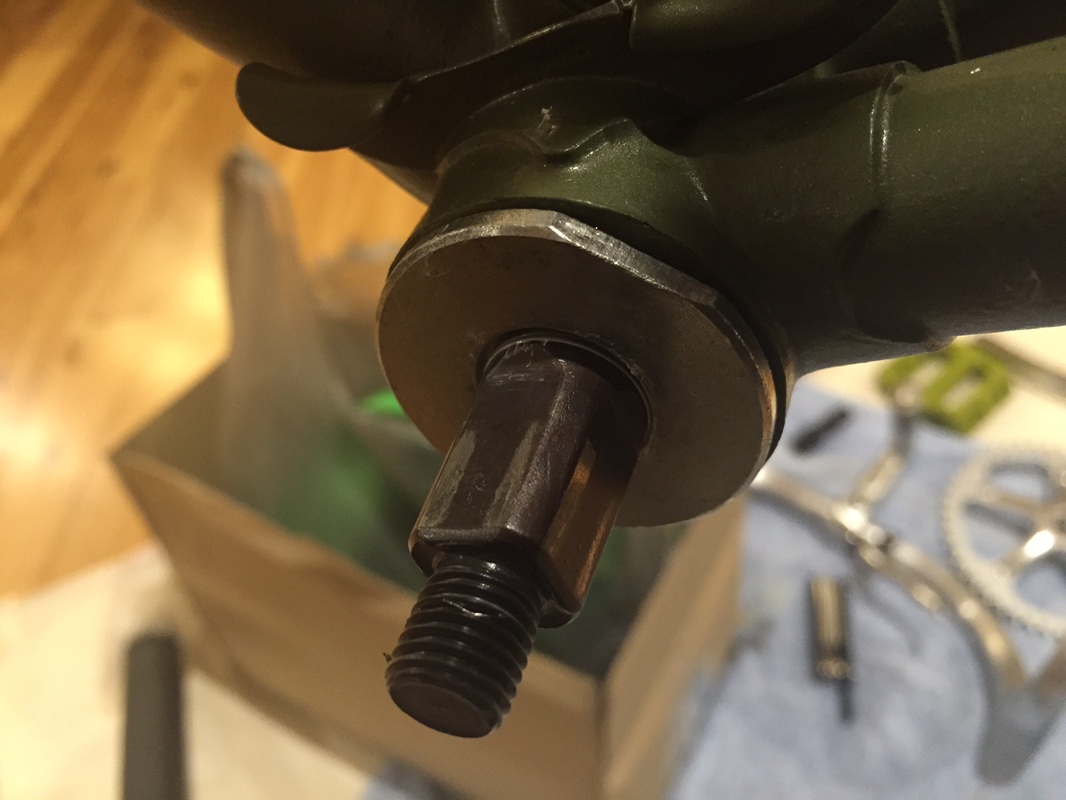
Seat post sizing
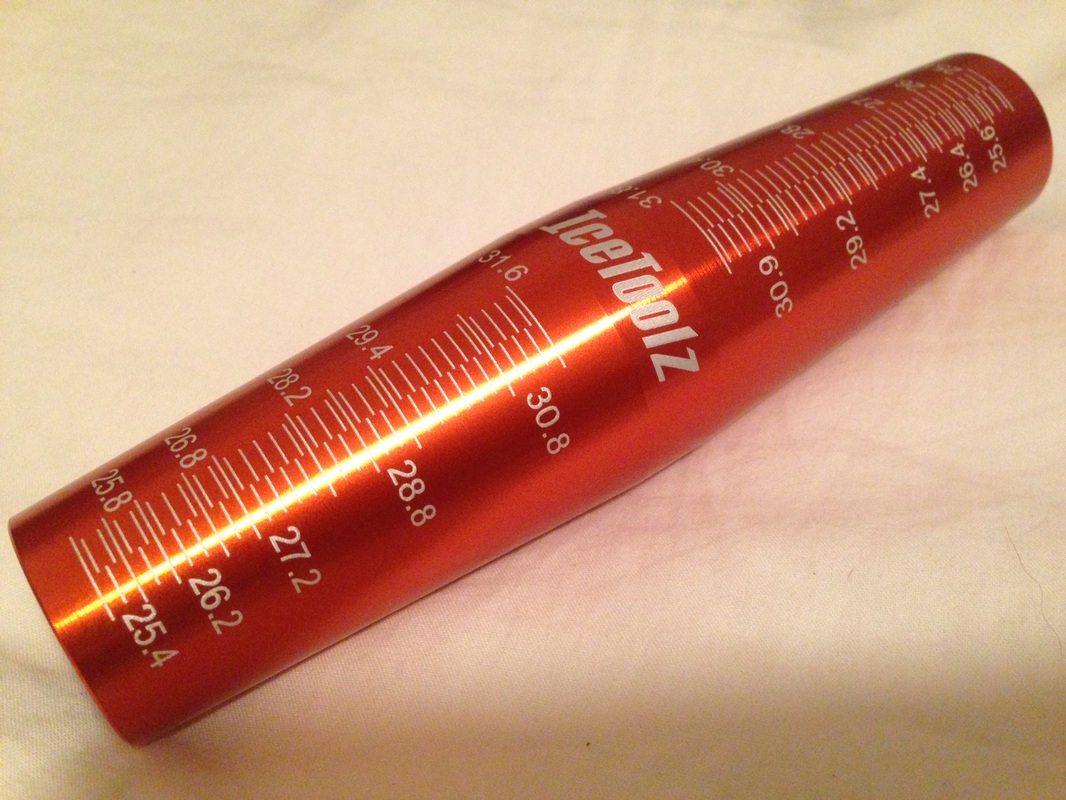
I forgot to mention this little tool. I had no idea of the sizing for a post as the frame did not come with one. In the past it was a guessing game, taking the frame to the bike shop or I just got lucky. In some cases I ended up with a seat post I couldn't use but luckily I found use for it in another project as it happened to fit. This time though I found this little measurement device made by IceToolz which allowed me to determine the right size seat post for the bike. In this case the sizing was a bit unusual to what I was used to. I needed a 25.8 measurement. I looked into other measurement devices such as the professional ones hat bike shops had. They cost around $160 for a set of 3 rods. This was only $20 and the measurements are etched/engraved into the metal so they will not wear off that easily. I thought it was a good investment seeing that I build bikes regularly and also being a dad and having a busy work/family life, it's easier to just order online and get it delivered rather than have to head to a shop. Particularly if they may not have the specific sizing for older bikes.
Fork work to fit modern axle
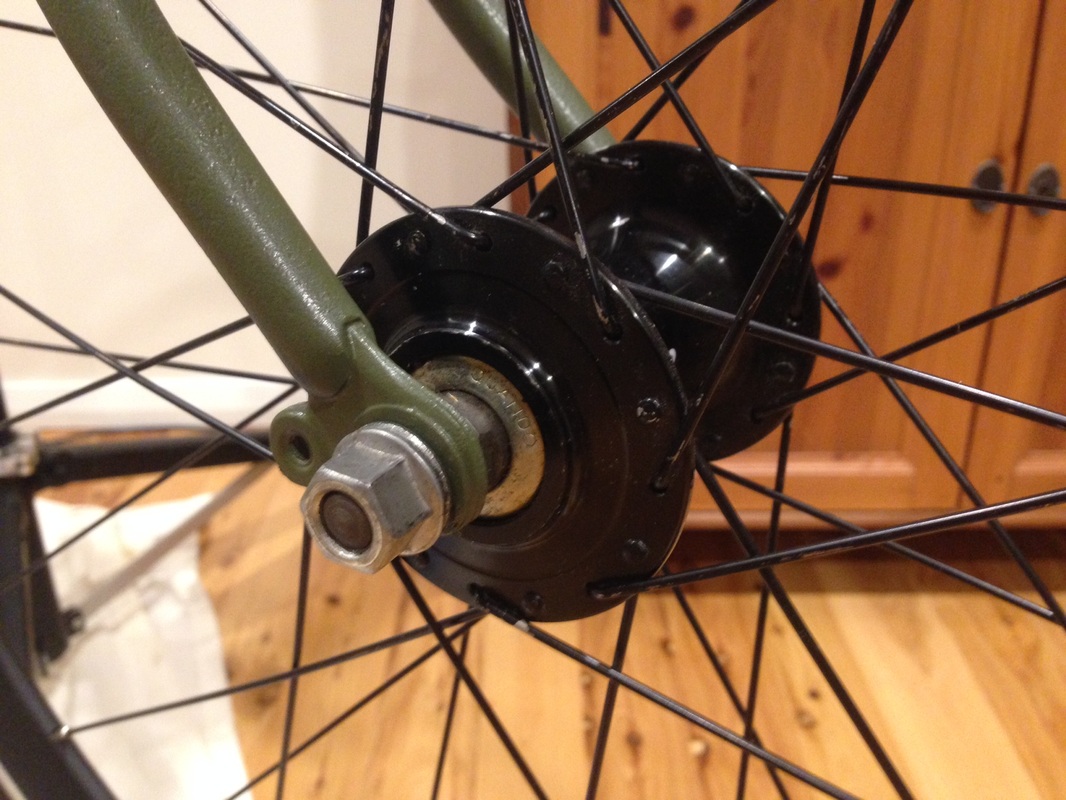
Well I finally got around to filing out the front forks to allow the quando hub axle to fit. It's a bit of a tight fit and I probably could file it out more but I'm happy with the result. I trial fitted both wheels to the bike and I have to say it looks awesome. The bike looks so mean. I made sure this photo didn't show the whole bike as I am leaving it for a surprise at the end of the build. Will take some good shots with my Canon 5D as I did with my first single speed build.
Update 23/3/2015 - Project F-Bomb nearly complete - Things left to do....
1) I still need to drill out the rear brake mount hole as I have decided to go for rear brakes too.
2) Awaiting my sealed Shimano bottom bracket to arrive then the cranks and pedals can go back on.
3) Still can't decide whether to use the drop bars or the cafe racer bars?!!?!?
4) Install chain and get the length right allowing room for adjustment later on as a new chain will stretch a bit.
5) Work out whether to use the Brooks Professional saddle or the Selle Italia SL saddle - I like both!
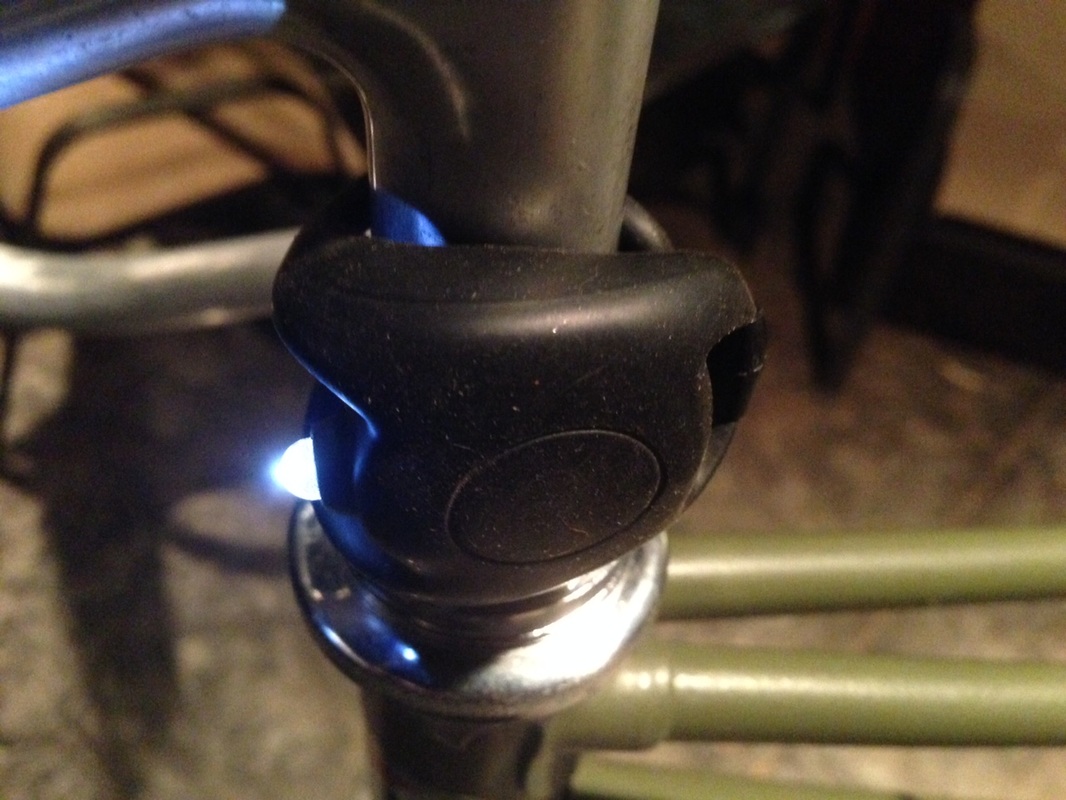
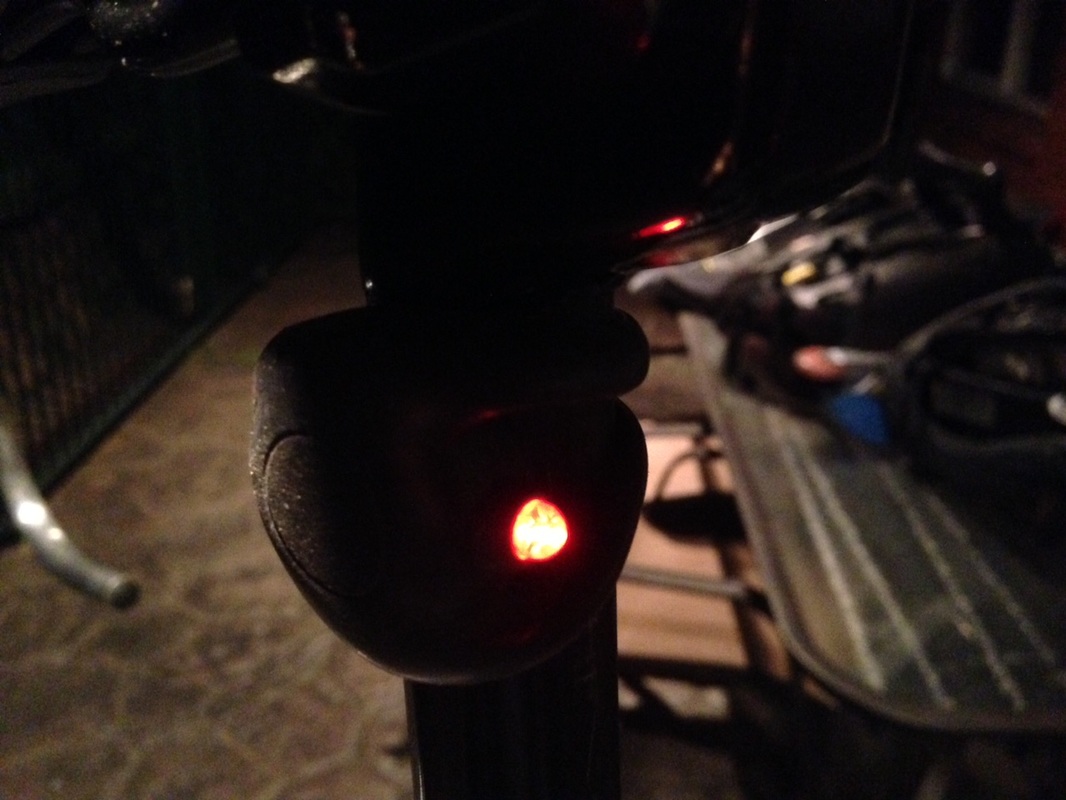
6) Possibly install some small lights for front and rear - not gonna use any reflectors.
7) Guess I'll need a bell to make it legal....
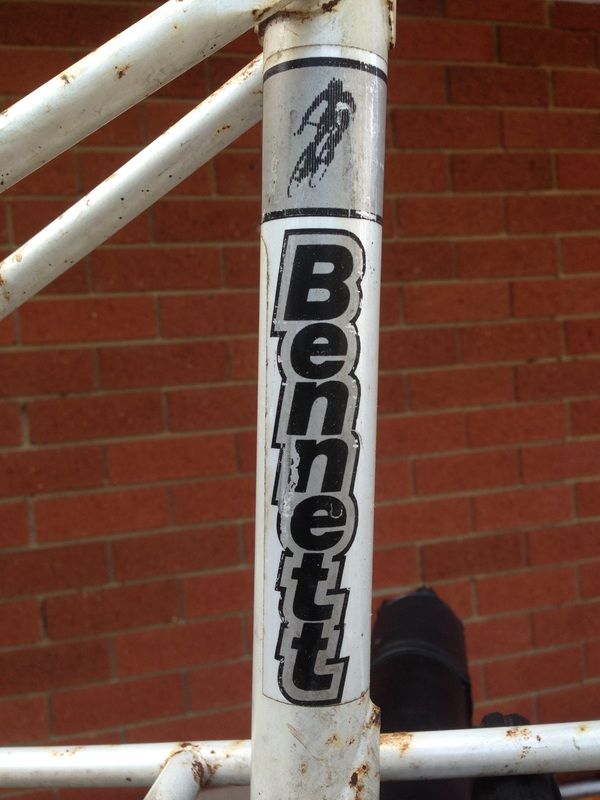
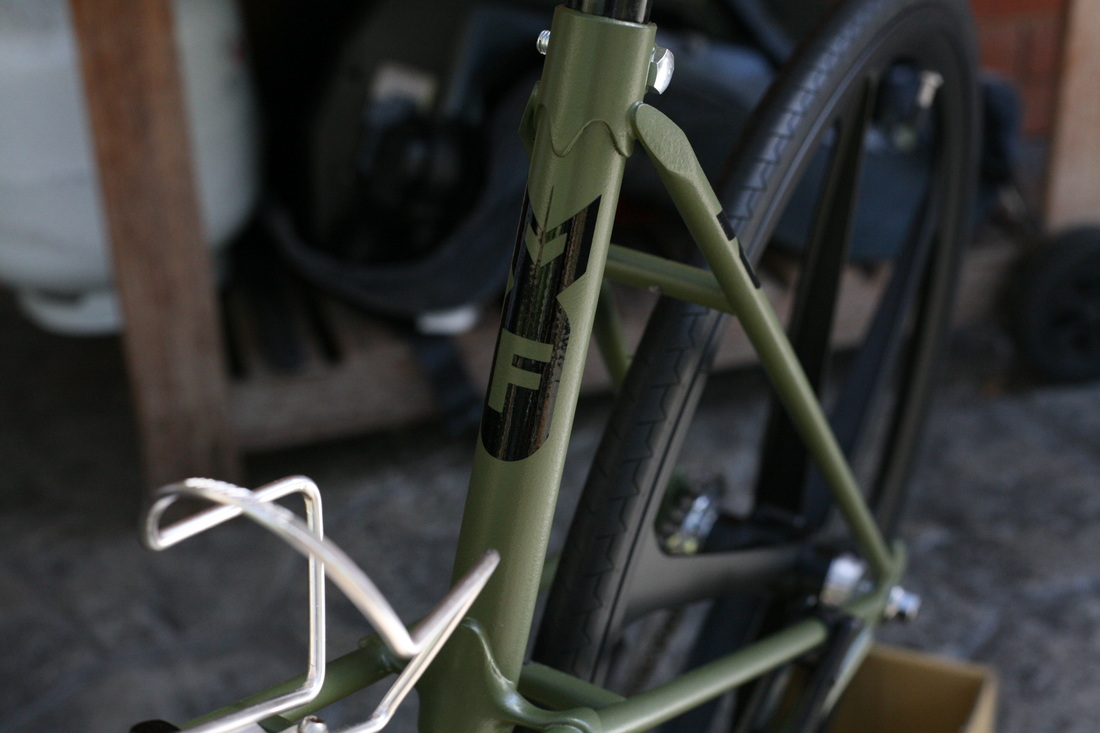
8) Adding the decals - I'm thinking I'll place the original Bennett decal on the head tube and an F-Bomb sticker
on each fork arm, one on seat tube and a couple of larger ones on the down tube on either side.
9) Tighten everything up and go for the first ride!
2) Awaiting my sealed Shimano bottom bracket to arrive then the cranks and pedals can go back on.
3) Still can't decide whether to use the drop bars or the cafe racer bars?!!?!?
4) Install chain and get the length right allowing room for adjustment later on as a new chain will stretch a bit.
5) Work out whether to use the Brooks Professional saddle or the Selle Italia SL saddle - I like both!
6) Possibly install some small lights for front and rear - not gonna use any reflectors.
7) Guess I'll need a bell to make it legal....
8) Adding the decals - I'm thinking I'll place the original Bennett decal on the head tube and an F-Bomb sticker
on each fork arm, one on seat tube and a couple of larger ones on the down tube on either side.
9) Tighten everything up and go for the first ride!
Project Finished - Sunday, 29 March 2015
|
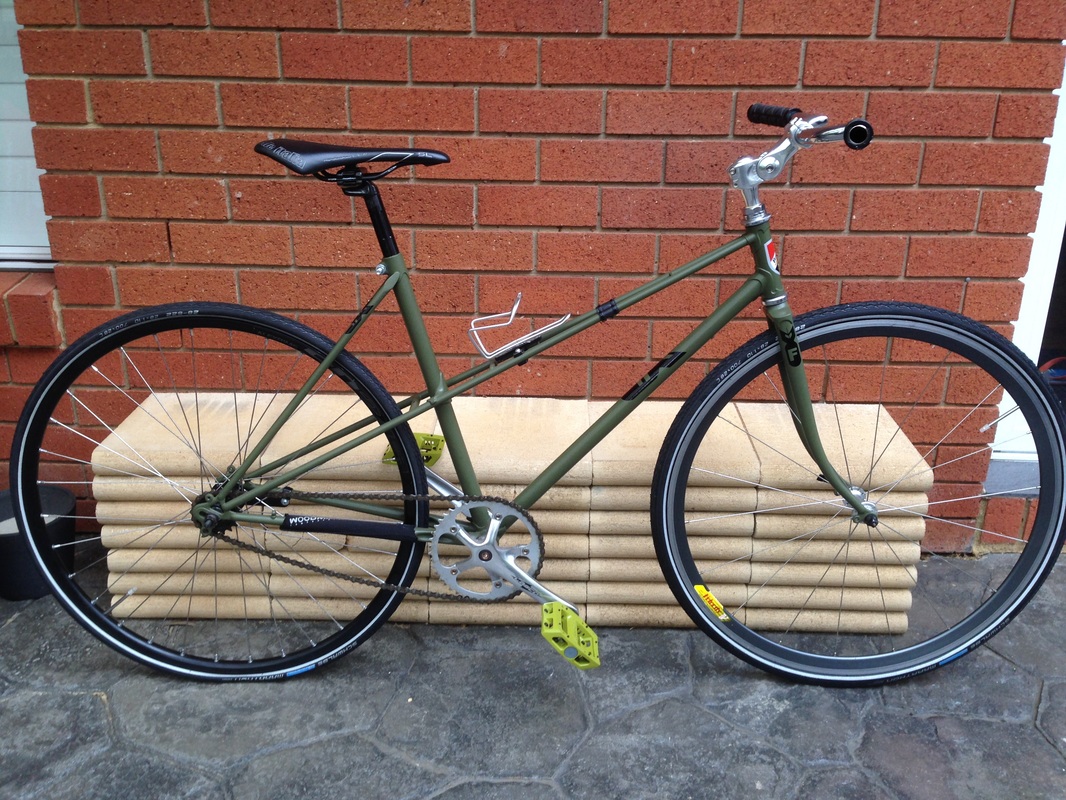
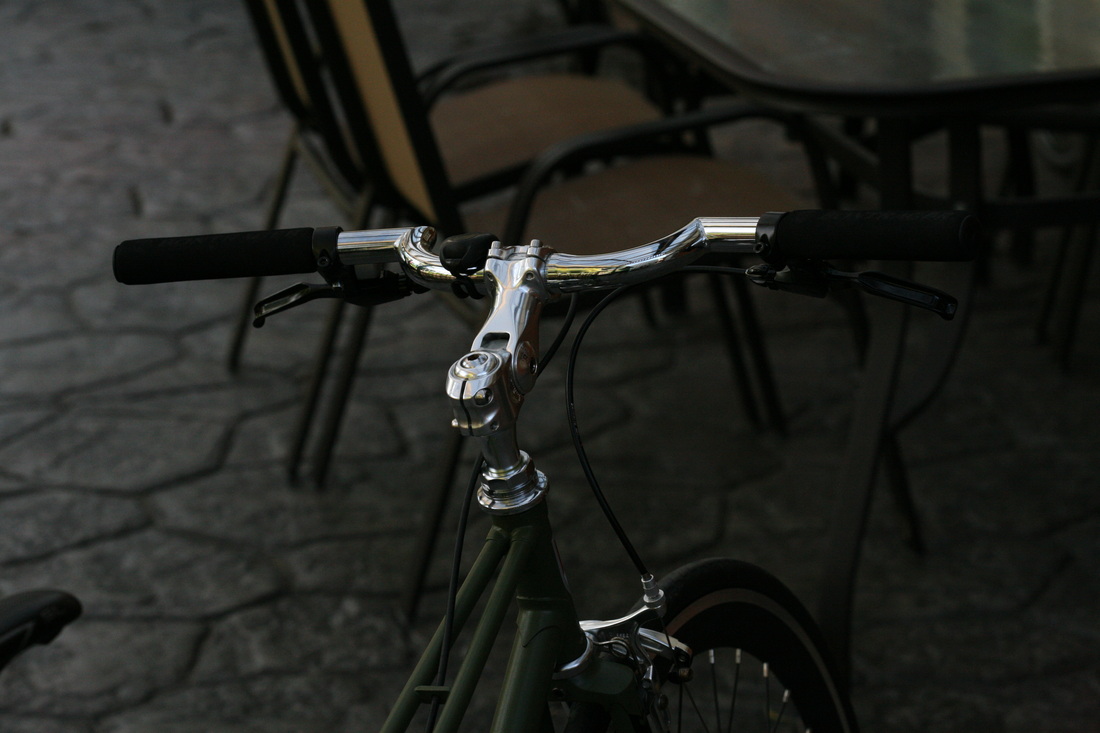
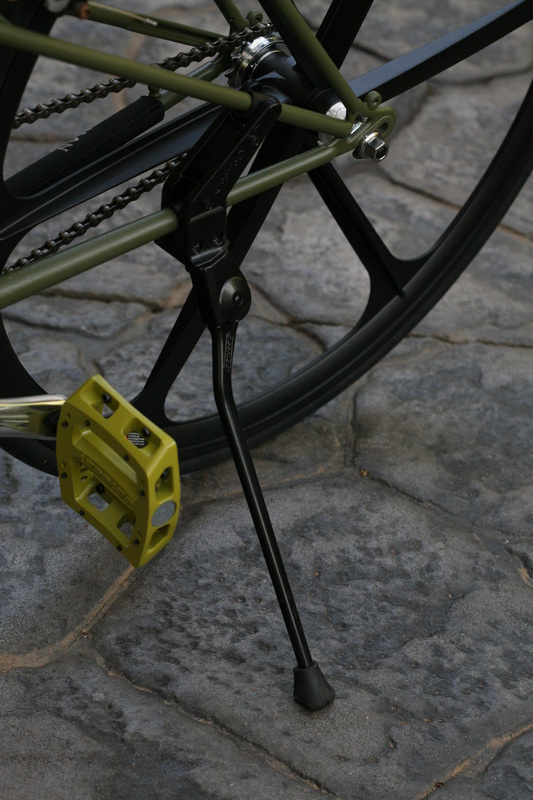
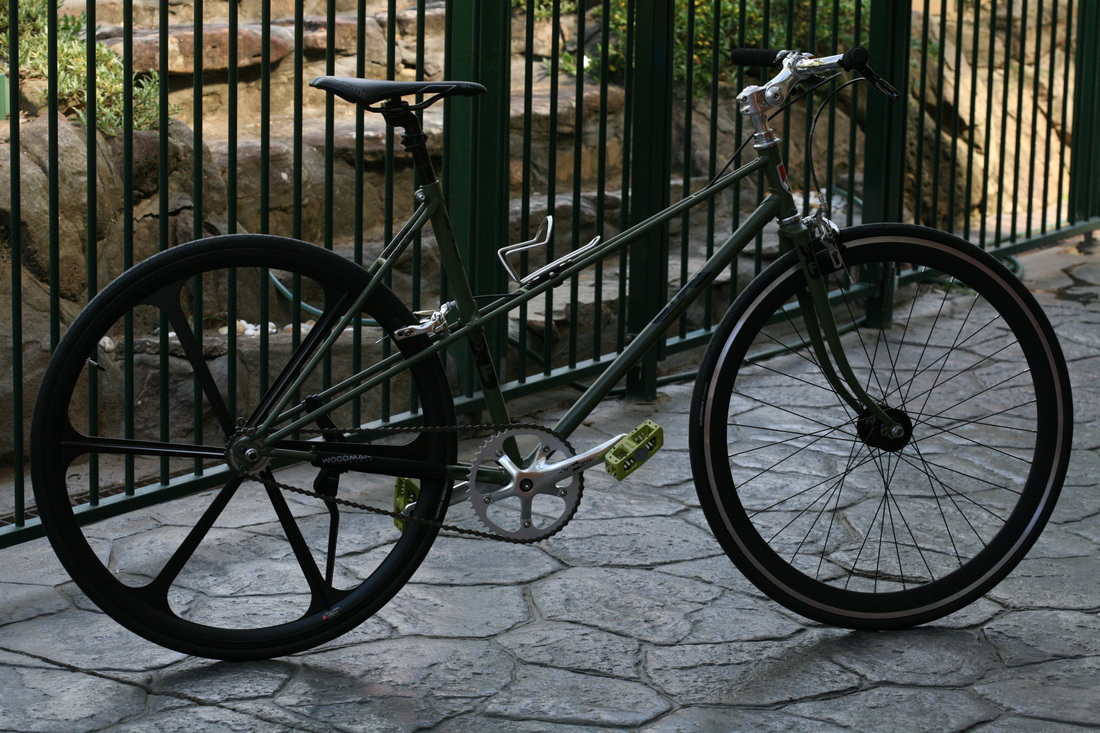
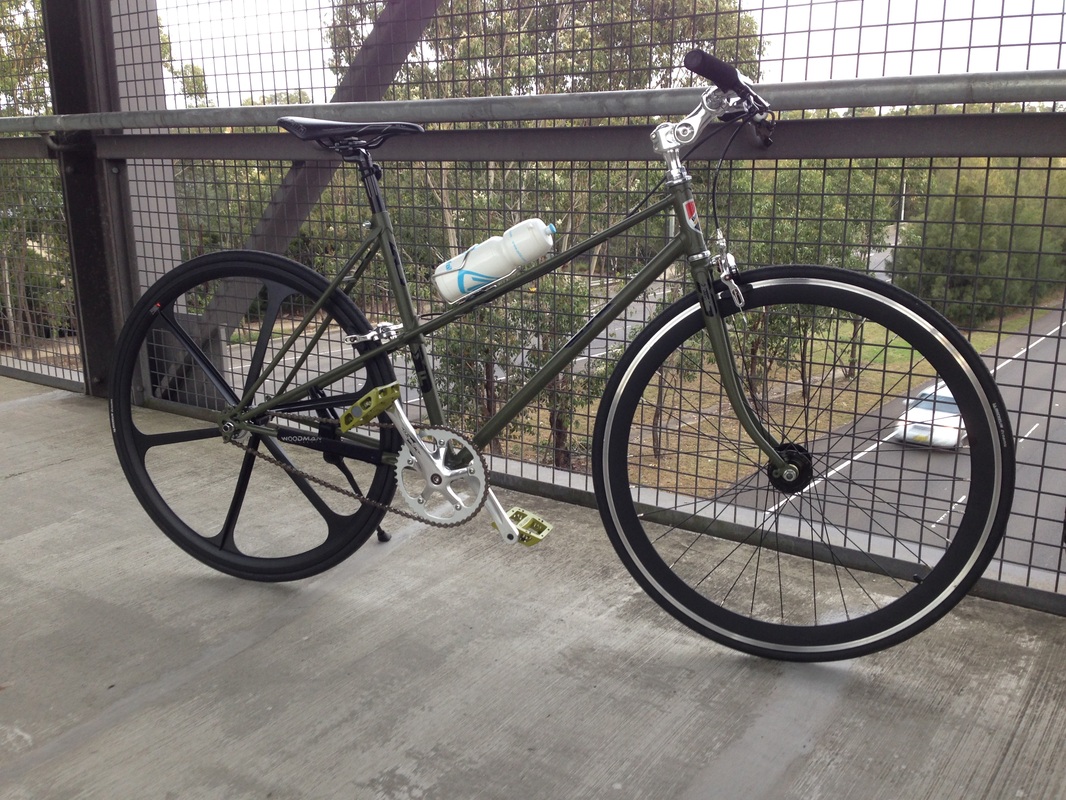
I was going to set up the tripod, camera, flash, umbrella etc to get the lighting right and get the macro lens out. Instead I got lazy and decided to just shoot the bike out in the backyard with my 5D. I did use a 100mm Macro lens though which gave some excellent shots with the lighting outside which wasn't that great. Anyway I think they're good enough to put on the site. You'll notice that I have gone with the cafe racer bars, tektro levers with integrated bell, added my old knog front and rear lights and installed the Shimano bottom bracket. Some of you will also notice that, even though it is probably against all fixed gear and single speed rider rules, I have installed a kickstand. It's a Greenfield stand that i got sent to me from Canada and I think it looks good on the bike. Personally even though some may think it would ruin the overall look of the bike. I'd rather stop anywhere I wanted during a ride and not have the hassle of looking for a wall, fence, table or having to put my bike flat on the ground. The stand makes sense to me.
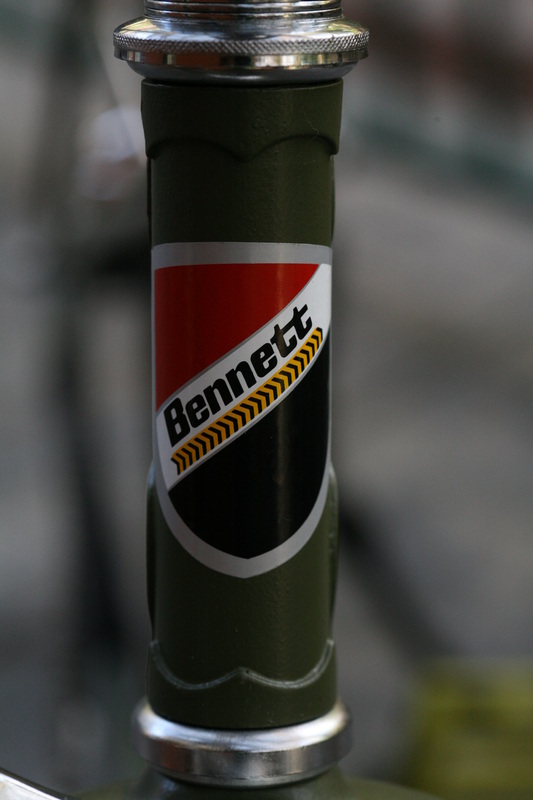
Even though I have renamed the bike to the F-Bomb, I still wanted to retain the original brand and maker. So I have placed the 25 year old original Bennett decal right on the head tube of the bike. I thought that was a nice touch. The Bennett rolls again and now has modern parts and would otherwise have been destined for the scrap heap. This bike will live forever! So below are the long awaited finished pictures. This bike is different form the norm for me but I was glad I tried to be different and also was very proud to ride my creation. |


The first Ride - Oops! (29/03/2015 - late afternoon)
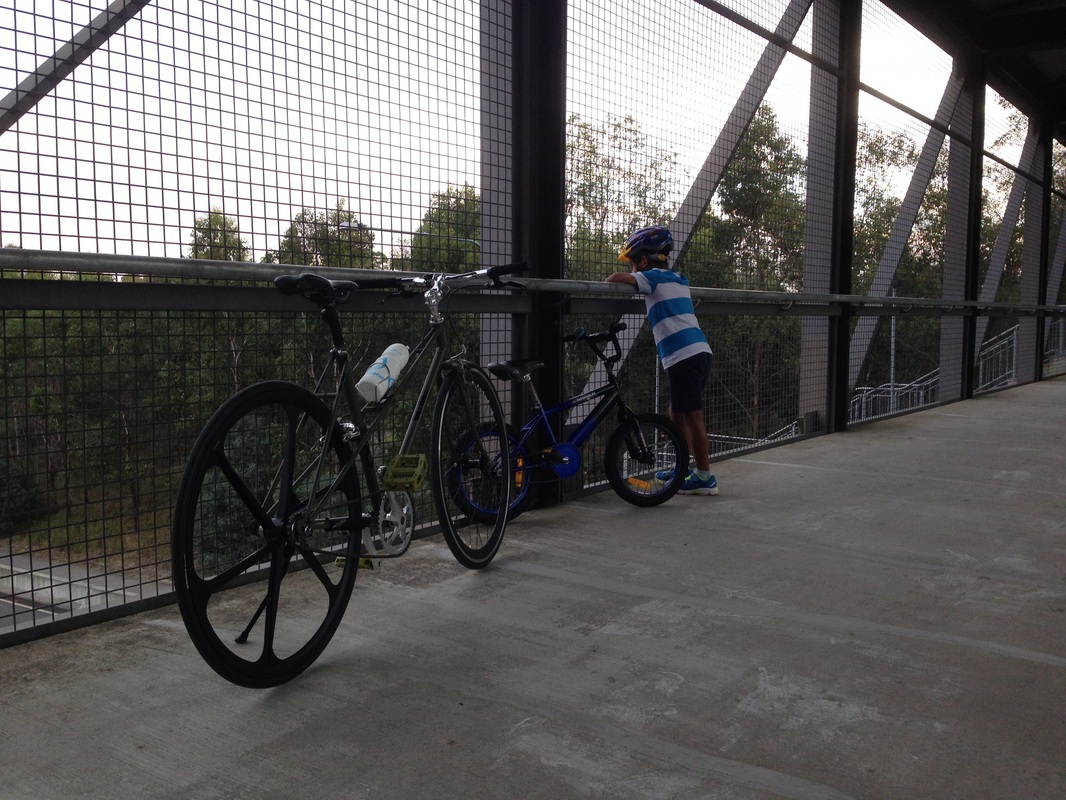
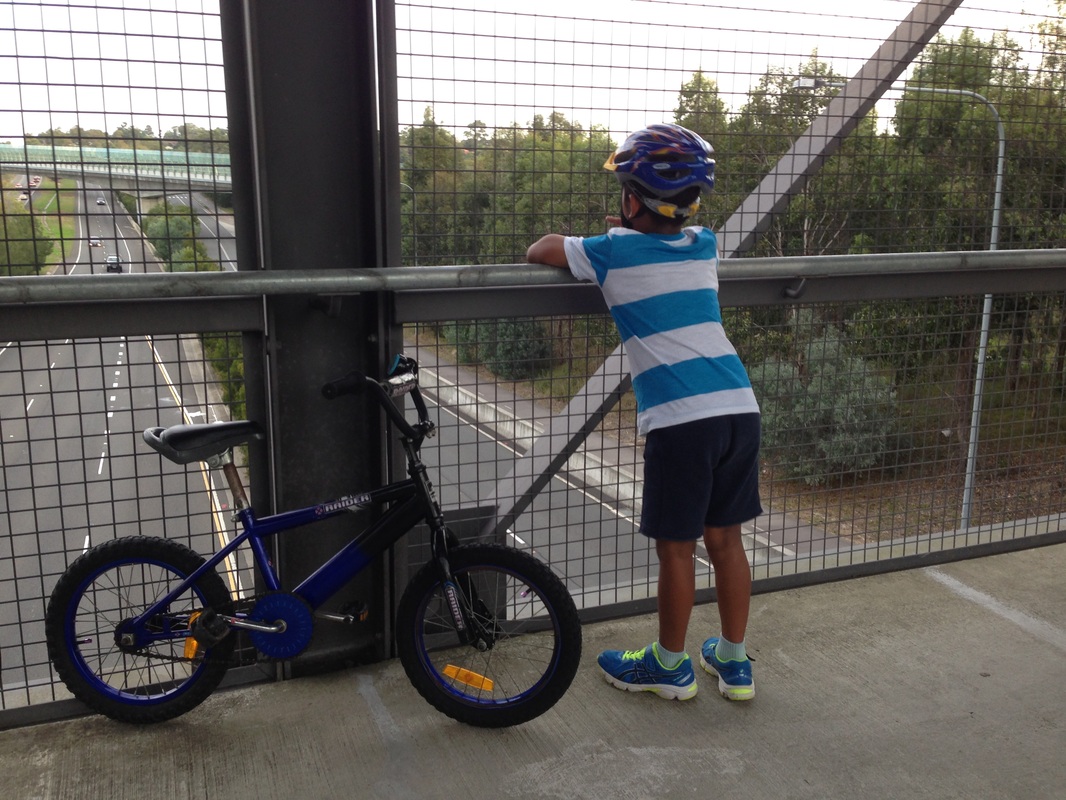
Well my son wanted to go for a ride today so I thought I'd give the new bike a go. Only got round the bottom corner of my street until the chain came off on both the front chain ring and the rear sprocket at the same time! This happened for two reasons. Firstly I had not even oiled the chain at all so it was super dry. Secondly, and most importantly, I had not tightened the rear wheel axle nuts. So the wheel slipped over to one side and also jammed up aginst the left side of the frame stays sand also wedned itself against the left rear brake pad. I managed to knock it back into place to allow the wheel to move. So we walked the bike back to the house, I re-adjusted the chain, tightened the wheel nuts, put some chain lube on the chain, spunit a few times, and then we headed off again. This time the ride was smooth and really good. This bike is a touch heavier than my single speed that I first built. This is due to the alloy rim on the back. I could have put a second hand aerospoke carbon fibre rim on but carbon can't really be fixed if damaged and this was abit tougher, and also easier on the hip pocket! The bike is still quite lightweight and rides really well. I had forgotten what it was like to ride a single speed and that good old feeling just came back. We stipped on an overhead crossing bridge near my house for a break and a drink, my son likes to look at the cars and trucks go past underneath him. Overall I am happy to report the bike works great and I'm looking forward to building up my strength again and getting back to the lack of gears!
4/9/15 - The F-Bomb is changing again!
Well, it's been a very long time since I touched this website. My prioritie have been elsewhere....like finding a job! Yep I was made redundant about three months ago and only in the last couple of days I've had a couple of really good job interviews. So in my time off I was a house husband but it also gave me a chance to play with my toys. The F-bomb is going through a dramatic change. Reason being is that I have put on alot of weight just sitting around applying for jobs, looking after the kids and not really doing any exercise and just eating lots of rubbish to drown my sorrows. Well, that is going to change.
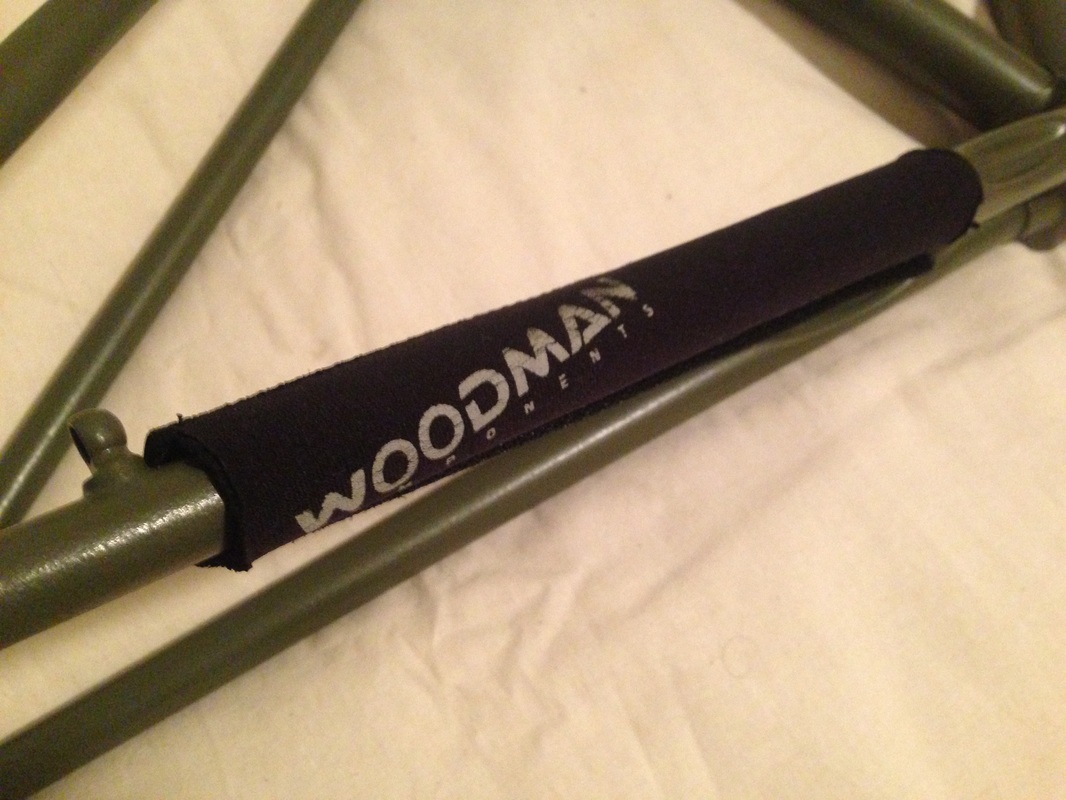
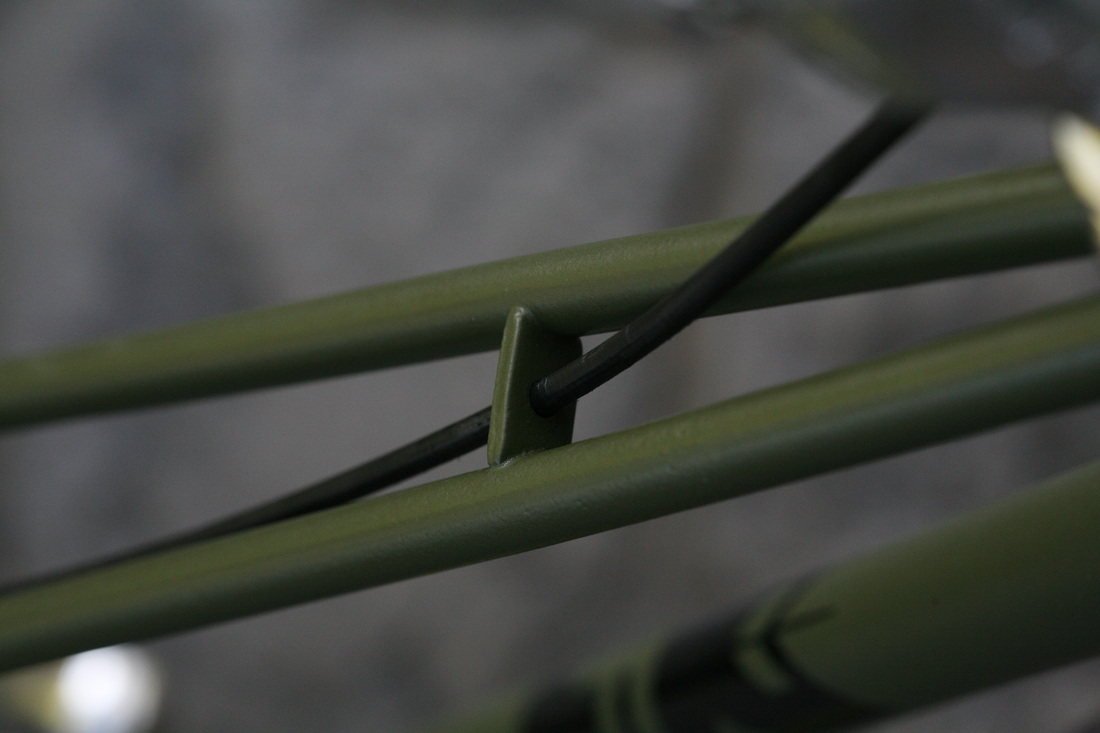
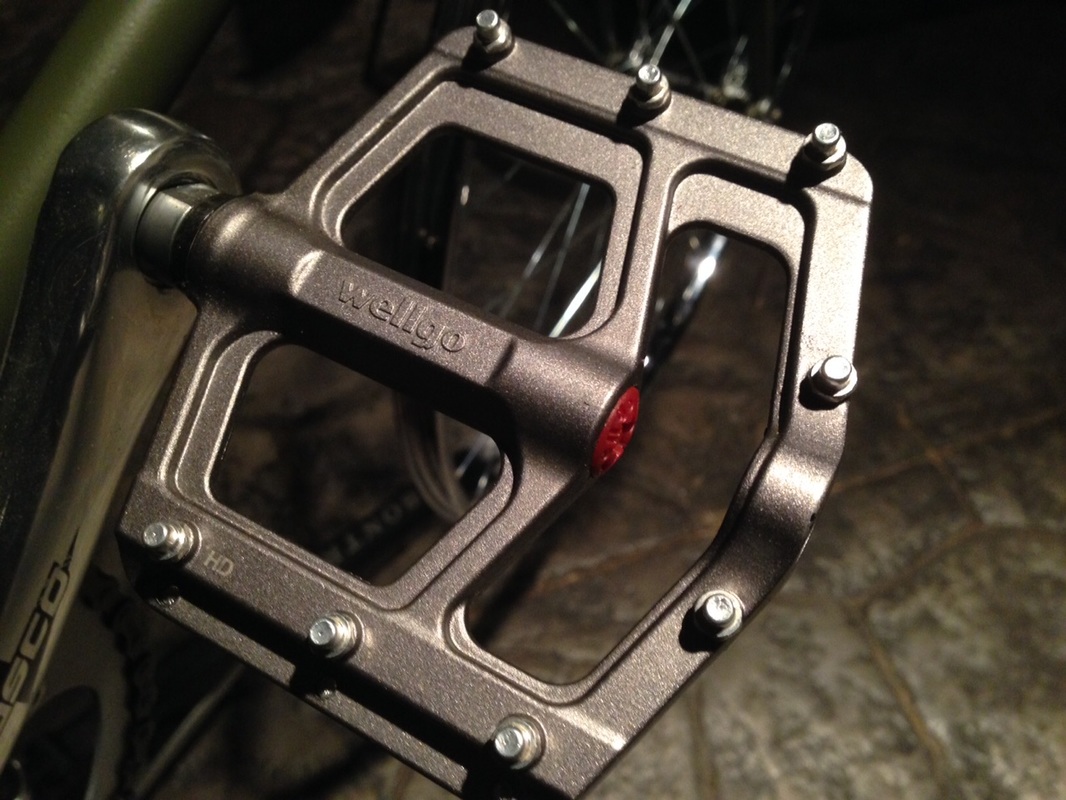
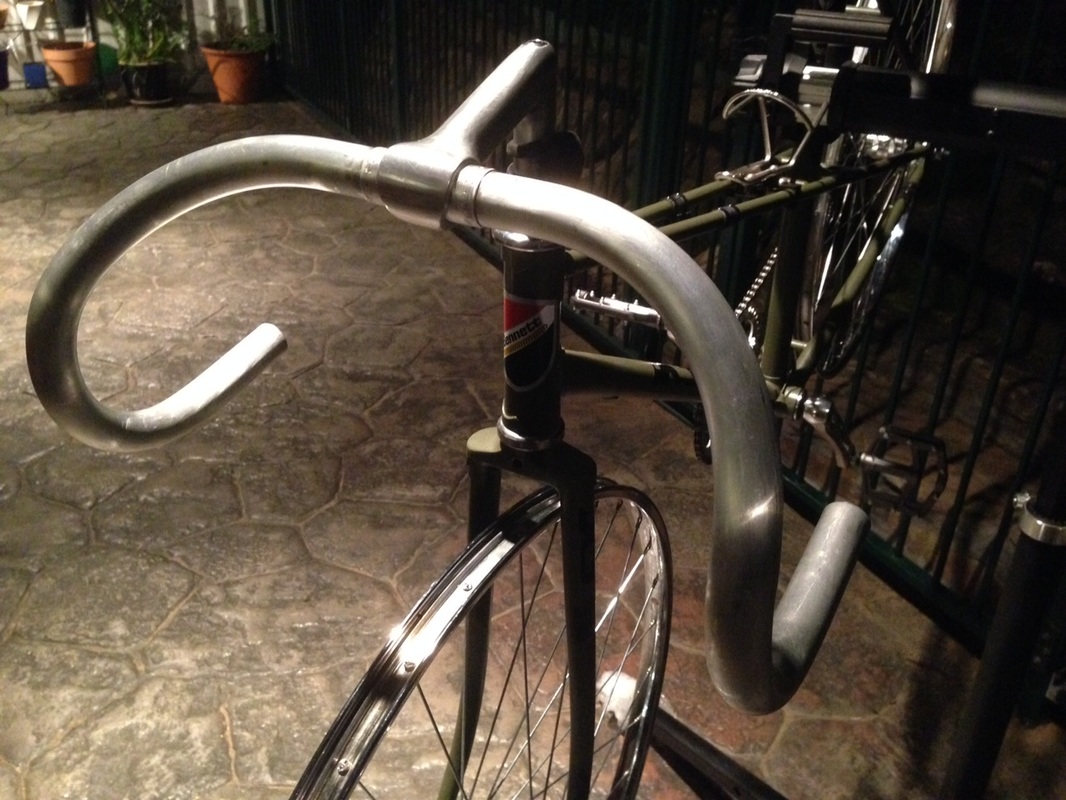
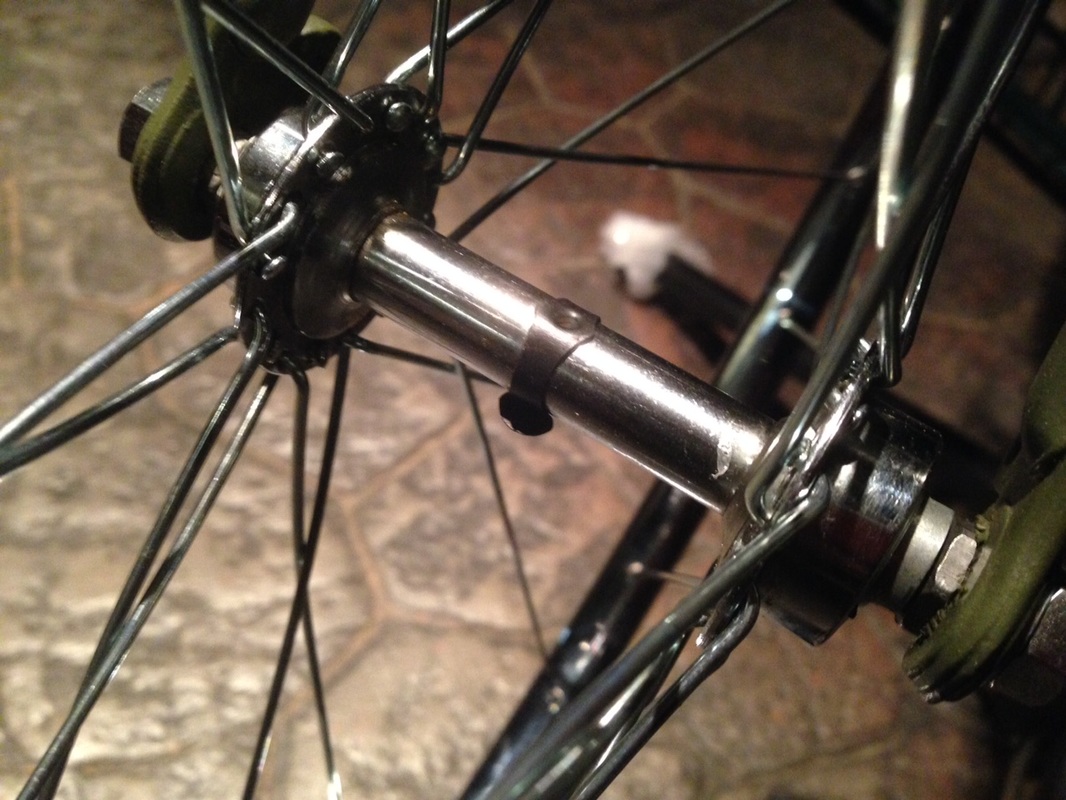
What I've done is I have taken out all the braking hardware which is the levers, cables and calipers. I have also removed the front and rear wheels and they have recently been sold. What I've done is replaced the Soma bars with a Nitto track bar and quill stem setup. No bar tape but there are bar end plugs. I've replaced the pedals with some Wellgo magnesium pedals and have also added some old school (but new) 27 1-1/4" wheels. The front is a shimano hub with a Ukairim and the rear is a shimano hub, Ukairim and a coaster brake. I thought about fixed gear again but the thought of trying to stop with just my legs and nothing else scared me and I really would like to see my family again, so I have opted for the coaster (back pedal) brake. The idea is to have a steel bike with minimal maintenance and tough parts. I have added some old tubes around the frame so that the handlebars won't whack the frame too hard, now they bounce off it instead. I don't intend to 'baby' this bike anymore so will be riding it hard and using it well. This will be my bike that I will hopefully ride everywhere and also get some real exercise. Also everything in it is screwed into place and nothing is quick release so it's safe to lock up at the station etc. I've just gotta go pick up some Schwalbe Marathon tyres that I had ordered and also some rim tape for the new rims. Everything is now set up and I'm just waiting on these final parts.
What I've done is I have taken out all the braking hardware which is the levers, cables and calipers. I have also removed the front and rear wheels and they have recently been sold. What I've done is replaced the Soma bars with a Nitto track bar and quill stem setup. No bar tape but there are bar end plugs. I've replaced the pedals with some Wellgo magnesium pedals and have also added some old school (but new) 27 1-1/4" wheels. The front is a shimano hub with a Ukairim and the rear is a shimano hub, Ukairim and a coaster brake. I thought about fixed gear again but the thought of trying to stop with just my legs and nothing else scared me and I really would like to see my family again, so I have opted for the coaster (back pedal) brake. The idea is to have a steel bike with minimal maintenance and tough parts. I have added some old tubes around the frame so that the handlebars won't whack the frame too hard, now they bounce off it instead. I don't intend to 'baby' this bike anymore so will be riding it hard and using it well. This will be my bike that I will hopefully ride everywhere and also get some real exercise. Also everything in it is screwed into place and nothing is quick release so it's safe to lock up at the station etc. I've just gotta go pick up some Schwalbe Marathon tyres that I had ordered and also some rim tape for the new rims. Everything is now set up and I'm just waiting on these final parts.
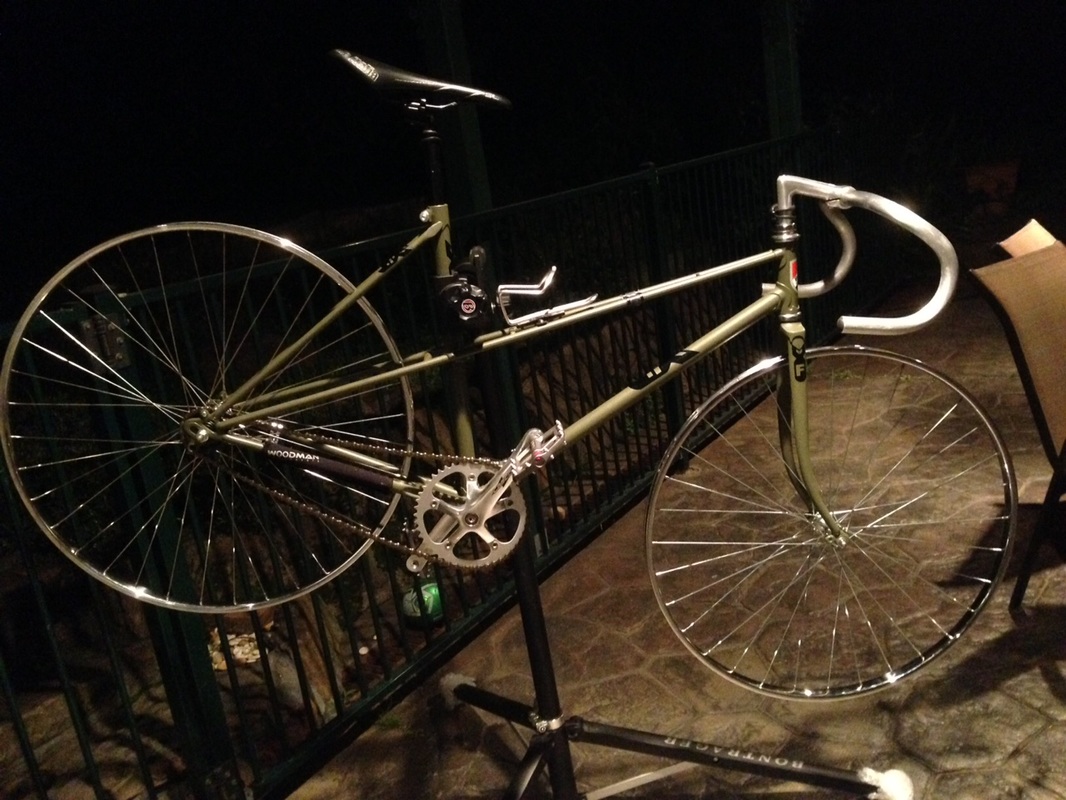

Time to call it quits - F-Bomb for Sale!
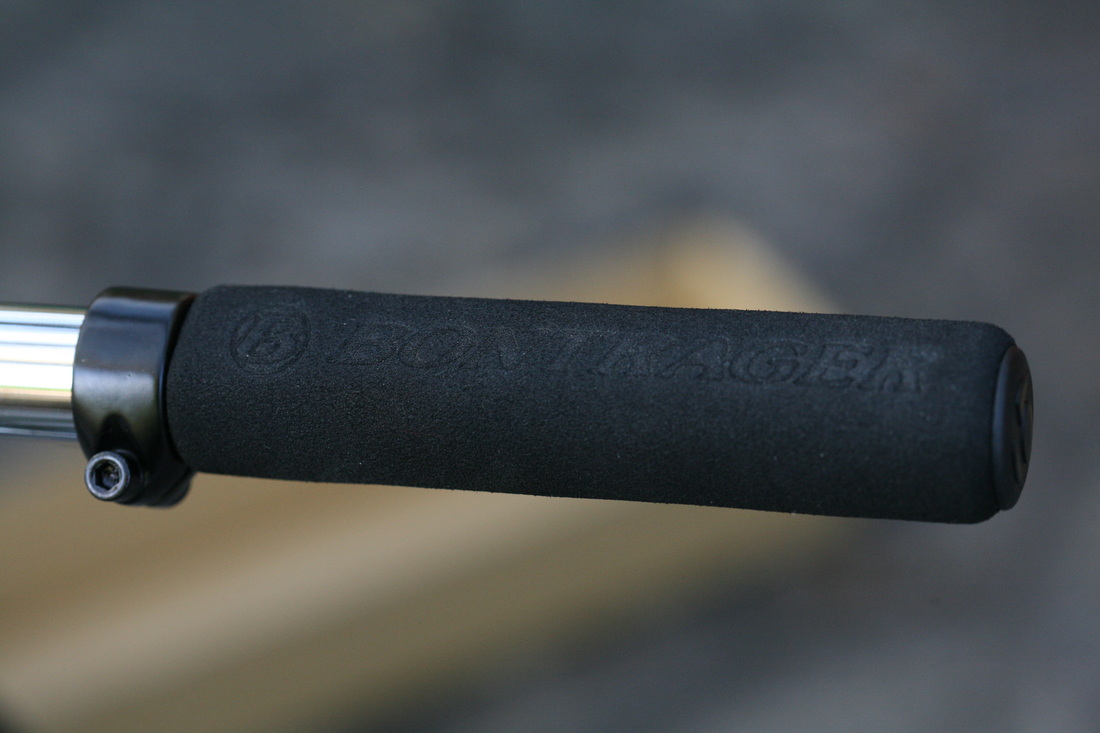
It's a sad day but the beast is up for sale. I have swapped out the wheels to a 700c Alex coaster wheel and a Velocity Deep V front with Schwalbe Matathon tyres. Also put the Condorina back with some Jet Black grips for a clean look. I've got too many bikes, I only need one so am getting rid of them all. There will always be a project bike, but I will stick to just one. Plus I need to clean out the shed!